
Creating an interactive learning wall at home or in a classroom is an excellent way to support early literacy. By installing strong adhesive magnetic strips, you can transform any flat wall, cabinet, or board into a dynamic letter-learning station. The success of this project relies on two critical factors: a secure adhesive bond that prevents the strips from peeling under the weight of the letters, and a flat, properly aligned magnetic surface that allows children to manipulate letters easily.
To achieve a durable setup, you must select the right materials and follow a systematic installation process. Standard magnetic strips vary in thickness, magnetic pull, and adhesive strength. For educational activities involving plastic or wooden magnetic letters, choosing a high-tack, pressure-sensitive adhesive backing is essential. This guide walks you through preparing the surface, planning the layout, executing the installation, and maintaining the learning station safely over time.
Preparing Your Wall or Board for Magnetic Strips
The longevity of your magnetic learning surface depends heavily on the preparation of the mounting surface. Strong adhesives require maximum surface contact to form a permanent bond. High surface energy materials like glass, metal, sealed wood, and smooth painted drywall are ideal. Conversely, textured surfaces such as stucco, brick, raw concrete, or heavily textured wallpaper prevent the adhesive from making full contact, leading to premature peeling.
Products mentioned in this guide
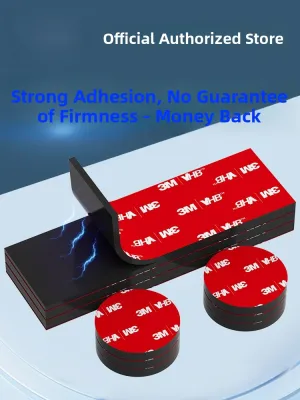
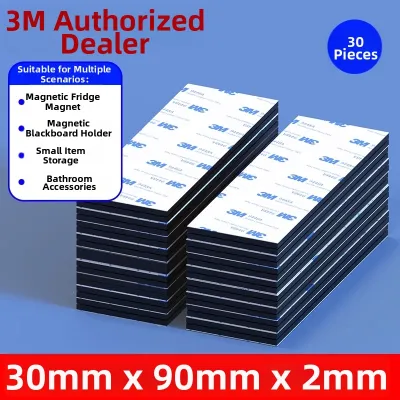
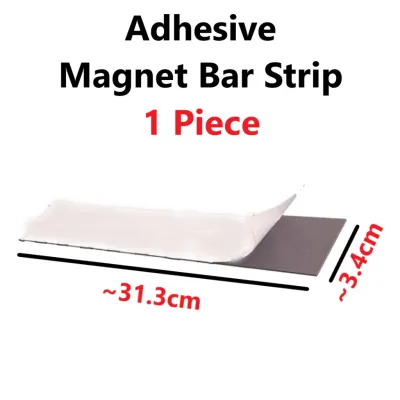
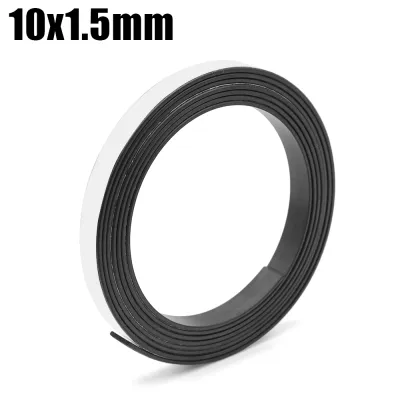
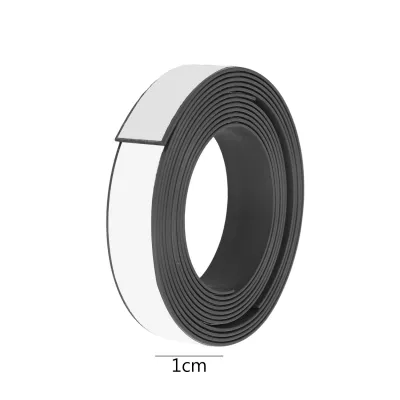
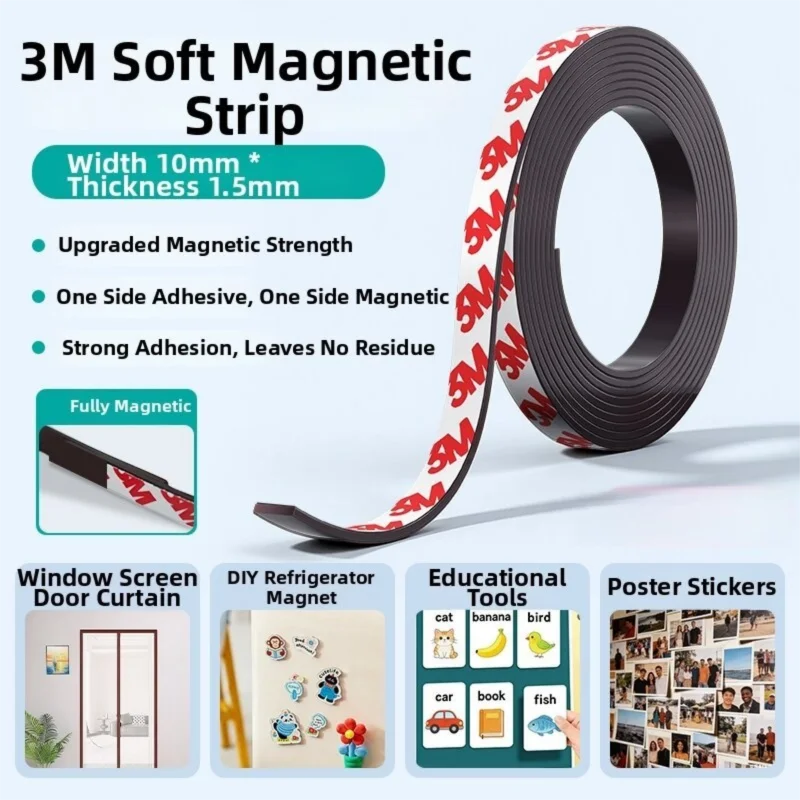
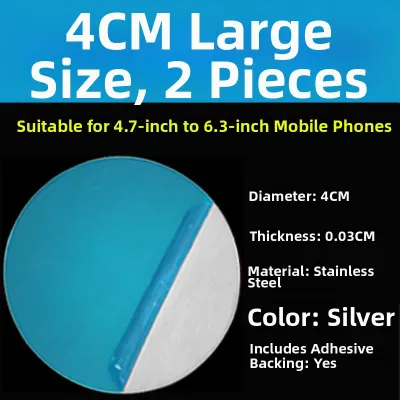
Prices are valid at publication and may change. Please refer to the product page for the latest price.
Before applying any magnetic strips, inspect the paint condition on your wall. If the wall was recently painted, you must allow the paint to cure completely. Most paint manufacturers recommend waiting at least three to four weeks before applying strong adhesives, as curing paint releases gasses that can degrade the adhesive backing. Additionally, avoid applying these strips to peeling or cracked paint, as the weight of the magnetic letters will pull the loose paint right off the wall.
Cleaning the surface is a step you cannot skip. Dust, grease, and skin oils form an invisible barrier that ruins adhesive performance. Wipe the target area thoroughly with a microfiber cloth dampened with a mixture of water and mild dish soap, or use isopropyl alcohol if your paint manufacturer allows it. Avoid using household spray cleaners, glass cleaners, or surface wipes that leave behind a waxy or oily residue, as these will prevent the adhesive from bonding. Allow the surface to dry completely for at least one hour before proceeding.
In warm, humid climates, ambient moisture can interfere with the initial adhesive bond. If you are installing the strips in a room without air conditioning, ensure the wall is completely dry and free of condensation. You may want to run a dehumidifier or a fan in the room during the cleaning and installation process to ensure a dry environment for the adhesive to cure.
Planning the Layout for Magnetic Letters
Before peeling any adhesive backing, you must plan the physical layout of your learning station. Consider the size and weight of the magnetic letters you intend to use. Standard plastic educational letters typically range from 3 to 6 centimeters in height and contain small ceramic or rubber magnets on the back. The width of your magnetic strips must match or exceed the placement of these magnets to ensure a secure hold.

Measure the available wall space and decide on a layout that matches your child’s learning stage. A horizontal track layout, resembling the lines on a writing tablet, is excellent for spelling words and forming sentences. For younger children who are sorting letters by color, shape, or type (such as vowels versus consonants), a vertical column layout or a grid pattern may be more functional. Ensure the tracks are spaced far enough apart so that letters on the upper track do not overlap or interfere with letters on the track below.
Use a spirit level and a pencil to mark light guidelines directly on the wall. Alternatively, you can use low-tack painter’s tape to outline the exact positions of the strips. Painter’s tape is highly recommended because it allows you to step back and visualize the entire layout before making any permanent changes. It also serves as a physical guide during the installation process, helping you keep the strips perfectly straight without leaving permanent marks on your wall.
Step-by-Step Installation of Adhesive Magnetic Strips
To begin the physical installation, gather your tools: a pair of heavy-duty utility shears, a pencil, painter’s tape, a spirit level, and a clean cloth. Standard household scissors often struggle to cut through the thick, iron-infused rubber of strong magnetic strips, resulting in jagged edges or bent magnetic material. Investing S$15 to S$30 in high-quality, thick magnetic strips ensures you have enough material for multiple tracks and a clean, professional finish.
Measure and cut your magnetic strips to the desired lengths before removing any of the protective paper backing. Cutting the strips beforehand prevents the exposed adhesive from catching dust or sticking to itself. If the magnetic strip was stored in a tight roll, it may have a natural curl. Gently bend the strip in the opposite direction of the curl or lay it flat under a few heavy books for a few hours to flatten it out. Applying a curled strip directly to the wall puts constant outward tension on the adhesive, which can cause the ends to lift over time.
Once the strips are flat and cut to size, begin the peeling and pressing process. Do not peel the entire paper backing off at once. Instead, peel back about 5 to 10 centimeters of the liner from one end. Align this exposed end carefully with your painter’s tape guideline on the wall. Press the exposed adhesive firmly onto the surface. Slowly pull the remaining paper backing away with one hand while using your other hand to press the strip onto the wall, moving progressively from one end to the other.
After the strip is positioned on the wall, you must activate the pressure-sensitive adhesive. Use a clean, dry cloth or a small wooden roller to apply firm, even pressure along the entire length of the strip. Press firmly from the center of the strip outward to the edges to push out any trapped air bubbles. Pay extra attention to the very ends of the strips, as these are the most common failure points where lifting begins.
Allow the adhesive to cure before subjecting it to any weight. While the bond may feel strong immediately, most high-strength adhesives require 24 to 72 hours to reach their maximum holding capacity. Keep all magnetic letters off the strips during this curing period. Introducing weight too early can cause the adhesive to stretch and fail, requiring you to tear down the strip and start over with fresh material.
Testing and Maintaining Your Magnetic Learning Surface
Once the adhesive has fully cured, it is time to test the structural integrity and magnetic strength of your new learning surface. Do not immediately load the strips with a full alphabet set. Instead, select the heaviest letter or tile in your collection. Place it gently on the strip to verify that the magnetic pull is strong enough to hold the letter in place without sliding down. If the letter slides, the magnetic strip may be too thin, or the magnet inside the letter may be too far from the strip’s surface due to a raised plastic border.
Inspect the edges of the installed strips daily during the first week of use. Look closely for any signs of lifting, curling, or peeling away from the wall. If you notice a small section lifting, press it down firmly with your thumb for at least 30 seconds. If the lifting persists, it usually indicates that the wall was not cleaned properly, the paint is incompatible, or the strip was applied with too much tension from being curled.
Safety is the most critical consideration when creating a learning space for young children. Strong adhesives and magnetic materials must be monitored closely. Ensure that children do not attempt to peel the strips off the wall, as the sharp edges of cut magnetic rubber can cause minor cuts, and swallowing pieces of magnetic material is extremely dangerous. Regularly inspect the plastic magnetic letters themselves to ensure that the small magnets embedded in the backs are not loose, cracked, or falling out.
To clean your magnetic learning surface, wipe it down periodically with a slightly damp microfiber cloth to remove dust and fingerprints. Do not use harsh chemical solvents, aerosol sprays, or abrasive scrubbing pads. Solvents like acetone, paint thinner, or heavy-duty household degreasers can dissolve the adhesive backing, seep behind the strip, and cause the entire installation to fall off the wall. A simple wipe with water is all that is needed to keep the surface clean and ready for daily learning activities.
Frequently Asked Questions (FAQ)
Can I apply adhesive magnetic strips over wallpaper?
Applying strong adhesive magnetic strips directly over wallpaper is generally not recommended. The weight of the magnetic strips combined with the heavy plastic letters puts constant downward tension on the wallpaper. If the wallpaper is textured, delicate, or has older adhesive, the weight can cause the wallpaper to tear or peel away from the wall entirely. Additionally, removing the strong adhesive in the future will almost certainly rip or ruin the wallpaper. If you must use a wallpapered room, consider mounting the magnetic strips to a separate lightweight wooden board or whiteboard first, and then hanging that board securely using traditional wall anchors or picture hangers.
Will the strong adhesive damage my paint when removed?
Yes, strong self-adhesive backings are designed to be semi-permanent and will likely damage standard wall paint and drywall paper upon removal. When you pull the strip away, the bond between the adhesive and the paint is often stronger than the bond between the paint and the drywall, resulting in peeling paint or torn drywall paper. To minimize damage during removal, use a handheld hairdryer to apply gentle heat to the strip. The heat softens the adhesive, making it more pliable. Slowly peel the strip back at a sharp angle while continuing to apply heat. Any remaining sticky residue can be cleaned off with a mild adhesive remover, following the paint manufacturer’s safety guidelines.
Do I need to use extra glue with self-adhesive magnetic strips?
You should avoid adding liquid glues, such as superglue, hot glue, or construction adhesive, directly to the factory-applied adhesive backing. These liquid glues contain solvents that can chemically dissolve the existing adhesive, creating a messy slurry that fails to hold. They can also warp or melt the rubberized magnetic strip, resulting in an uneven surface that prevents magnetic letters from sitting flat. If you find that the built-in adhesive is not sticking to a specific surface, it is better to use a high-quality, double-sided mounting tape designed specifically for that surface type, or mechanically secure the ends of the strips with small, flat-headed screws.

Community discussion
Share your experience or ask a question. Comments are reviewed before publication.