
Embroidery is a remarkably soothing craft that allows you to slow down, focus your mind, and create something beautiful with your own hands. During the festive season, working on a holiday-themed project offers a wonderful way to embrace the spirit of Christmas while relaxing in the comfort of your home. For beginners, however, the barrier to entry can feel high if you have to source fabric, hoops, needles, and dozens of thread colors individually. An all-inclusive Christmas embroidery kit solves this problem by providing every necessary component in a single package, allowing you to start stitching immediately.
To ensure a successful and stress-free crafting experience, a beginner-friendly kit must balance high-quality materials with manageable design complexity. A truly complete kit does not just throw random supplies together; it curates them so that a novice can complete the project without feeling overwhelmed or needing to make emergency trips to a local craft store. By understanding what to look for in these kits, you can select a project that brings joy to your holiday season and leaves you with a beautiful piece of handmade decor to display or gift.
Defining "All-Inclusive" and "Beginner-Friendly" in Embroidery Kits
When browsing for embroidery projects, it is easy to confuse a “starter set” or a “pattern pack” with a genuine all-inclusive kit. Many listings online feature gorgeous holiday designs but only include the printed fabric and thread, leaving you to source your own hoops and needles. A true all-inclusive kit contains everything required to complete the project from start to finish: a sturdy hoop, the pre-printed fabric, the correct sizes and quantities of needles, pre-sorted embroidery floss, and comprehensive instructions. Missing even one of these components can stall your project before you have made your first stitch.
Products mentioned in this guide
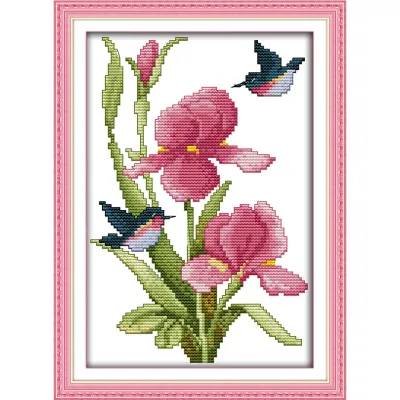
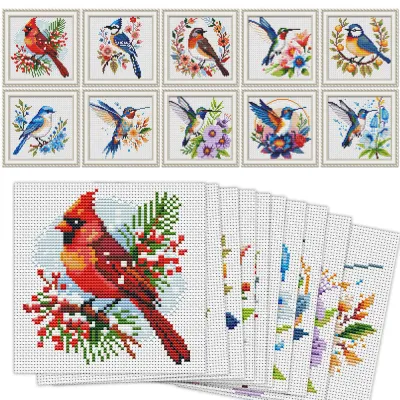
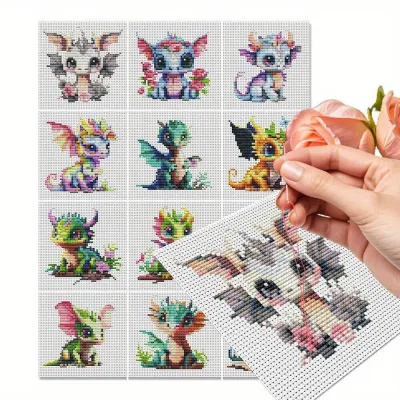
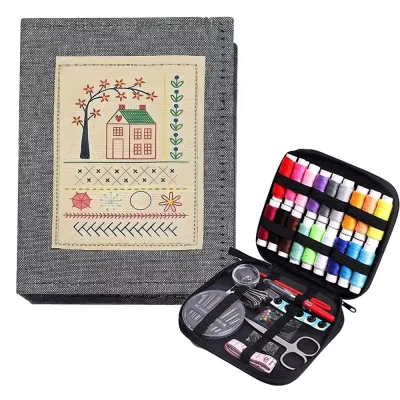
Prices are valid at publication and may change. Please refer to the product page for the latest price.
Beginner-friendly patterns are characterized by specific design choices that accommodate learning hands. Look for patterns that rely on simple, foundational stitches such as the backstitch, running stitch, satin stitch, and French knots. A beginner-friendly design will have clear boundaries and will not require highly complex shading or microscopic detail work. The best holiday kits feature festive motifs like minimalist Christmas trees, simple wreaths, or bold snowflake patterns that look impressive but are straightforward to execute.
Clear, accessible instructions are the backbone of any beginner kit. A high-quality kit will include a printed guide with step-by-step illustrations showing exactly how to perform each stitch required for the pattern. Many modern kits also feature a QR code that links to online video tutorials, which can be incredibly helpful for visual learners who need to see the physical movement of the needle and thread. Without these clear educational resources, even the simplest pattern can become a source of frustration.
Essential Components to Verify in a Complete Kit
Before purchasing any holiday embroidery kit, it is crucial to verify the quality and specifications of the physical components included. The hoop is the foundation of your work, holding the fabric taut as you stitch. For beginners, a hoop diameter of 15 cm to 20 cm is highly recommended, as it fits comfortably in the hand and does not require long, tiring reaches with the needle. Check that the hoop features an adjustable metal tension screw, which allows you to tighten the frame securely and prevent the fabric from slipping during long stitching sessions.

Needles are another critical component that must be suited to the project. A complete kit should include at least two embroidery needles, often referred to as crewel needles. These needles feature sharp points to pierce the fabric cleanly and elongated eyes to accommodate multiple strands of embroidery floss. Having more than one needle is essential, as small needles are easily misplaced in sofa cushions or craft baskets, and having a spare ensures your progress is not interrupted.
Thread organization can make or break your embroidery experience. Look for kits that provide pre-sorted embroidery floss attached to a labeled thread card. This card organizes the threads by color and matches them to the symbols or numbers on your pattern guide. Kits that arrive with loose, tangled skeins of thread require significant preparation time and increase the risk of using the wrong color in the wrong section of the design.
Finally, take note of any useful extras that might be included in the package. While not strictly mandatory, items like a small pair of embroidery scissors, a needle threader, and a piece of backing felt add immense value. Backing felt is particularly useful for beginners, as it allows you to neatly cover the messy reverse side of your finished embroidery, creating a clean, professional look if you choose to display the piece directly in its hoop.
Evaluating Fabric, Thread, and Pattern Complexity
The choice of fabric in a kit significantly influences how easy it is to stitch and how the final piece will look. Cotton canvas or linen blends are the preferred choices for beginner kits because they offer a stable, non-stretchy weave that holds its shape under tension. Many beginner-friendly kits feature patterns pre-printed directly onto the fabric using water-soluble ink. This is an excellent feature for novices, as it eliminates the difficult task of transferring a design manually, but it requires careful handling to ensure the ink does not smudge or disappear prematurely.
Thread quality is equally important for achieving a smooth, vibrant finish. Standard six-strand cotton embroidery floss is the industry benchmark because of its soft texture, subtle sheen, and ease of use. Cotton floss is designed to be split into individual strands; most beginner patterns will instruct you to use two or three strands at a time to control the thickness of your lines. Avoid kits that use low-grade synthetic threads, which are prone to fraying, static cling, and knotting, making the stitching process unnecessarily difficult.
Pattern density is a key factor in maintaining your motivation throughout the project. A dense pattern that requires solid blocks of satin stitching across the entire fabric can take dozens of hours to complete and can be physically tiring for a beginner. For your first holiday project, opt for designs with plenty of open space, where the fabric itself acts as the background. A simple wreath with delicate leaves and berries, or a festive phrase surrounded by scattered stars, offers a satisfying balance of progress and visual appeal without demanding endless hours of repetitive filling.
Where to Source Kits and What to Check Before Checkout
Finding the perfect holiday embroidery kit involves navigating various online marketplaces and craft retailers. When shopping on local e-commerce platforms in Singapore, it is important to look beyond the main product images, which are often idealized digital mockups. Scroll down to the customer review section and look for real unboxing photos uploaded by previous buyers. These photos will give you an accurate representation of the actual fabric color, the quality of the hoop, and whether the thread colors match the advertised design.
Always check the seller’s return and replacement policies before finalizing your purchase. Because these kits contain many small, individual components, there is always a minor risk of a missing needle or an insufficient amount of a specific thread color. A reputable seller or platform will offer a straightforward way to request a replacement or refund if your kit arrives incomplete or damaged. Avoid listings from sellers with low ratings or those who do not provide clear customer support channels.
Be cautious of listings that seem unusually cheap, as they often cut corners on material quality. A complete, high-quality beginner embroidery kit typically ranges from S$12 to S$30, depending on the size of the hoop and the complexity of the design. Extremely cheap kits may include flimsy plastic hoops that cannot hold fabric tension, or rough, synthetic threads that break easily. Investing a few extra dollars in a well-reviewed kit ensures a much more pleasant and successful crafting experience.
Additionally, pay close attention to shipping timelines, especially when purchasing seasonal items. If you plan to complete your embroidery project in time to display it for Christmas, or if you intend to give the finished piece as a holiday gift, factor in potential shipping delays during the busy year-end period. Ordering your kit well in advance ensures you have plenty of time to stitch at a relaxed, leisurely pace without the stress of a looming holiday deadline.
Preparing for Your First Christmas Stitching Session
Once your Christmas embroidery kit arrives, taking a few minutes to prepare your workspace and materials will set you up for a smooth, enjoyable stitching session. Begin by carefully reading through the instruction manual to familiarize yourself with the pattern, the color key, and the required stitches. If your kit uses water-soluble ink for the pre-printed pattern, remember to keep the fabric completely dry. Do not pre-wash the fabric, and avoid placing drinks nearby that could spill and erase your design guidelines.
Next, organize your embroidery floss. If the threads did not arrive pre-sorted, take the time to separate the colors and loop them through a cardboard organizer or place them in small, labeled bags. When you are ready to start stitching, pull a single length of thread (usually about 45 cm to 50 cm, or the distance from your fingertips to your elbow) and cut it cleanly. If the pattern calls for fewer than six strands, gently pull the required number of strands out one by one to prevent the thread from tangling.
Mounting your fabric in the hoop correctly is essential for maintaining even stitch tension. Loosen the screw on the outer hoop and separate the two rings. Place the inner ring on a flat surface, lay your fabric over it with the design centered, and press the outer ring down over the fabric and inner ring. Gently pull the edges of the fabric taut so that it is as tight as a drum skin, then tighten the tension screw securely. Regularly check the tension of your fabric as you stitch, as it may loosen slightly over time and require minor adjustments.
Frequently Asked Questions (FAQ)
Can I wash the finished embroidery if the pattern was pre-printed?
Yes, you can wash the finished piece, but only if the manufacturer’s instructions explicitly state that the pattern was printed using water-soluble ink. Once you have completed all of your stitching, submerge the embroidery in a bowl of cool or lukewarm water and let it soak for about 10 to 15 minutes. The blue or grey printed lines should dissolve completely without rubbing. Avoid using hot water or harsh chemical detergents, as these can cause the colors of the embroidery floss to bleed into the surrounding fabric. Gently rinse the piece, press it between two clean towels to remove excess water, and lay it flat to dry away from direct sunlight.
What should I do if the kit is missing a specific thread color?
If your kit arrives with a missing thread color or if you run out of a specific shade before finishing, the most direct solution is to contact the seller immediately. Provide them with your order details and unboxing photos showing the incomplete contents so they can send a replacement. If you are in a hurry to finish your project for the holidays, you can also take a small sample of the thread to a local craft store in Singapore. Most physical craft shops stock standard six-strand cotton embroidery floss from major brands, allowing you to easily find a matching shade by comparing the colors under natural light.
Are wooden hoops better than plastic ones for beginners?
Both wooden and plastic hoops have distinct characteristics, and the best choice often comes down to personal preference and how you plan to display your finished work. Wooden hoops, particularly those made of smooth bamboo or beechwood, offer a classic, rustic aesthetic that looks beautiful when used as a permanent frame for your finished Christmas design. They also provide a natural grip that holds fabric securely. Plastic hoops, on the other hand, often feature an interlocking ridge on the inside that prevents fabric slippage exceptionally well, making them highly practical for active stitching. Many beginners prefer to stitch using a sturdy plastic hoop and then transfer the finished piece to a wooden hoop for final display.

Community discussion
Share your experience or ask a question. Comments are reviewed before publication.