
Cone yarn offers an incredibly efficient way to tackle large-scale knitting projects, providing thousands of meters of continuous thread without the frequent joins required by standard skeins. However, because cone yarn is wound under industrial tension onto a rigid cardboard or plastic core, it behaves differently from traditional retail yarn balls. To work with this format successfully, you must establish a reliable system of tools designed to manage the unique way the yarn unwinds.
Without the proper equipment, pulling yarn from a heavy cone can lead to sudden tension spikes, collapsed yarn cakes, and frustrating tangles. The core toolkit for handling cone yarn consists of a stable cone holder, a high-capacity ball winder, and a dedicated tensioning guide. By pairing these tools correctly, you can prepare your yarn for smooth hand knitting or feed it directly into a knitting machine with consistent, trouble-free results.
Setting Up Your Cone: Pairing Holders and Winders
When preparing cone yarn for a project, the first step is often winding it into a manageable cake. This process requires pairing a sturdy, weighted cone holder with a high-capacity ball winder. A common issue during high-speed winding is the cone shifting, tipping, or sliding across your work surface. To prevent this, choose a yarn stand with a heavy non-slip base, or one that clamps securely to your table, ensuring the cone remains completely upright as the yarn is pulled upward.
Products mentioned in this guide
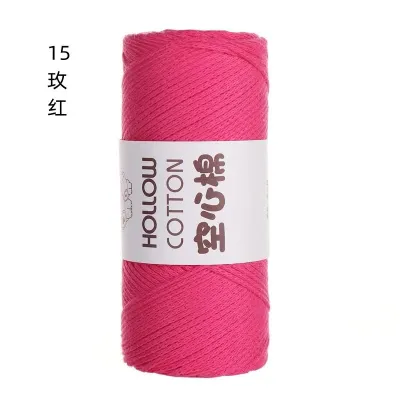
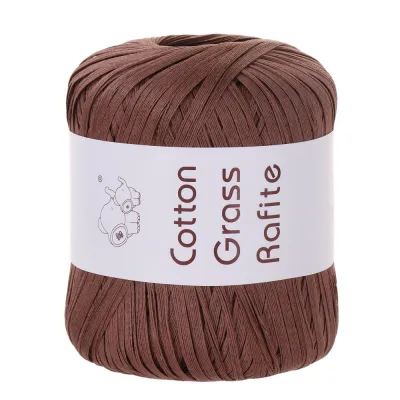
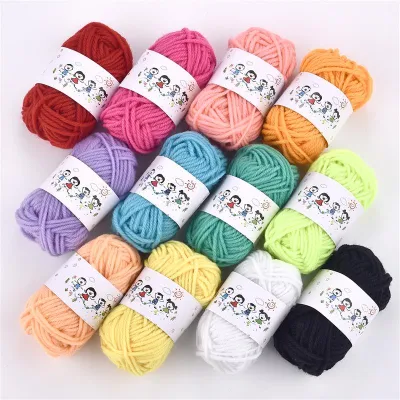
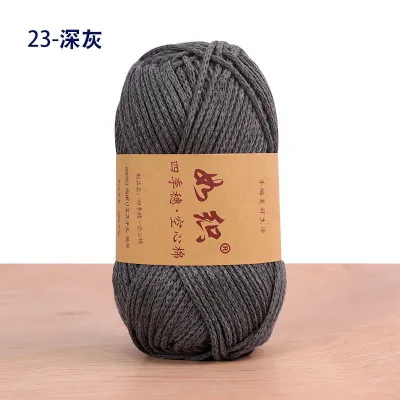
Prices are valid at publication and may change. Please refer to the product page for the latest price.
Between the cone holder and your ball winder, you should always position a thread guide or a tension mast. Pulling yarn directly from a cone to a winder at a sharp angle can cause the strand to catch on the top edge of the cone or wrap itself around the base. A tension mast lifts the yarn vertically off the top of the cone before directing it horizontally to the winder. This vertical lift mimics industrial textile setups, ensuring the yarn balloons off the cone smoothly and enters the winder at a consistent angle.
Before you begin winding, verify that your ball winder is compatible with the specific volume of yarn you plan to process. Check the winder’s core size and maximum capacity, as standard plastic winders often struggle with the sheer yardage of fine cone yarns, leading to jammed gears or tangled cakes. For large cones, a heavy-duty metal winder with nylon gears is generally more suitable. Ensure the winding speed is kept moderate and steady; rapid, uneven turning can cause the yarn to slip off the winder’s core, creating a tangled mess that is difficult to salvage.
Managing Yarn Flow: Tension Pairings for Hand Knitting
Hand knitters have two primary pathways when working with cone yarn: knitting directly from the cone or winding the yarn into a center-pull cake first. If you choose to knit directly from the cone, you must manage the yarn’s natural resistance as it unwinds. Pairing a floor-standing tension mast or a table-mounted yarn guide with your cone holder is essential here. This setup guides the yarn upward and over, preventing the heavy cone from rolling around the floor or creating sudden resistance that can distort your stitch gauge.

Alternatively, you can wind the cone yarn into a center-pull cake before you begin knitting. When knitting from a pre-wound cake, the cake itself provides a degree of natural tension as the yarn is pulled from the center. However, because cone yarns are often fine or slippery, the cake can collapse inward as it empties. To manage this, you can place the cake inside a yarn bowl or use a lightweight fabric yarn sleeve to keep the outer layers intact while you pull from the center.
Your choice of tension tools should also adapt to the specific fiber content and slipperiness of the yarn. For example, smooth, mercerized cotton or slippery silk blends slide through guides with very little friction, requiring a tension ring worn on your finger or a multi-loop guide to maintain an even gauge. Conversely, grabby wool or rustic linen yarns require minimal external tensioning, as their natural texture provides sufficient resistance. Always perform a quick gauge swatch to observe how the yarn behaves with your chosen tool combination before committing to a full project.
Machine Knitting Setup: Sequential Feeding and Tensioning
For machine knitting, managing yarn flow is even more critical, as the carriage moves at high speeds and cannot tolerate sudden tension changes. The standard feeding sequence must be strictly maintained: the yarn travels from the cone holder, up through the yarn mast, through the tension assembly, and finally into the machine carriage. Each step in this sequence plays a vital role in preventing dropped stitches, yarn breakage, or carriage jams.
When working with high-twist, sticky, or heavily sized cone yarns, you should conditionally pair a yarn waxer or a paraffin wax block with your tension unit. As the yarn passes through the tension discs, running it over a small block of wax applies a microscopic layer of lubrication. This simple step significantly reduces friction as the yarn glides through the machine’s needles, preventing static buildup and ensuring the carriage moves smoothly across the needle bed.
Before starting your machine, verify that the tension dial, spring, and disc settings are properly calibrated for the thickness of your cone yarn. Fine lace-weight yarns require a delicate touch with light tension spring settings, while thicker or multi-stranded yarns need firmer pressure from the tension discs to prevent loops from forming. Run a short test strip on your machine to observe the yarn feed; if you notice the tension wire dipping too low or snapping back violently, adjust the discs immediately to find the correct balance.
Tool Pairing Mistakes and Tangle Prevention
One of the most common mistakes when working with cone yarn is pairing a heavy, large-yardage cone with a flimsy, lightweight plastic stand. When the yarn is pulled quickly, the momentum can cause a light stand to tip over, leading to sudden tension spikes that can snap fine threads or damage your knitting machine’s carriage. Always ensure your cone holder is heavy enough to withstand the pull, or secure it to your work surface using a sturdy C-clamp.
Another frequent error is over-winding, which leads to collapsed yarn cakes. If you attempt to wind more yarn onto a cake than your winder’s spindle is designed to hold, the outer layers will slip off the edges, trapping the inner strands and causing severe tangles. To prevent this, monitor the size of the cake as you wind, and split large cones into multiple smaller cakes if necessary. Keep your winding speed consistent, as sudden bursts of speed can cause uneven density within the cake, leading to collapses later on.
Finally, regularly inspect all guides, masts, and tensioners for any signs of wear. Over time, metal guides can develop tiny rough edges, burrs, or rust, while plastic guides can get grooved by high-speed yarn friction. These imperfections can snag delicate, loosely spun, or multi-ply cone yarns, causing them to fray or break mid-project. Run your fingers along all contact points before threading your yarn, and replace any damaged components immediately to ensure a smooth, uninterrupted knitting experience.
Frequently Asked Questions (FAQ)
Can I knit directly from a large cone without winding it into a ball?
Yes, you can knit directly from a large cone, provided you use a stable cone holder and a vertical thread guide or tension mast. The guide is necessary to lift the yarn cleanly off the top of the cone, preventing it from catching on the cone’s rim or wrapping around the base. While direct knitting saves time, winding the yarn into a center-pull cake first is often preferable for hand knitting, as it makes the project highly portable and ensures more consistent tension throughout your work.
Is a yarn tensioner necessary for hand knitting with cone yarn?
A dedicated yarn tensioner is not strictly mandatory for hand knitting, but it is highly recommended when working directly from a cone. Because cone yarn does not have the natural give of a traditional skein, an external tensioner—such as a tension ring or a guide mast—helps maintain an even stitch gauge. If you choose to wind the cone yarn into a center-pull cake first, you can often skip the external tensioner, as the structure of the pre-wound cake naturally regulates the tension as you pull from the center.

Community discussion
Share your experience or ask a question. Comments are reviewed before publication.