
Beginning your journey into architectural sketching in Singapore requires a deliberate shift from freeform artistic drawing to structured, precise spatial representation. To translate three-dimensional structures onto a flat page, you need a reliable toolkit consisting of technical graphite pencils, waterproof fineliners, and neutral rendering markers. Because Singapore’s high relative humidity can affect how paper absorbs moisture and how ink dries, selecting tools with stable, quick-drying properties is essential for keeping your work clean and smudge-free. By focusing on the functional characteristics of each tool—such as lead hardness, ink composition, and paper compatibility—you can build a highly effective starter kit that supports your developing technical skills without unnecessary expense.
Understanding Architectural Sketching Requirements
Architectural sketching serves a very different purpose than general fine art drawing, focusing primarily on structural accuracy, spatial relationships, and three-dimensional volume rather than purely expressive form. As a beginner, your primary goal is to communicate scale, proportion, and depth clearly so that a viewer can instantly understand the physical reality of a designed space. This requires a disciplined approach to line work, where every stroke on the paper represents a physical edge, a plane change, or a shadow boundary. Developing an eye for these structural elements is the foundation of architectural thinking, and your choice of tools must directly support this need for precision and clarity.
A fundamental concept you must master early on is the line weight hierarchy, which is the practice of using different line thicknesses to convey depth and spatial order. In an architectural sketch, lines that are closer to the viewer or represent major structural cuts are drawn with thick, bold strokes, while distant objects, surface textures, and material patterns are rendered with thin, delicate lines. Without a clear hierarchy of line weights, a drawing will appear flat, confusing, and difficult to interpret. Your sketching tools must therefore allow you to easily vary line widths, whether through a collection of different fineliner nib sizes or by adjusting the pressure and angle of a graphite pencil.
Products mentioned in this guide
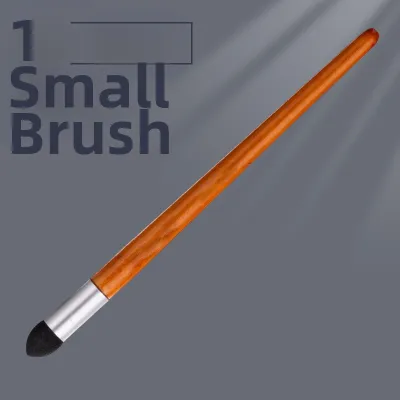
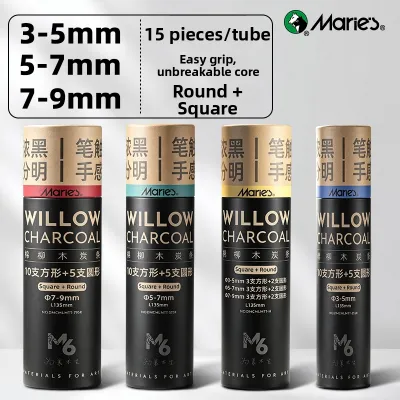

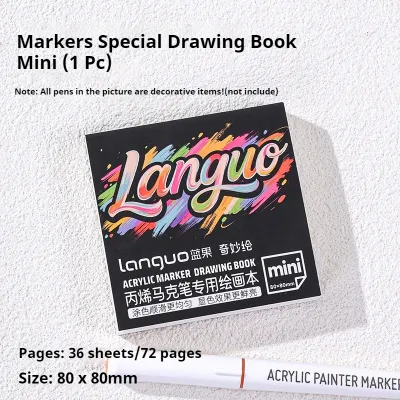
Prices are valid at publication and may change. Please refer to the product page for the latest price.
The typical architectural sketching workflow moves systematically from loose, exploratory layouts to highly detailed, rendered presentations. You will generally begin by using a light graphite pencil to block out perspective grids, vanishing points, and basic geometric volumes, allowing you to correct proportions before committing to permanent ink. Once the underlying structure is accurate, you transition to technical fineliners to trace the final outlines, establish the line weight hierarchy, and add fine architectural details like window frames, brickwork, or foliage. Finally, you apply tonal rendering using markers or soft graphite to introduce light, shadow, and material textures, bringing depth and realism to the completed composition.
In Singapore’s tropical climate, environmental factors play a surprisingly significant role in how your sketching tools perform on paper. High humidity levels can cause standard paper fibers to expand and absorb moisture from the air, which can lead to increased ink feathering, slower drying times, and a higher risk of smudging as your hand moves across the page. Understanding how your pens, pencils, and markers interact with different paper types under these local conditions is crucial. By selecting moisture-resistant papers and quick-drying, pigment-based inks, you can ensure that your architectural sketches remain crisp, sharp, and professional, regardless of the weather.
Essential Graphite and Lead Pencils for Structural Lines
For the initial drafting and perspective-blocking phases of an architectural sketch, graphite pencils are indispensable tools that offer flexibility and ease of correction. Traditional wooden graphite pencils are categorized by a grading system that ranges from hard (H) to soft (B), with HB representing the medium standard. Harder leads, such as H or 2H, deposit less graphite on the paper, resulting in light, thin lines that are incredibly easy to erase without leaving dark ghost marks or damaging the paper surface. These hard grades are ideal for drawing initial perspective guidelines, horizon lines, and structural grids that will eventually be inked over or erased.

Conversely, softer graphite grades, such as B, 2B, or 4B, contain more clay-to-graphite ratios that allow them to glide smoothly across the paper, producing dark, rich lines and deep shadows. While soft pencils are excellent for quick, expressive ideation sketches and rapid tonal shading, they are highly prone to smudging under the friction of your hand, especially on paper that has absorbed ambient moisture. As a beginner, keeping a balanced selection of wooden pencils—specifically an H lead for construction lines and a 2B lead for bold, loose conceptual sketching—provides a versatile foundation for any drawing project.
While wooden pencils are excellent for expressive work, mechanical pencils and clutch pencils are the preferred choices for technical precision and consistent line widths. Mechanical pencils, typically utilizing thin leads in standard diameters like 0.3mm, 0.5mm, or 0.7mm, require no sharpening and maintain a constant line width from the first stroke to the last. This consistency is vital when drawing precise architectural details, scale annotations, or clean hatching patterns. Clutch pencils, or lead holders, use thicker 2.0mm leads that can be sharpened to a fine point using a lead pointer, offering a hybrid experience that combines the structural feel of a wooden pencil with the refillable convenience of a mechanical drafting tool.
When selecting lead hardness for your mechanical or clutch pencils, you must evaluate how the lead interacts with the specific tooth, or texture, of your sketching paper. Highly textured paper wears down graphite leads quickly, requiring frequent advancement of mechanical lead and increasing the risk of graphite dust smudging your work. For smooth cartridge paper or layout paper, a standard HB or F lead strikes the perfect balance, offering sufficient darkness for visibility while remaining hard enough to resist smudging during the drafting process. Always perform a quick test on a scrap piece of your chosen paper to verify how cleanly the lead erases, ensuring that your final ink drawings will not be marred by stubborn pencil lines.
Fineliner Pens and Technical Markers for Detailing
Once your pencil layout has established the correct proportions and perspective, fineliner pens are used to ink the final lines, bringing permanent structure and sharp definition to your architectural sketch. Technical fineliners feature durable, plastic-collared fiber tips that protect the delicate nib from bending under drawing pressure, ensuring a consistent flow of ink. These pens are available in a wide range of precise nib sizes, typically designated in millimeters, allowing you to establish a clear line weight hierarchy across your drawing.
To build a versatile detailing toolkit, a beginner should select a range of three distinct nib sizes, such as 0.1mm, 0.3mm, and 0.5mm or 0.8mm. The ultra-fine 0.1mm nib is perfect for drawing distant background elements, delicate material textures like wood grain or brick joints, and subtle hatching for light shadows. The medium 0.3mm nib serves as your workhorse tool, ideal for drawing general structural outlines, mid-ground objects, and standard architectural features. The thick 0.5mm or 0.8mm nib is reserved for foreground elements, heavy ground plane lines, and section cuts where a bold, high-contrast boundary is required to separate the building from the surrounding space.
The chemical properties of the ink inside your fineliners are just as important as the nib size, particularly when it comes to preventing smudges and ensuring compatibility with other rendering media. You should prioritize fineliners that use pigment-based, waterproof, and archival inks rather than dye-based formulas. Pigment inks consist of tiny solid particles that sit on top of the paper fibers and dry quickly, making them highly resistant to water and light fading. In Singapore’s humid environment, a quick-drying formula is essential to prevent the ink from smearing as your hand glides across the page during long drawing sessions.
Furthermore, verifying ink compatibility with marker overlays is a critical step before starting any multi-media architectural rendering. If you plan to shade your sketch using alcohol-based or water-based markers, the underlying fineliner ink must be completely waterproof and solvent-resistant once dry. If the ink is incompatible, the solvent in the markers will dissolve the dried pen lines, causing them to bleed, feather, or lift, which ruins the clean details of your drawing. To avoid this, always conduct an observable trial on a scrap piece of your specific paper: draw a series of lines, let them dry for at least five minutes, and then run your rendering marker directly over them to check for any bleeding or smudging.
Markers for Shading, Depth, and Material Rendering
Markers are highly effective tools for adding tonal depth, shadow, and material realism to architectural sketches, transforming a simple line drawing into a convincing three-dimensional representation. By applying varying tones of grey and selective color washes, you can define light sources, indicate different material surfaces like concrete, glass, or timber, and create a sense of atmospheric depth. For beginners, understanding the functional differences between alcohol-based and water-based markers is key to selecting the right rendering medium for your workflow.
Alcohol-based markers are widely considered the industry standard for architectural rendering because they dry almost instantly and allow for incredibly smooth, streak-free color blending. The alcohol solvent evaporates rapidly, allowing you to layer multiple tones to build up depth without oversaturating or warping the paper fibers. Water-based markers, on the other hand, dry more slowly and can cause standard sketching paper to pill, warp, or tear if you apply too many layers in one area. However, water-based options are highly controllable and can be used to create soft, textured washes that mimic watercolor effects, making them suitable for more artistic, loose architectural presentations.
When starting out, avoid the temptation to purchase large, expensive multi-color marker sets, which often contain vibrant, highly saturated colors that are rarely used in professional architectural drawings. Instead, build a highly functional, minimal starter palette focused on neutral tones that reflect common building materials and environmental elements. A highly recommended starter set consists of three to four neutral greys of varying intensities (such as a 10%, 30%, and 50% grey) to render realistic shadows and concrete surfaces. You can complement these greys with a single warm earth tone (such as a light sand or warm brown) for timber elements, and a single cool blue or teal tone to represent glass reflections and water features.
Because rendering markers deposit a significant volume of liquid ink onto the page, checking for marker bleed-through is essential to preserve your sketchbook and maintain clean drawings. Alcohol-based inks will easily penetrate standard, lightweight copy paper (80 gsm), staining the pages underneath and causing the edges of your colored areas to feather uncontrollably. To prevent this, you should pair your markers with high-density, bleed-proof marker layout paper or heavy mixed-media paper with a weight of at least 150 gsm to 200 gsm. If you are working in a standard sketchbook, always place a thick backing sheet of scrap cardstock or plastic directly behind your active drawing page to catch any ink that bleeds through.
Building a Balanced Starter Toolkit
Assembling your first architectural sketching toolkit does not require a massive financial investment; instead, a phased purchasing approach allows you to acquire high-quality, essential tools as your skills progress. For your initial learning phase, allocate a modest budget of approximately S$15 to S$30 to secure your core drawing instruments. This initial budget should cover a reliable mechanical pencil (such as a 0.5mm model) with a pack of HB lead refills, a high-quality polymer eraser that leaves minimal residue, and two pigment-based fineliners in 0.1mm and 0.5mm sizes. This basic setup is more than sufficient for mastering perspective, line weight hierarchy, and clean detailing.
Once you feel comfortable with your line work and wish to explore tonal rendering, you can transition to the second phase of your toolkit expansion, allocating an additional S$30 to S$60. This phase should focus on purchasing a small, curated selection of three alcohol-based grey markers (light, medium, and dark) and a dedicated sketchbook featuring heavy, bleed-resistant paper. By spreading your purchases over time, you avoid spending money on specialized tools or large color sets that you may not yet know how to use effectively, ensuring that every dollar spent directly supports your current stage of learning.
Matching your tool selection with the appropriate paper weight and texture is just as critical as the quality of the tools themselves. For technical architectural sketching, smooth-textured paper (often referred to as hot-press or smooth cartridge paper) is highly recommended because it allows fineliner nibs to glide effortlessly without catching, resulting in clean, unbroken lines. Textured papers (such as cold-press watercolor paper) are excellent for expressive graphite or charcoal sketches but can cause fine technical pen tips to wear down prematurely and make precise detailing difficult. Always verify that your sketchbook binding allows the pages to lay completely flat, which is essential for drawing long, straight perspective lines comfortably.
Before finalizing any tool purchase at a local stationery shop or online marketplace, use a simple verification checklist to ensure long-term usability and value. First, test the ergonomics of the pens and pencils, ensuring they feel comfortable in your hand during extended drawing sessions. Second, check that the caps of fineliners and markers snap shut securely with a firm click, which is vital for preventing the ink from drying out in Singapore’s warm climate. Finally, verify the local availability of consumables, such as lead refills, replacement eraser blocks, and refillable ink options for your markers, ensuring that you can easily maintain your toolkit without having to replace entire pens when they run out.
Frequently Asked Questions (FAQ)
How do I prevent fineliner pens from skipping or drying out?
To maximize the lifespan and performance of your technical fineliners, always store them horizontally when not in use, which keeps the pigment ink evenly distributed across the length of the pen and prevents the fiber tip from becoming oversaturated or starved of ink. Ensure that you press the cap on firmly until you hear a distinct click after every drawing session, as even brief exposure to the air can cause the quick-drying ink to clog the delicate nib. If a fineliner begins to skip, avoid pressing down harder, which can bend or split the plastic-collared tip; instead, gently wipe the nib with a damp, lint-free cloth or scribble lightly on a piece of scrap paper to draw the fresh ink forward.
Can I use standard sketching paper for architectural marker rendering?
Standard sketching paper, which typically ranges from 80 gsm to 110 gsm, is generally too thin and absorbent for heavy architectural marker rendering, as the alcohol or water solvent will quickly saturate the fibers, causing severe bleed-through and feathering along your line edges. For clean, professional rendering, you should use dedicated marker layout paper, which features a special barrier coating on the back of each sheet to prevent ink penetration, or heavy mixed-media paper of at least 150 gsm. If you must use a standard sketchbook, always place a protective backing sheet—such as a piece of heavy cardstock or a thin sheet of plastic—directly behind your drawing page to absorb any excess ink and protect the clean pages underneath.

Community discussion
Share your experience or ask a question. Comments are reviewed before publication.