
Selecting an LED writing board—often referred to as a light pad or drafting light box—for professional architectural drawing requires moving past entry-level hobbyist models. For architects, structural engineers, and design professionals, a light board is not merely a tracing tool but a precision instrument that must support heavy technical pens, maintain absolute dimensional stability, and project uniform light through thick media like vellum or heavy bond paper. Choosing the right board involves evaluating structural rigidity, light consistency, and ergonomic integration into a dedicated drafting workspace.
Modern LED technology has largely replaced the bulky, fluorescent light boxes of the past, offering slimmer profiles and more energy-efficient operation. However, this shift has also introduced a wide variance in build quality, surface durability, and light quality. To ensure your investment supports professional-grade work, you must look closely at how these devices perform under the rigorous demands of technical drafting.
Key Evaluation Criteria for Architectural Drafting
When evaluating an LED writing board for architectural use, the hardness and texture of the drawing surface are paramount. Technical pens with steel or tungsten carbide nibs, as well as hard drafting pencils ranging from 2H to 6H, exert highly concentrated pressure on the board. A soft acrylic or cheap plastic surface will easily scratch, creating microscopic grooves that can permanently derail future pen strokes and ruin delicate tracing paper. Professional-grade boards typically feature tempered glass or high-density, scratch-resistant acrylic surfaces that resist gouging and maintain a perfectly smooth glide.
Products mentioned in this guide
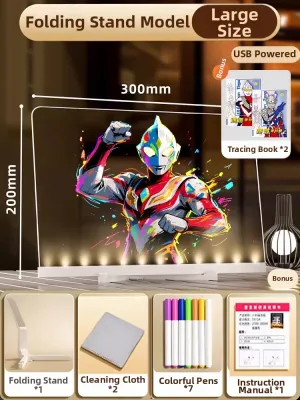
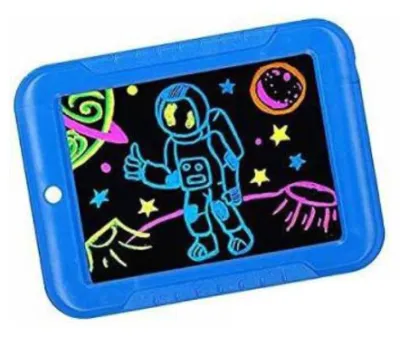
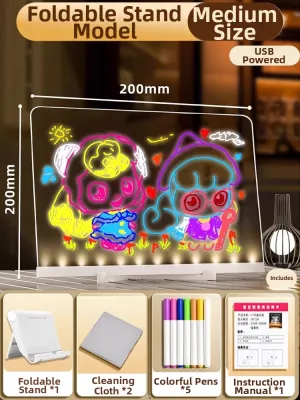
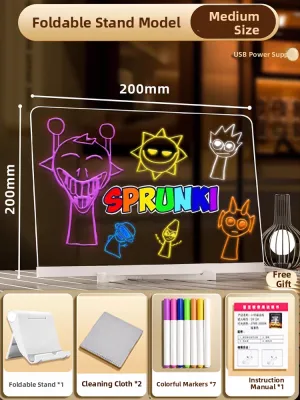
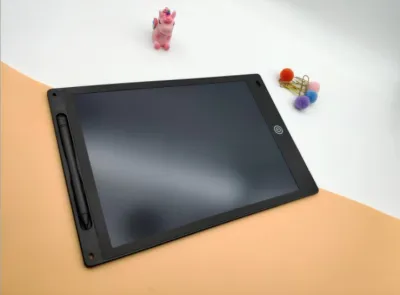
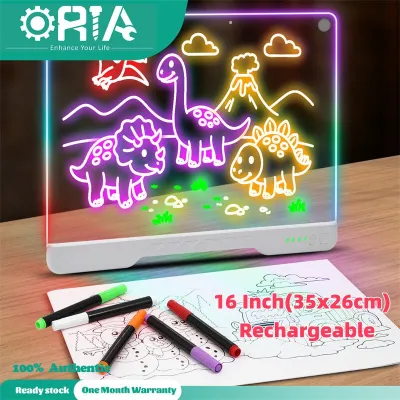
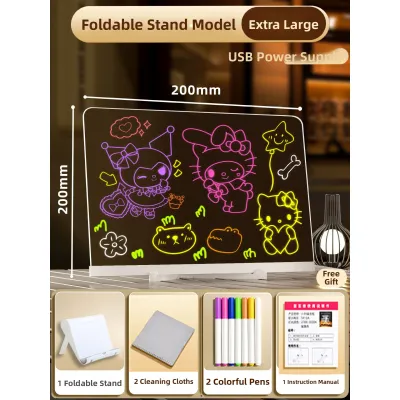

Prices are valid at publication and may change. Please refer to the product page for the latest price.
Illumination uniformity and adjustable brightness are equally critical when working with layered media. Tracing over heavy vellum, thick tracing paper, or multi-layered construction documents requires high lux output to penetrate the fibers without washing out fine details. The light must be distributed evenly across the entire active area; cheap boards often suffer from hot spots near the LED strips and dim zones in the center. Furthermore, look for boards that offer stepless dimming or a wide range of adjustable brightness levels to prevent eye strain when switching between thin layout paper and dense cardstock.
Dimensional accuracy and edge alignment are the final cornerstones of a professional drafting board. The physical edges of the light board must be perfectly straight and square to act as a reliable guide for T-squares, parallel rules, or drafting triangles. Many professional boards feature integrated ruler markings along the borders. These markings must be verified for accuracy against a calibrated metal rule, ensuring that any quick measurements taken directly on the board align perfectly with your scale rulers.
Comparing Build Quality and Illumination Features
The structural integrity of an LED writing board is heavily influenced by its frame material. Aluminum alloy frames offer superior rigidity compared to molded plastic, preventing the board from flexing when you lean on it during long drafting sessions. Aluminum also acts as an efficient heat sink, drawing heat away from the internal LEDs. This thermal management is crucial, as excess heat can cause the drawing surface to expand unevenly, leading to paper buckling or adhesive failure on your drafting tape.

To help you evaluate the physical construction and light output configurations of different board designs, the table below contrasts the two primary LED configurations used in modern light boards:
| Feature | Edge-Lit LED Configuration | Direct-Lit LED Configuration |
|---|---|---|
| Board Thickness | Ultra-slim profile (typically 5mm to 8mm), ideal for flush desk integration. | Thicker profile (often 15mm or more) to allow light diffusion space. |
| Heat Generation | Low and concentrated at the frame edges; drawing surface remains cool. | Moderate across the entire surface; requires efficient ventilation. |
| Illumination Uniformity | Highly dependent on the quality of the light guide plate; can dim slightly in the center. | Inherently uniform across the entire active area due to direct backlighting. |
| Structural Rigidity | Often relies on thin materials; requires a metal backing to prevent flexing. | Naturally more rigid due to the deeper box frame construction. |
Color temperature and Color Rendering Index (CRI) specifications are vital for accurate color proofing and rendering. When tracing layered media or applying colored markers and inks, the light source must not distort your color perception. Look for boards specifying a neutral color temperature resembling natural daylight (around 5000K to 6500K) and a high CRI of 90 or above. This ensures that color-coded structural elements, plumbing lines, and electrical layouts remain distinct and true to their actual hues.
Assessing Power Options and Workspace Integration
Power configurations significantly impact both desk cable management and mobility. USB-powered boards (utilizing USB-C or Micro-USB connections) offer excellent flexibility, allowing you to power the unit from a laptop, a portable power bank, or a standard wall adapter. However, high-lux professional boards often require direct AC plug power to deliver the consistent, high-intensity illumination needed to penetrate thick vellum. Battery-operated models provide excellent mobility for site visits but can suffer from voltage drops, causing the light to dim gradually as the battery drains.
Ergonomics play a major role in preventing wrist and neck strain during extended drawing sessions. An ultra-slim board with beveled edges allows your wrists to transition smoothly from the desk surface to the drawing area, reducing pressure points. If a board has a thick, sharp edge, it can restrict blood flow and cause discomfort. Some boards feature built-in tilt stands or adjustable feet, which help you achieve an optimal drawing angle and reduce glare from overhead studio lighting.
Integrating the board into your existing workspace requires careful measurement. If you use a traditional drafting table, check whether the light board can fit flush within a desk cutout or if it needs to sit on top of the parallel rule. For modern digital-analog hybrid studios, some light boards feature VESA-compliant mounting holes on the back, allowing you to attach the board to an adjustable monitor arm for quick positioning and easy storage when not in use.
How to Verify Brand Claims and Product Specifications
Manufacturers often advertise high lumen or lux ratings that may not reflect real-world performance. You can verify these claims by using a dedicated lux meter or a calibrated smartphone light meter app. Measure the light output at the center of the board and compare it to measurements taken at the four corners. A professional-grade board should show minimal brightness drop-off—ideally less than 15%—across the entire active surface, ensuring consistent visibility regardless of where you are drawing.
To test the scratch resistance of the drawing surface without risking damage to your main working area, perform a localized scratch test in a small, discrete corner of the board. Use your hardest drafting pencil (such as a 4H or 6H lead) and a standard technical pen, applying moderate drafting pressure. Inspect the area under an angled light source to check for micro-scratches or indentations. If the surface shows visible grooves from standard drafting tools, it may not hold up to long-term professional use.
Before committing to a purchase, review the manufacturer’s warranty terms and the availability of replacement parts. Because LEDs and power regulators can fail over time, ensure the brand offers reliable customer support. Verify if replacement diffusers, proprietary power adapters, or protective carrying sleeves are readily available for purchase in Singapore. Having local access to spare parts prevents lengthy project delays if a component needs replacement.
Decision Framework: Matching Board Features to Drafting Needs
To choose the right LED writing board, you must match its specifications to your primary workflow, media choices, and workspace environment.
If you work primarily at a fixed studio desk tracing heavy vellum or multi-layered construction documents, prioritize a high-lux, AC-powered board with a rigid aluminum frame. The constant power supply ensures maximum brightness, while the rigid frame prevents any flexing when using heavy parallel rules or drafting machines. This setup maximizes precision and durability for intensive daily use.
If you frequently travel to job sites, client consultations, or split your time between a home office and a commercial studio, a slim, USB-powered light pad is highly practical. Look for a model that includes a protective carrying sleeve and can run efficiently off a standard portable power bank. This ensures you can review and trace plans on-site without needing to hunt for an available electrical outlet.
Finally, verify if you require specialized surface textures for specific ink types, or if the board will double as a base for digital tablet overlays. If you plan to use specialized inks or markers, ensure the surface material is compatible and will not degrade if exposed to mild cleaning solvents. For hybrid digital-analog workflows, ensure the board’s surface has non-slip properties or can accommodate low-tack drafting tape without leaving a permanent residue.
Frequently Asked Questions (FAQ)
Can I use a standard LED writing board for digital tablet overlays?
Yes, but you must exercise caution regarding weight limits and heat dissipation. Placing a heavy digital drawing tablet on a thin acrylic light board can cause the surface to flex or crack. Furthermore, both the tablet and the LED board generate heat during operation; stacking them can restrict airflow, potentially leading to thermal throttling or battery degradation in your digital device. Always ensure the light board is rated to support the weight and has adequate ventilation.
Does the LED light source degrade over time and affect tracing accuracy?
All LEDs experience gradual lumen depreciation over thousands of hours of use, which can slowly reduce the maximum brightness of your board. Additionally, lower-quality LEDs may undergo a color shift over time, turning slightly yellow or blue. While this degradation rarely affects physical tracing accuracy, it can compromise color proofing and rendering work. To maintain accuracy, monitor the board for uneven dimming and consider replacing the unit if the color temperature shifts noticeably.

Community discussion
Share your experience or ask a question. Comments are reviewed before publication.