
Selecting your first oil painting colour set is a pivotal step in your artistic journey, but walking into an art supply store or browsing online marketplaces can quickly become overwhelming. With hundreds of individual tubes, varying grades, and complex pigment names on display, it is easy to make purchases that complicate your learning process rather than support it. For those starting out, the most effective approach is to begin with a highly curated, limited palette of six to eight essential colours. This structured selection provides a solid foundation for mastering colour theory, prevents muddy mixtures, and keeps your initial investment manageable.
By focusing on a small, versatile group of paints, you can develop a deep understanding of how pigments interact before introducing more complex hues. A thoughtful starter set should feature a balanced mix of warm and cool primary colours, a few indispensable earth tones, and a substantial tube of white paint. Understanding how to evaluate these sets based on pigment quality, tube volume, and grade will ensure you choose a collection that matches your current skill level and budget.
Why a Limited Palette is Best for Beginners
When learning to paint with oils, managing the physical properties of the medium—such as drying times, blending, and paint application—requires significant concentration. Introducing a massive array of pre-mixed colours adds unnecessary cognitive load to this process. When faced with twenty different tubes on a palette, beginners often struggle to decide which colour to reach for, leading to hesitation and frustration. A limited palette simplifies these choices, allowing you to focus on form, value, and brushwork.
Products mentioned in this guide
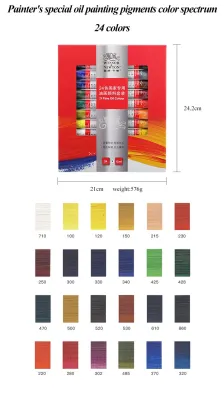
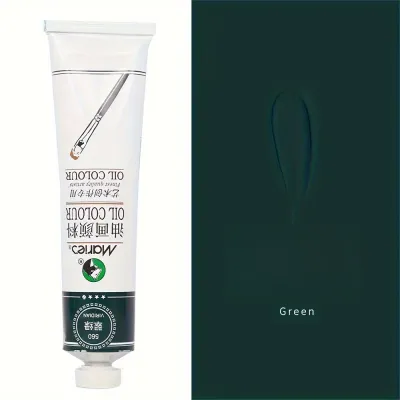
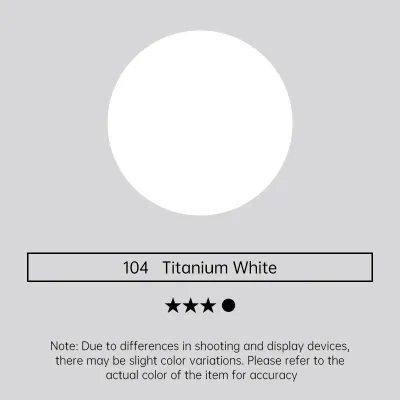
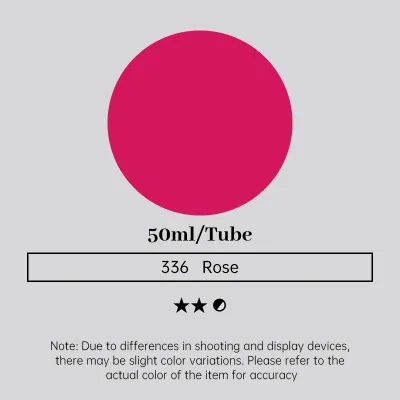
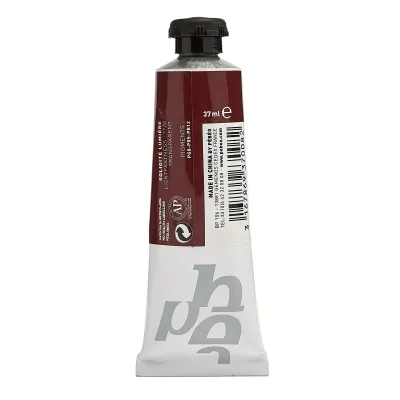
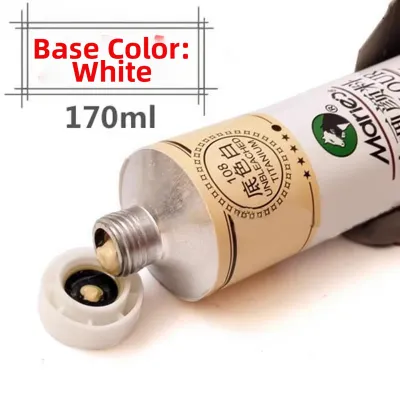
Prices are valid at publication and may change. Please refer to the product page for the latest price.
Working with fewer colours forces you to practice the fundamentals of colour theory. Instead of reaching for a pre-mixed green tube when painting foliage, you must learn to mix your own greens using various combinations of yellow and blue. This hands-on mixing practice builds an intuitive understanding of colour temperature, value, and chroma that cannot be replicated by using pre-mixed convenience colours. Over time, you will learn exactly how to shift a mixture to make it warmer, cooler, brighter, or more muted.
Another major risk of using too many pre-mixed colours is the accidental creation of muddy mixtures. Many convenience paints sold in larger sets are formulated using multiple pigments. When you mix two or three multi-pigment paints together, you are actually combining five or six different chemical pigments on your canvas. Because of subtractive colour mixing, this high number of pigments absorbs more light, resulting in dull, greyish-brown, or “muddy” tones. A limited palette of single-pigment paints ensures your mixtures remain vibrant, clean, and predictable.
Essential Colours to Look for in a Beginner Set
A highly functional beginner oil paint set should be built around a split-primary palette. This system includes both a warm and a cool version of each primary colour: red, yellow, and blue. Having both temperatures of each primary allows you to mix clean, vibrant secondary colours (orange, green, and purple) without them turning dull. For example, mixing a cool blue with a cool yellow yields a bright, vivid green, while mixing a warm blue with a warm yellow produces a more muted, olive-toned green.

When evaluating starter sets, look for these specific primary variations:
- Yellows: A warm yellow (such as Cadmium Yellow Medium Hue) and a cool yellow (such as Lemon Yellow or Cadmium Yellow Light Hue).
- Reds: A warm red (such as Cadmium Red Hue or Vermilion Hue) and a cool red (such as Alizarin Crimson or Quinacridone Magenta).
- Blues: A warm blue (such as Ultramarine Blue) and a cool blue (such as Phthalo Blue or Cerulean Blue Hue).
In addition to the split primaries, a beginner set must include essential earth tones. Earth pigments are incredibly useful for establishing the underpainting, toning down overly bright mixtures, and painting natural landscapes or skin tones. The two most critical earth tones to look for are Yellow Ochre, a warm, muted yellow-gold, and Burnt Sienna, a rich, reddish-brown. When mixed together with Ultramarine Blue, Burnt Sienna can also create a beautiful range of deep greys and chromatic blacks.
Titanium White is the final, indispensable component of any starter set. Because oil paint is an opaque medium, you will use white in almost every mixture to adjust the value and opacity of your paint. It is highly recommended to choose a set that features a significantly larger tube of Titanium White than the other colours, or to purchase an extra, individual large tube of white alongside your set. Conversely, beginners should generally avoid using pre-mixed black paint from the tube, as it can easily overpower mixtures and make them look flat; learning to mix dark neutrals from blue and brown yields much more lively results.
Key Factors When Evaluating Oil Paint Sets
To ensure you are buying a quality product, you must look beyond the brand name on the front of the box and examine the technical details on the back of the tubes. The first factor to evaluate is the pigment load versus the presence of fillers. Professional paints consist almost entirely of pure pigment and a drying oil binder, whereas cheaper sets often contain synthetic fillers and stabilizers to stretch the paint. You can verify this by looking for the pigment codes on the label, which are formatted with letters and numbers (such as PW6 for Titanium White or PB29 for Ultramarine Blue). Sets that list single pigments per tube will offer much cleaner mixing capabilities than those listing multiple pigments.
Tube volume distribution is another practical consideration. Many budget-friendly starter sets package all colours in identical tube sizes, typically 12ml or 21ml. While a 21ml tube of a strong staining colour like Phthalo Blue can last for months, a 21ml tube of Titanium White can easily be depleted in a single painting session. When comparing sets, look for those that offer a larger volume of white paint, or budget to buy a separate 60ml or 150ml tube of white to supplement your starter kit.
Lightfastness ratings indicate how resistant a paint is to fading or changing colour when exposed to light over time. This rating is typically printed on the tube using standard classification codes. The American Society for Testing and Materials (ASTM) rates lightfastness from ASTM I (Excellent) to ASTM III (Fair/Poor). Alternatively, some manufacturers use a star rating system, where three or four stars represent the highest permanence. For long-lasting artwork, ensure the paints in your chosen set carry an ASTM I or II rating, or the manufacturer’s equivalent top-tier rating.
Finally, verify the compatibility of the paint set with standard oil painting mediums and solvents. Traditional oil paints are bound in drying oils like linseed, safflower, or walnut oil, and they require artist-grade solvents (such as odorless mineral spirits) for thinning and cleanup. Ensure the set you select is not labeled as “water-mixable” or “water-soluble” unless you specifically intend to use a water-based cleanup workflow, as mixing traditional oils with water-mixable oils can compromise the handling and drying characteristics of both mediums.
Student-Grade vs. Professional-Grade: What Beginners Need
Oil paints are broadly categorized into two quality tiers: student-grade and professional-grade (sometimes called artist-grade). The most immediate difference between these two categories is the cost. In Singapore, a basic student-grade starter set of six to eight tubes typically ranges from S$20 to S$60, making it highly accessible for those who want to try the medium without a major financial commitment. In contrast, a professional-grade set of the same size can easily range from S$150 to over S$300, as these paints use genuine, expensive pigments like real cobalt and cadmium.
Beyond price, the primary difference lies in pigment concentration and formulation. Student-grade paints contain lower concentrations of pigment and a higher proportion of binders and fillers. To keep costs low, manufacturers also substitute expensive natural pigments with synthetic alternatives, which are labeled with the word “Hue” (for example, “Cadmium Yellow Hue”). While these hues are safe, affordable, and excellent for practice, they generally have lower tinting strength, meaning you will need to use more paint to achieve the same intensity of colour on your canvas.
Consistency and handling characteristics also vary between the two grades. Professional-grade paints tend to have a rich, buttery consistency that holds brushstrokes beautifully, and the texture remains relatively consistent across different colours. Student-grade paints can sometimes feel slightly oily, stiff, or inconsistent from tube to tube, with some colours feeling chalky due to the added fillers. However, modern student-grade paints from reputable manufacturers have improved significantly and are more than adequate for learning the basic techniques of blending, layering, and brush control.
For most beginners, starting with a high-quality student-grade set is the most practical choice. It allows you to paint freely and make mistakes without worrying about the cost of the materials you are using. As you gain confidence and identify which colours you use most frequently, you can gradually upgrade those specific tubes to professional-grade. Upgrading your Titanium White and your primary blues first is a cost-effective way to experience the superior tinting strength of professional paints without replacing your entire collection at once.
How to Build Your Shortlist of Beginner Sets
To find the right oil paint set for your needs, you can follow a simple, step-by-step framework to filter the options available at your local art supply store or online marketplace. This systematic approach ensures you do not end up with a set that is either too limited to be useful or filled with unnecessary extras that inflate the price.
First, verify the colour list of the set against the split-primary requirements. Look closely at the names of the paints included in the kit. If a set contains twelve tubes but includes three different shades of green, two purples, and a black, it is filled with convenience colours that will hinder your mixing practice. Instead, prioritize sets that focus on the core primaries (warm and cool versions of red, yellow, and blue) along with Yellow Ochre and Burnt Sienna. If a set is missing one of these key colours, check if you can purchase the missing tube individually to complete your palette.
Second, evaluate the tube sizes offered in the set. Avoid sets that feature very tiny tubes, such as 12ml, unless you are purely testing the medium for a single weekend project. For regular practice, look for sets containing tubes of at least 21ml or 37ml. These sizes provide enough volume for you to experiment with thick paint applications and color-mixing charts without the constant worry of running out of paint mid-project.
Third, review the manufacturer’s technical specifications for safety and quality certifications. Look for the Art and Creative Materials Institute (ACMI) “AP” (Approved Product) seal on the packaging, which certifies that the materials are non-toxic and safe for studio use. This is particularly important if you are painting in a home studio or a space with limited ventilation. Additionally, check the manufacturer’s website or product insert to confirm that the lightfastness ratings for the included colours meet ASTM standards.
Finally, avoid bloated starter kits that bundle paints with low-quality accessories. Many beginner kits sold online include cheap, stiff nylon brushes, flimsy plastic palettes, and tiny bottles of low-grade linseed oil. These bundled items are often of poor quality and can make your painting experience frustrating. It is almost always more cost-effective and satisfying to purchase a high-quality, paint-only set, and then buy a couple of decent hog bristle brushes, a sturdy wooden or glass palette, and a bottle of odorless mineral spirits separately.
Frequently Asked Questions (FAQ)
Do I need to buy extra mediums and solvents with my first set?
Yes, traditional oil paint cannot be thinned or cleaned with water, so you will need to purchase a few basic accessories alongside your paint set. At a minimum, you will need an artist-grade odorless solvent (such as odorless mineral spirits) to clean your brushes during and after your painting session. You may also want a basic painting medium, such as refined linseed oil, to thin the paint and improve its flow for detailed work. Always check the contents of your starter set; while some deluxe kits include small bottles of medium, most standard sets contain only paint tubes, meaning you must purchase your solvent and oil separately.
How long does it take for student-grade oil paints to dry?
Oil paint dries through a slow chemical process of oxidation rather than the evaporation of water. Student-grade oil paints typically take anywhere from 2 to 12 days to become dry to the touch, depending on several factors. Earth tones like Burnt Sienna dry much faster (often within 24 to 48 hours), while whites, yellows, and reds dry much slower. The local humidity and temperature in Singapore, as well as the thickness of your paint layers, will also affect drying times. You can verify estimated drying times by checking the manufacturer’s technical data sheets, or accelerate the process by mixing a small amount of a drying medium, such as liquin, into your paint.
Can I mix student-grade and professional-grade paints later?
Yes, student-grade and professional-grade oil paints are fully compatible and can be mixed together on your palette or within the same painting. Both grades use compatible drying oils (such as linseed or safflower oil) as their binder, allowing them to bond chemically without any issues. Mixing a student-grade paint with a professional-grade paint will slightly lower the overall pigment concentration of the mixture, but it will not compromise the structural integrity of your paint film. Gradually replacing your student-grade tubes with professional-grade options as they run out is an excellent, budget-friendly way to upgrade your studio supplies over time.

Community discussion
Share your experience or ask a question. Comments are reviewed before publication.