
The ideal whiteboard sticker size depends on balancing your child’s physical reach, the complexity of their schoolwork, and the available wall or desk space in their study area. By evaluating these factors, you can select a decal that supports their learning habits without overwhelming the room.
A whiteboard sticker offers a flexible, space-saving alternative to traditional framed boards. Because these adhesive sheets can be cut to size, they fit into almost any study nook. However, choosing the wrong dimensions can lead to unused writing surfaces or a cramped workspace that discourages active learning.
To find the right fit, you must look beyond the physical dimensions of the room. The child’s current grade level, writing style, and daily study routines play a critical role in determining how much writing space they actually need.
Products mentioned in this guide
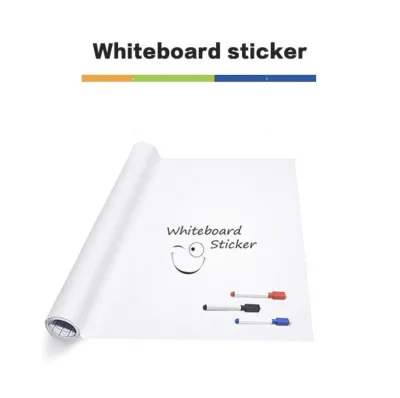
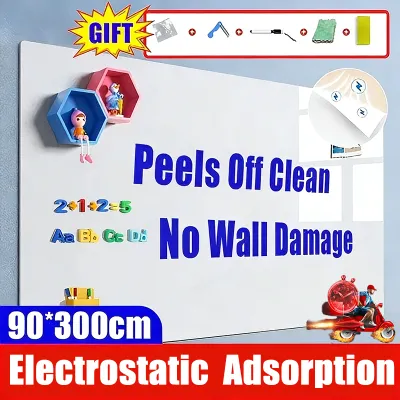
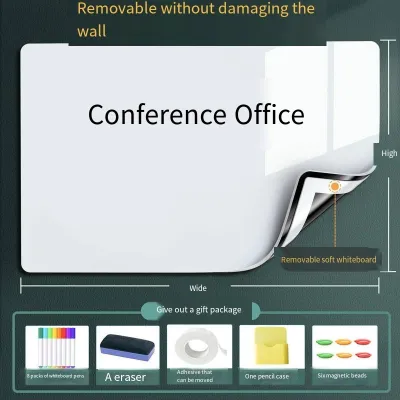
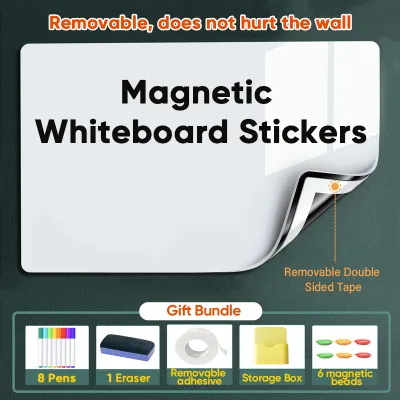
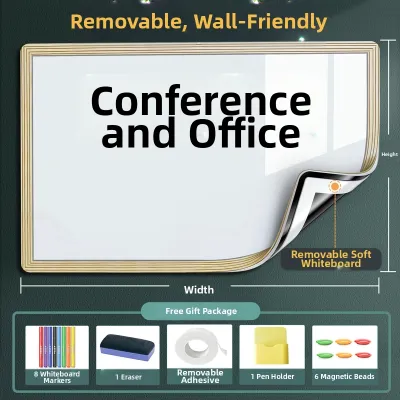
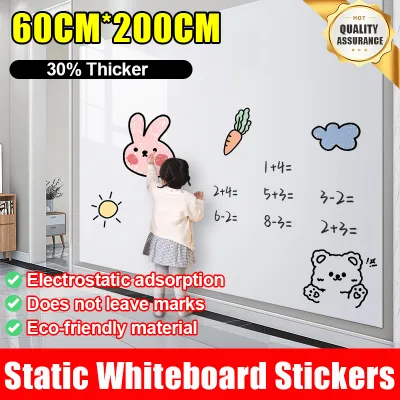
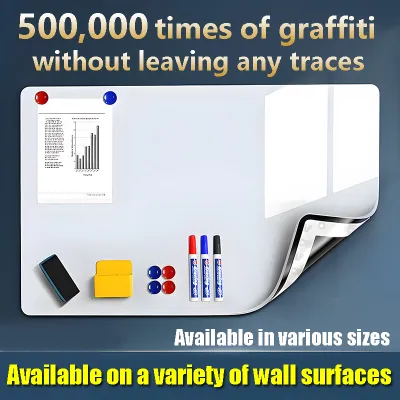
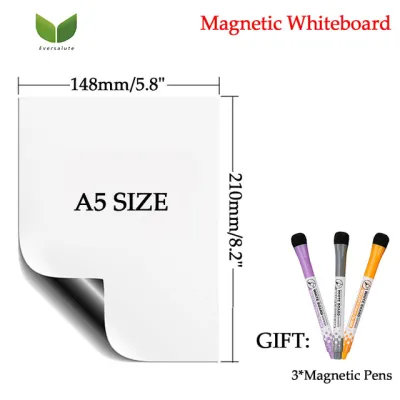
Prices are valid at publication and may change. Please refer to the product page for the latest price.
Assessing Your Child's Study Space and Wall Availability
Before purchasing any adhesive decal, measure the physical boundaries of the intended study zone. Start by identifying the exact wall or furniture surface where the sticker will live. Use a measuring tape to record the width and height of the clear wall space, paying close attention to nearby obstacles.
Keep a safe distance from wall-mounted shelves, desk lamps, electrical outlets, and window frames. A whiteboard sticker that sits too close to a shelf might be partially shaded, making it difficult for your child to read their notes. Ensure there is enough clearance so that markers and erasers can be stored nearby without cluttering the writing area.
Your child’s physical reach and eye level are the most critical factors for vertical placement. For a seated setup, the usable area should start just above the desk surface and extend to the child’s comfortable upward reach. If the sticker is placed too high, the top portion remains empty; if it is too low, your child will have to hunch over to write.
In compact bedrooms or shared living spaces where wall space is limited, look for alternative mounting surfaces. The side of a wardrobe, the back of a bedroom door, or even the surface of the study desk itself can serve as excellent foundations. Measuring these alternative spots early helps you decide whether a standard rectangular sheet or a custom-cut strip is more appropriate.
Matching White Board Sticker Sizes to Grade Levels
As children progress through school, their academic demands and cognitive processing styles change. A primary school student uses a whiteboard for tactile, physical practice like letter formation and basic arithmetic. In contrast, a secondary school student relies on visual organization to break down complex, multi-step subjects.

These differing academic needs dictate how much writing area is required. While a younger child benefits from a focused space that keeps them on task, an older student needs an expansive canvas to map out connections between ideas. Leaving adequate margins and blank space on the board is essential for visual planning, preventing the notes from becoming a confusing wall of text.
Primary School Students (Focus on Reach and Basic Practice)
For primary school students, physical comfort and ease of use are paramount. Children in this age group are still developing their fine motor skills and tend to write with large, sweeping arm movements. A medium-sized sticker, typically around 45 by 60 centimeters or 60 by 90 centimeters, provides ample room for large handwriting without requiring the child to stretch uncomfortably.
At this stage, the whiteboard is primarily used for spelling practice, basic math equations, and creative drawing. These activities do not require a massive canvas. Instead, they require a highly accessible surface where mistakes can be wiped away instantly, reducing the frustration often associated with paper-and-pencil practice.
Positioning the sticker lower on the wall, or directly on the desktop, supports healthy posture. When applied directly to a study desk, a smaller sticker acts as a reusable scratchpad for quick calculations during homework. This setup keeps the child’s neck and shoulders in a natural, relaxed position, preventing fatigue during longer study sessions.
Secondary School Students (Focus on Complex Notes and Mind Maps)
As students enter secondary school, their academic workload shifts toward abstract concepts, long-form problem solving, and multi-subject planning. Teenagers need a much larger writing surface to accommodate detailed mind maps, complex chemistry equations, and extensive history timelines. For these students, larger formats starting from 90 by 120 centimeters or even full-wall decals are highly beneficial.
A spacious whiteboard allows older students to compare different concepts side-by-side. For instance, they can solve a multi-step physics equation on one side of the board while keeping key formulas visible on the other. This layout mimics the classroom environment, helping them organize their thoughts and retain information more effectively during revision.
For installation, position the sticker at standard eye level for a standing or seated teenager. Many older students prefer standing up to brainstorm or revise, as the physical movement can break up the monotony of long study sessions. Placing the board so that the center sits at eye level ensures comfortable viewing and writing, whether they are sitting at their desk or standing up to map out a complex essay outline.
Practical Installation and Maintenance Tips for Home Study Areas
To ensure your whiteboard sticker remains functional and looks neat, proper installation is key. Before applying the adhesive sheet, verify that the wall surface is completely smooth, clean, dry, and non-porous. Textured walls, raw plaster, and certain matte paints can prevent the adhesive from bonding correctly, leading to peeling edges over time.
Begin by wiping the wall with a dry microfiber cloth to remove any dust. When applying the sticker, peel back a small section of the backing paper at a time, starting from the top corner. Slowly press the adhesive onto the wall, using a squeegee or a flat card to smooth out the material from the center outward to remove trapped air bubbles.
Maintaining the writing surface is just as important as a smooth installation. Always use high-quality dry-erase markers and soft microfiber cloths or dedicated whiteboard erasers. Avoid using abrasive sponges, paper towels, or harsh chemical cleaners, as these can scratch the protective top layer and cause “ghosting,” where faint outlines of old writing remain permanently visible.
For regular maintenance, a damp cloth is usually sufficient to remove stubborn ink residue. If the surface requires a deeper clean, use a mild whiteboard cleaning spray recommended by the manufacturer.
Frequently Asked Questions (FAQ)
Can a white board sticker be removed without damaging the wall paint?
Yes, most high-quality whiteboard stickers are designed with removable adhesives that can be peeled away without leaving residue or pulling off paint. However, the outcome depends heavily on the condition of the underlying wall and the paint quality. Before installing the sticker, always review the manufacturer’s specific removal guidelines and adhesive specifications.
To minimize the risk of damage during removal, use a household hairdryer on a low heat setting to gently warm the surface of the sticker. This heat softens the adhesive, making it more pliable. Slowly peel the sticker away from the wall at a sharp angle, pulling downward rather than straight out, to reduce tension on the paint layer.
Is it better to apply the sticker on the wall or directly on the study desk?
The choice between wall and desk placement depends on your child’s learning style, physical comfort, and the layout of the study room. Wall-mounted stickers are excellent for active learning, as they encourage students to stand up, stretch, and engage their whole body while brainstorming. This physical movement can boost focus and make study sessions feel more dynamic.
Desk-mounted stickers are highly practical for quiet, focused work. They serve as an immediate scratchpad for quick calculations, drafting sentences, or sketching diagrams without wasting paper. Choose based on your child’s daily habits: if they benefit from visual reminders at eye level, a wall installation is ideal; if they prefer a clean, paperless desk surface for working out math problems while seated, applying a smaller sticker directly to the desktop is the more functional choice.
What type of markers work best with white board stickers?
Standard dry-erase markers are the best choice for whiteboard stickers, as they are specifically formulated for non-porous vinyl surfaces. These markers use an ink that dries quickly into an erasable powder, allowing for clean removal with a dry cloth or eraser. Look for low-odor, non-toxic options, especially for younger children working in enclosed study spaces.
Avoid using permanent markers, wet-erase markers, or ballpoint pens, as these can permanently stain or scratch the delicate writing film. To protect your investment, always test any new marker in a small, discreet corner of the sticker before using it across the main board. Write a few characters, let the ink dry completely, and then attempt to erase it to ensure it leaves no shadow.

Community discussion
Share your experience or ask a question. Comments are reviewed before publication.