
Selecting the ideal pants fastener clip for a sewing or repair project depends on matching the mechanical grip of the fastener to the weight, weave, and elasticity of your fabric. Whether you are tailoring formal trousers, repairing activewear, or crafting custom suspenders, the right clip ensures the garment remains secure without causing structural damage to the fibers. By evaluating the physical demands of the garment and the characteristics of the material, you can choose a fastener that balances durability, ease of installation, and wearer comfort.
To make an informed decision, you must understand how different clips interact with fabric under tension. A clip that is too weak will slip constantly, causing frustration, while a clip that is too aggressive can puncture or tear your garment. By analyzing the structural design of each fastener type and testing them against your specific fabric, you can achieve a professional, long-lasting finish on any haberdashery project.
Understanding the Main Types of Pants Fastener Clips
Pants fastener clips come in several distinct designs, each engineered for specific structural roles and load-bearing requirements. The most common category is the suspender clip, which utilizes a hinged, lever-activated clamp to grip fabric vertically. These clips are designed to hold the weight of trousers from the shoulders and are built to withstand continuous downward pull. High-quality suspender clips often feature plastic or rubber inserts inside the metal jaws to cushion the fabric and prevent the metal teeth from cutting through the yarns.
Products mentioned in this guide
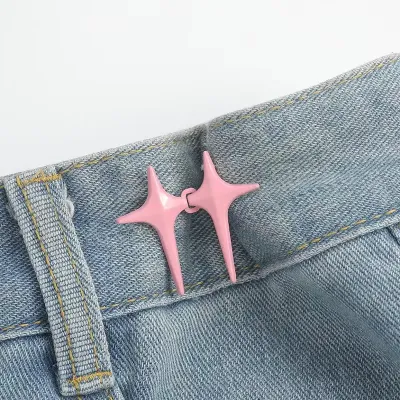
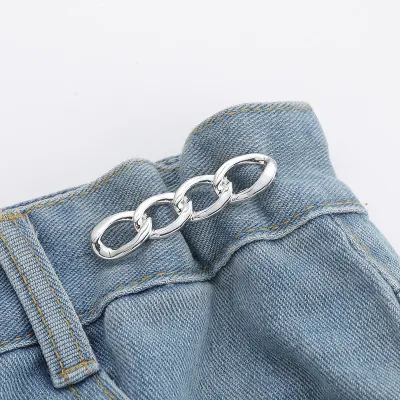
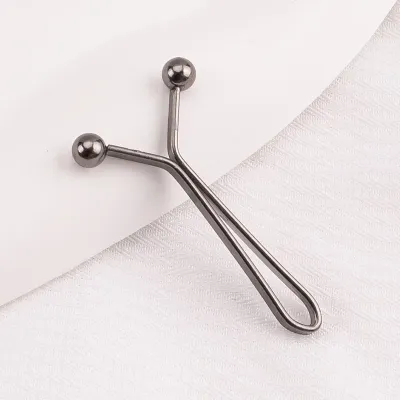
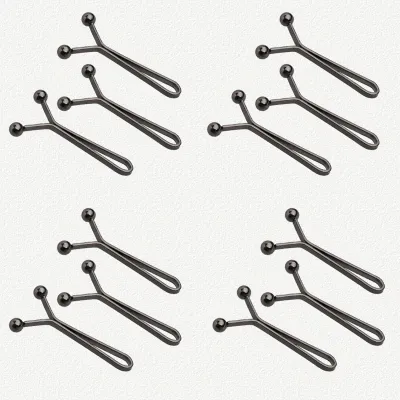
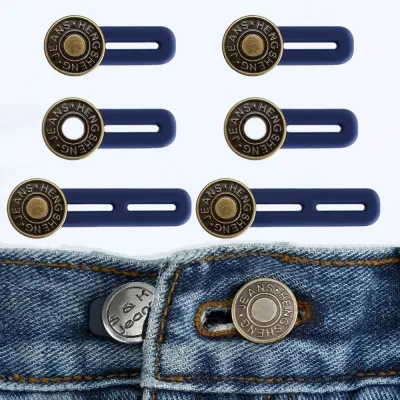
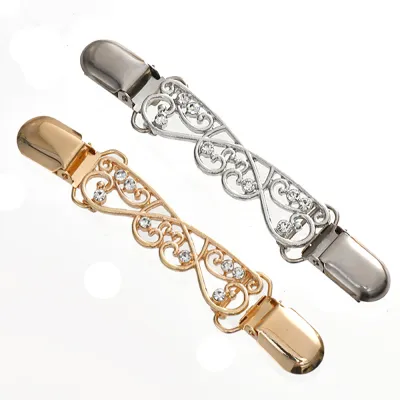
Prices are valid at publication and may change. Please refer to the product page for the latest price.
Waistband adjustment sliders and clips represent another major category, focusing on horizontal tension rather than vertical support. These fasteners are typically integrated into the sides of a waistband, allowing the wearer to tighten or loosen the fit by sliding a fabric strap through a metal or plastic tension buckle. They are highly common in children’s wear, uniforms, and maternity clothing where waist sizes must adapt dynamically. Because they rely on friction along a strap rather than direct clamping on the trouser body, they cause minimal wear to the main garment fabric.
Button and loop fasteners offer a more traditional, mechanical connection. These clips do not clamp onto the fabric directly; instead, they hook over an existing button or a custom-sewn fabric loop. This design distributes the pulling force across a reinforced seam or a securely stitched button, making it an excellent choice for formal trousers or vintage-style garments. By avoiding direct metal-to-fabric clamping, button-style fasteners preserve the pristine appearance of delicate materials.
When selecting a clip, pay close attention to the mechanical grip style. Prong-style grips feature small metal teeth that bite into the fabric weave, providing maximum hold for heavy, dense materials like denim or canvas. Rubber-lined teeth rely on friction and compression, making them far safer for smooth, synthetic, or lightweight fabrics. Sew-on loops, found on the back of many specialized fasteners, allow you to stitch the clip housing directly into the garment’s facing, hiding the hardware and providing a clean, tailored look.
Key Factors to Match Clips to Your Fabric and Project
Matching the fastener clip to your fabric’s weight and weave density is the most critical step in ensuring project success. Heavyweight fabrics, such as denim, corduroy, and heavy wool, require robust metal clips with strong spring tension and deep jaws to accommodate the thick material layers. Conversely, lightweight fabrics like linen, silk, or fine cotton blends will easily distort or tear under heavy clamping pressure. For these delicate materials, lightweight plastic clips or friction-based fasteners are highly preferred.

Consider the attachment method carefully before purchasing your hardware. Sew-on fasteners offer unmatched permanence and structural integration, as the stitching distributes the physical stress across a wider area of the garment. This is particularly beneficial for activewear or workwear that undergoes frequent movement and laundering. No-sew or clamp-on clips, on the other hand, provide incredible convenience and are ideal for quick repairs or adjustable designs, though they may require specialized setting tools to install securely.
Material composition and environmental resistance are vital considerations, especially in warm, humid climates where garments are laundered frequently. Standard steel clips can rust quickly when exposed to moisture, leading to unsightly orange stains on your fabric. Look for manufacturer specifications indicating the use of stainless steel, solid brass, or nickel-plated finishes, which resist oxidation. If you plan to machine-wash and dry the garment regularly, ensure the clip’s plastic components are rated for high temperatures, or select removable clip designs.
Before performing the final installation on your garment, always conduct a hidden test on a scrap piece of the project fabric. If scrap fabric is unavailable, use an inconspicuous area such as the inside of a pocket bag or a wide seam allowance. Clamp the fastener onto the test piece, apply the expected amount of tension for several minutes, and then release it. Examine the fabric closely under good lighting: check for broken fibers, permanent indentations, or thread shifting. If the fabric shows signs of distress, you must switch to a gentler grip style or reinforce the attachment area.
Step-by-Step Guide to Installing and Securing Fastener Clips
Successful installation begins with proper preparation and the right tools. Gather your measuring tape, fabric chalk or a water-soluble marking pen, sewing pins, a hand-sewing needle, and heavy-duty polyester thread matching your fabric color. If you are installing clamp-on or prong-style clips, you may also need a pair of parallel-jaw pliers and a small scrap of leather or thick felt to protect the metal finish from scratching during the clamping process.
Start by measuring the waistband or strap placement with high precision. Mark the exact center points for the clips on both sides of the garment using your fabric chalk, ensuring perfect symmetry. If you are installing suspender clips, have the wearer try on the trousers with the straps pinned temporarily to verify that the clips sit comfortably and do not rub against the hips or spine. Double-check all measurements before making any permanent alterations.
For sew-on fastener clips, thread your needle with a doubled strand of heavy-duty thread and knot the ends together. Position the clip on your mark, ensuring the loop or sewing tab is aligned correctly. Sew through the fabric and the clip loop using a tight buttonhole stitch or a series of closely spaced whipstitches. To prevent the stitches from pulling through the fabric under tension, ensure your needle catches the structural interfacing inside the waistband, rather than just the outer fashion fabric.
For clamp-on or prong-style clips, position the fastener over your chalk mark. Gently push the metal prongs through the fabric weave, taking care to slide between the threads rather than cutting or breaking them. Place the protective leather or felt scrap over the decorative face of the clip, then use your pliers to squeeze the backing plate and prongs together until they are completely flat and locked in place. The clip should feel entirely rigid and show no movement when lightly wiggled.
Throughout the installation process, maintain strict safety boundaries. Stop immediately if you notice the fabric beginning to fray, if the metal components bend unexpectedly under light pressure, or if the clamping mechanism jams. Forcing a damaged or misaligned clip can ruin your garment fabric beyond repair. If you are working with highly complex garment structures, heavy leather, or specialized waterproof fabrics, it is wise to consult a professional tailor or contact the clip manufacturer for specialized installation advice.
Troubleshooting Common Fastener Clip Issues
Slippage is the most common issue encountered with pants fastener clips, usually caused by insufficient fabric thickness or worn grip teeth. If a clip repeatedly slides off the waistband, you can easily resolve the issue by adding a small backing patch. Cut a small square of sturdy, non-fraying fabric—such as cotton canvas, wool felt, or heavy sew-in interfacing—and stitch it to the inside of the waistband where the clip attaches. This extra layer increases the overall thickness, giving the clip’s teeth a substantial surface to bite into.
Fabric tearing and localized stress points occur when the physical tension on the clip exceeds the structural strength of the fabric fibers. If you notice small holes or pulling threads around the attachment zone, you must act quickly to prevent further damage. Remove the clip and reinforce the damaged area with a patch of fusible knit interfacing applied to the reverse side of the fabric. To prevent future tearing, consider switching to a wider clip style that distributes the load over a larger surface area, or transition to a sew-on style.
Stiff or sticky clip mechanisms can make garments difficult to put on or remove. Over time, laundry detergent residue, lint, and dust can accumulate inside the hinge of the clip. Clean the mechanism gently using a soft-bristled brush, such as an old toothbrush, and a small amount of warm water. Avoid applying household oils, WD-40, or unverified lubricants to the metal parts; these substances can easily migrate onto your garment fabric, leaving permanent, greasy stains that are nearly impossible to remove. Always rely strictly on the manufacturer’s care guidelines for maintaining hardware.
Frequently Asked Questions (FAQ)
Can I use standard metal suspender clips on delicate or sheer fabrics?
Standard metal suspender clips with sharp, exposed metal teeth are not suitable for delicate or sheer fabrics such as silk, chiffon, or fine linen. The high tension and sharp edges will easily snag, cut, or tear the delicate fibers under normal wear. Instead, look for specialized clips featuring rubber-dipped jaws or plastic inserts that grip the fabric through friction rather than piercing. Alternatively, consider sewing a fabric-wrapped loop or using a button-on style fastener, which distributes the tension safely across a reinforced seam rather than clamping directly onto the fragile fabric face.
What is the difference between sew-on and no-sew waistband adjustment clips?
Sew-on waistband adjustment clips are designed for permanent integration into the garment’s structure. They are stitched directly into the seams or waistband layers, providing exceptional durability and the ability to withstand heavy, repeated tension over long-term use. In contrast, no-sew or clamp-on adjustment clips rely on mechanical pressure or prongs to grip the fabric without stitching. While no-sew options offer rapid installation and are highly convenient for quick adjustments or temporary fixes, they can slip on very thick seams and may cause localized fabric wear if subjected to extreme tension.

Community discussion
Share your experience or ask a question. Comments are reviewed before publication.