
Choosing the right elastic threader is the key to transforming a frustrating, time-consuming sewing chore into a swift and satisfying task. The ideal tool for your sewing kit depends on the specific width of your elastic, the thickness of your fabric casing, and your overall sewing frequency. For narrow channels like sleeve cuffs or delicate baby wear, a flexible wire loop or a slim metal bodkin is highly effective. Conversely, wide waistbands on pajamas or skirts benefit from the robust grip of a clamp-style threader or a long, rigid plastic bodkin. By matching the tool’s physical mechanism to your project’s dimensions, you can prevent the elastic from slipping, twisting, or getting lost mid-way through a casing.
Understanding Elastic Threader Types and Mechanisms
To make an informed purchase, it is essential to understand the distinct designs of elastic threaders available in haberdashery shops. These tools generally fall into three primary categories: clamp-style threaders, wire loop or hook threaders, and solid tube or bodkin threaders. Each design utilizes a unique mechanical action to hold and guide elastic through a fabric channel, and each has specific advantages depending on the structure of your garment.
Clamp-style threaders, often referred to as tweezer-style bodkins, feature two metal arms with serrated teeth at the tips and a sliding ring along the shaft. To use this tool, you insert the end of the elastic between the teeth and slide the ring down toward the tip to lock the arms tightly together. This mechanical grip is incredibly secure, making it highly unlikely for the elastic to slip out during threading. However, because the clamp and the sliding ring add physical bulk, this style is best suited for wider, more generous casings where the extra thickness will not get stuck.
Products mentioned in this guide
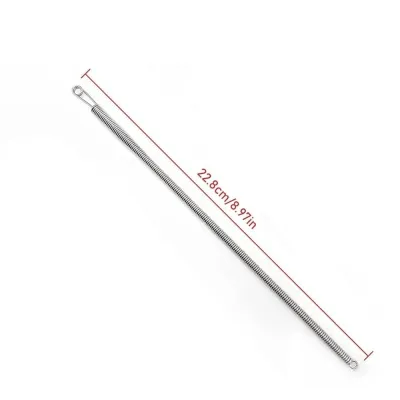
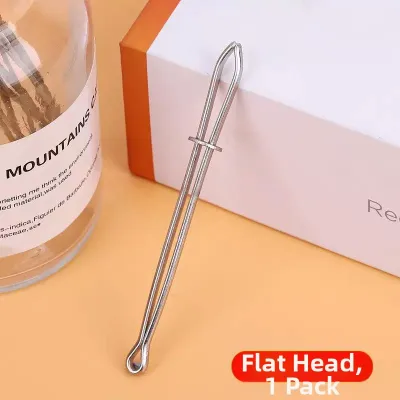
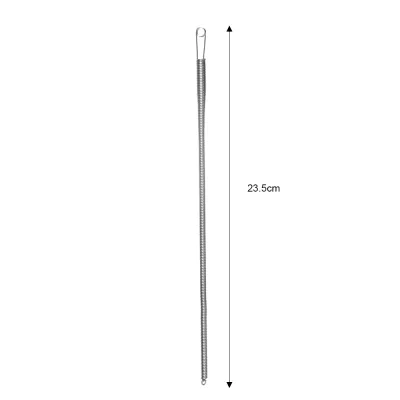
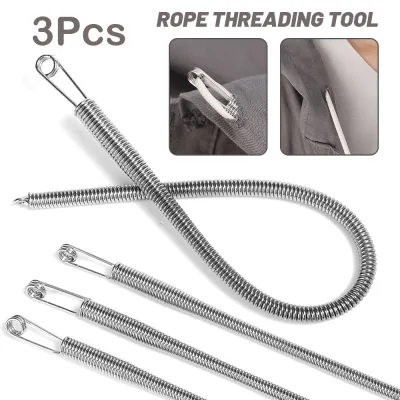
Prices are valid at publication and may change. Please refer to the product page for the latest price.
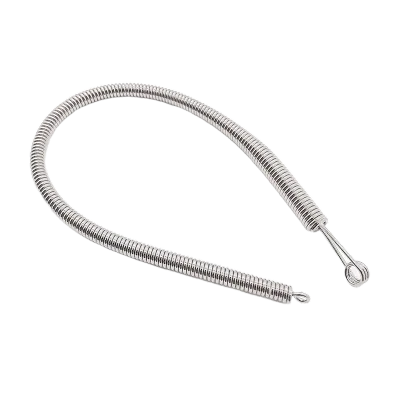
Wire loop or hook threaders consist of a long, flexible wire shaft with a loop or a small hook at one end and a handle at the other. You thread the elastic through the loop or hook it onto the end, then pull or push the wire through the casing. The flexibility of the wire allows it to navigate curved casings, such as those found in contoured waistbands or circular bags, with ease. The limitation of this style is that the elastic must be folded over to stay in the loop, which can double the thickness at the leading edge and make it difficult to pull through very tight spaces.
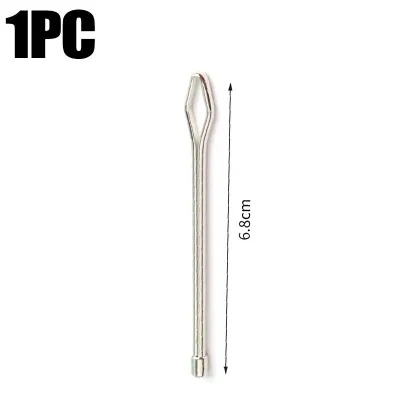
Solid tube or bodkin threaders resemble oversized, blunt sewing needles. They are typically made of rigid metal or smooth plastic and feature one or more large eyes at the trailing end. You thread the elastic through the eye—much like threading a needle—and push the blunt tip of the bodkin through the casing. Because they are rigid, they provide excellent leverage when pushing through long, straight channels. However, their lack of flexibility means they can struggle with sharp corners or highly curved seams, where a more pliable tool would glide through effortlessly.
Matching the Threader to Your Project and Elastic Width
Selecting an elastic threader is not a one-size-fits-all decision; the tool must match the physical dimensions of both the elastic and the fabric casing. When working on diverse sewing projects, from wide waistbands to delicate drawstrings, understanding how to pair your tool with your materials prevents fabric damage and saves valuable time.

For wide waistbands, such as those on lounge pants, skirts, or casual shorts, you will typically use elastic widths ranging from 20 mm to 50 mm. These projects require a sturdy tool that can handle the tension of pulling wide, heavy-duty elastic through a long casing. A rigid plastic bodkin or a robust clamp-style threader is ideal here. The wide eye of a plastic bodkin keeps the elastic flat, preventing it from bunching up or twisting as it travels through the waistband.
Narrow casings, such as those found on sleeve cuffs, necklines, baby clothing, or delicate lingerie, often use elastic that is 6 mm or even 3 mm wide. For these tight spaces, a bulky clamp-style threader will simply not fit. Instead, you should opt for a slim, flexible metal wire threader or a very fine metal bodkin. These tools have a minimal profile, allowing them to glide through narrow channels without stretching the fabric or getting wedged at the seam allowances.
Drawstrings and lightweight hair accessories, like scrunchies, present unique challenges. A scrunchie casing is short but highly gathered, requiring a tool that can navigate a bunched fabric tube. A medium-sized metal bodkin with a smooth, ball-point tip is perfect for this task, as it easily pushes through the gathered fabric without catching on the raw edges inside. For long drawstrings on hoodies or bags, a long, flexible loop turner or a dedicated drawstring threader ensures you can feed the cord through the entire length of the channel in a single, continuous motion.
Before starting, always check the compatibility of your elastic width and thickness against the threader’s eye or clamp capacity. If the elastic is too wide for the eye, forcing it through will cause the elastic to bunch, increasing friction inside the casing and making it incredibly difficult to pull. Conversely, if the elastic is too thin for a large clamp, the teeth may not grip it securely, causing it to slip out halfway through. Additionally, consider the bulk of the fabric casing itself; thick fabrics like fleece or denim create more internal friction, requiring a smoother, more rigid threader to overcome the resistance.
Key Features to Evaluate Before Buying
When browsing craft stores or online marketplaces for sewing notions, it is easy to overlook the subtle design details that separate a high-quality, durable elastic threader from a frustrating one. To ensure you invest in a tool that will last for years and protect your fabrics, keep a practical checklist of physical and material attributes in mind.
First, assess the material quality and surface finish of the threader. In humid climates, such as in Singapore, metal sewing tools are highly susceptible to rust and corrosion if they are not made of premium materials. Look for threaders constructed from stainless steel, nickel-plated brass, or high-grade, flexible plastics. Run your fingers along the entire length of the tool, paying close attention to the tips, eyes, and joints. The surface must be completely smooth and free of burrs, sharp edges, or manufacturing seams. Any roughness on the tool can snag delicate fabric fibers, ruin silk or satin casings, or fray the elastic itself.
Next, evaluate the grip comfort and ergonomics of the tool. If you have limited hand strength, arthritis, or are working on high-volume sewing projects, using a tool that requires constant, pinching pressure can quickly lead to hand fatigue. Clamp-style threaders with a sliding ring are excellent for reducing strain, as the ring maintains the clamping force for you, allowing your hand to relax as you guide the tool. For push-style bodkins, look for designs that offer a slightly textured grip area or a comfortable handle that is easy to hold and maneuver through the fabric.
Finally, inspect the security and durability of the clamping or locking mechanism. For clamp-style threaders, the sliding ring should fit snugly on the shaft; if it is too loose, it may slide backward during use, releasing the elastic inside the casing. For wire loop threaders, examine the point where the wire meets the handle or the loop. This connection point is a common failure zone under tension, so ensure it is securely welded or deeply embedded in the handle. Investing a small amount more—perhaps spending S$5 to S$15 on a well-constructed set of various threaders rather than a single, flimsy alternative—will save you from the headache of broken tools mid-project.
Practical Usage Tips and Troubleshooting
Even with the best tool, threading elastic can occasionally present challenges, such as lost ends, twisted bands, or tight corners. Mastering a few practical techniques and troubleshooting strategies will ensure a smooth, hassle-free experience every time you sit down at your sewing machine.
To securely attach the elastic to your threader, do not simply rely on a single layer of material. For clamp-style threaders, fold the leading 10 mm of the elastic over before clamping down. This double layer gives the teeth more material to bite into, significantly reducing the risk of the elastic slipping out. If you are using a needle-style bodkin, thread the elastic through the eye, fold it back, and secure the tail to the main body of the elastic with a small safety pin or a few quick hand basting stitches. This extra step ensures that even if you encounter resistance inside the casing, the elastic remains firmly attached to the tool.
Navigating tight corners, thick seam allowances, and twisted casings requires patience and the right technique. When pushing the threader through a casing, use your fingers to bunch the fabric onto the tool, then hold the front end of the threader through the fabric and pull the excess fabric backward. If the tip of the threader gets stuck on a bulky seam allowance inside the casing, do not force it. Instead, gently wiggle the tip up and down or twist the tool slightly to guide it over the seam. If the casing itself becomes twisted, stop and smooth out the fabric behind the threader before proceeding further.
Maintaining your elastic threaders is simple but essential for their longevity. Over time, the clamps and eyes of these tools can accumulate fabric lint, adhesive residue from fusible interfacing, or dust. Periodically wipe your threaders down with a soft, dry cloth, and use a small brush to clear out any lint trapped in the teeth of clamp-style models. Store your threaders in a dry, organized sewing box to protect them from moisture and prevent them from bending or scratching against other metal tools. If you notice any burrs developing on a metal threader over time, you can gently smooth them out using a fine-grit emery board or sandpaper.
Frequently Asked Questions (FAQ)
Can I use a regular safety pin instead of a dedicated elastic threader?
While a standard safety pin is a common household substitute for quick, one-off repairs, it carries significant risks when used for regular sewing projects. The primary danger is that the safety pin can easily spring open inside the casing as you pull it through. If this happens, the sharp point can snag and tear the fabric from the inside, and retrieving the open pin without damaging your garment is incredibly difficult. Additionally, safety pins lack the rigidity and length of dedicated bodkins, making the threading process much slower and more tedious. For consistent, professional results and to protect your hard work, investing in a dedicated elastic threader is highly recommended.
How do I prevent the elastic from twisting inside the casing?
To keep your elastic perfectly flat and aligned, start by securing the trailing end of the elastic to the entrance of the casing with a straight pin or a small clip before you begin threading. This prevents the tail from being accidentally pulled into the channel. As you guide the threader through, use your fingers to feel the elastic through the fabric, ensuring it remains flat and does not roll. Once the threader emerges from the exit, carefully smooth out any gathers along the entire length of the waistband. Before sewing the elastic ends together, double-check that there are no twists. Finally, secure the elastic by stitching a vertical line through the casing and the elastic at the side seams to lock it permanently in place.

Community discussion
Share your experience or ask a question. Comments are reviewed before publication.