
For architects, structural engineers, and design professionals, the physical act of tracing and overlaying floor plans remains a vital part of the creative and technical process. While digital drafting has taken over production work, the conceptual phase often requires the tactile precision of hand-drawn overlays. An LED drawing board—also widely known as an LED light pad or light box—serves as the modern foundation for this workflow, replacing bulky, hot, and noisy fluorescent drafting tables. Selecting the right board requires evaluating physical dimensions, illumination quality, structural durability, and power integration to ensure the tool supports hours of meticulous work without causing physical strain or drawing errors.
Sizing and Active Area Requirements for Floor Plans
When evaluating an LED drawing board, you must distinguish between the overall physical dimensions of the device and its actual active lighting area. The active lighting area is the illuminated portion of the surface where light is emitted, and it must comfortably accommodate your standard drafting media. Architectural drawings in Singapore typically rely on standard ISO paper sizes, primarily A3, A2, and occasionally A1 for large-format site plans. An A3 sheet measures 297 x 420 mm, while an A2 sheet measures 420 x 594 mm. If you choose a board where the active lighting area is exactly the size of your paper, you will struggle to secure your sheets. The edges of your paper will overlap with the non-illuminated frame, making it difficult to tape down overlays or align your drawings perfectly.
To avoid this issue, select an oversized board that offers a larger active area than your primary drafting paper. For example, if you primarily work with A3 floor plans, choosing an A2-sized LED drawing board provides a generous margin. This extra illuminated space allows you to tape down your base drawing and multiple tracing overlays securely within the lit zone. It also provides a flat, stable surface to rest your scale rulers, drafting tape, and technical pens without cluttering your active workspace.
Products mentioned in this guide
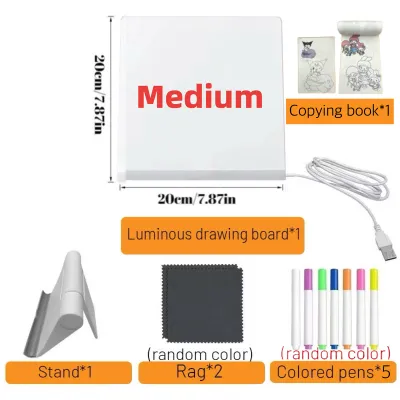
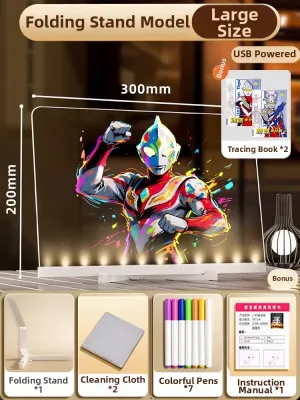
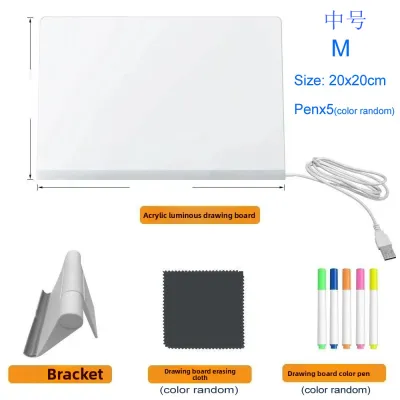
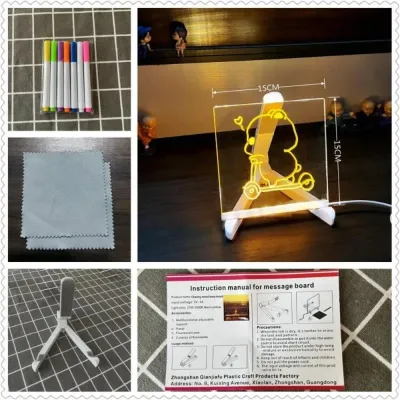
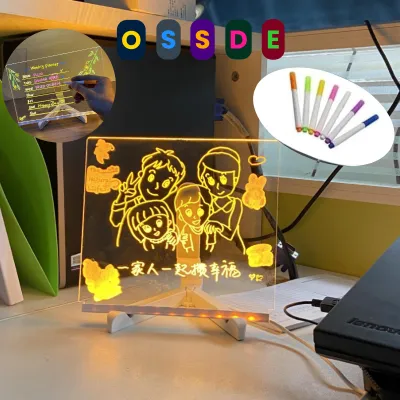
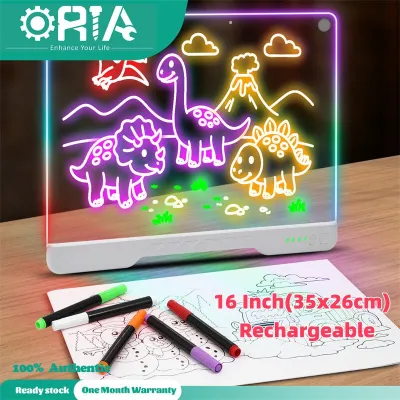
Prices are valid at publication and may change. Please refer to the product page for the latest price.
The physical frame, or bezel, surrounding the active area also plays a critical role in your drafting workflow. Many consumer-grade light pads feature thick, raised plastic bezels that stand several millimeters above the drawing surface. For an architect, a raised bezel is a major obstacle. It acts as a physical barrier that catches the edge of T-squares, parallel rulers, or drafting gliders, lifting them off the paper and causing alignment errors or skewed lines. To maintain absolute precision, look for boards featuring a completely flush, edge-to-edge glass or acrylic surface, or those with an ultra-thin, wedge-shaped bezel. A flush surface ensures your drafting tools can glide smoothly across the entire board without snagging or lifting.
Light Transmission: Brightness, Uniformity, and Color Temperature
The optical performance of an LED drawing board determines how effectively you can see through different paper types and weights. Architectural drafting media varies significantly in opacity and grammage. Standard tracing paper ranges from a lightweight 40 GSM to a more robust 90 GSM, while professional-grade vellum or heavy bond paper can exceed 112 GSM. Tracing a complex, multi-layered floor plan—such as overlaying a structural grid, an MEP layout, and an architectural partition plan—requires a light source powerful enough to penetrate up to three sheets of high-grammage paper simultaneously.

To ensure sufficient light transmission, look for boards with verifiable brightness ratings measured in lux. For basic tracing of single-sheet layouts on standard tracing paper, a brightness of 1,500 to 2,000 lux is usually sufficient. However, for multi-layered vellum tracing, you should prioritize boards that deliver between 3,000 and 5,000 lux. Be cautious of vague marketing terms like “super-bright” or “ultra-luminous”; instead, check the technical specification sheets for concrete lux or lumen values. Always perform an observable trial with your specific paper combinations to verify that the light can clearly resolve fine ink lines and pencil strokes through your preferred media.
Light uniformity is just as critical as raw brightness. Cheaply manufactured boards often utilize low-quality LED strips placed only along the edges, combined with inadequate light diffusion sheets. This design results in noticeable “hotspots” near the frame and dim, shadowed areas in the center of the board. Uneven illumination can distort your perception of line weights, making it difficult to maintain consistency across a large floor plan, and will rapidly cause eye strain. When testing a board, turn it to its maximum brightness in a dimly lit room and inspect the surface for any visible banding, dark spots, or flickering. The light should appear perfectly consistent from the center to the very edges of the active area.
Color temperature, measured in Kelvin (K), directly impacts your comfort and visual contrast during long drafting sessions. Most professional LED drawing boards offer a cool white light color temperature ranging from 5000K to 6500K, which closely mimics natural daylight. This high-contrast light makes fine graphite lines and colored technical inks stand out sharply against tracing paper. However, prolonged exposure to intense cool white light can contribute to eye fatigue and disrupt your circadian rhythm during late-night studio sessions. Some premium boards offer adjustable color temperatures, allowing you to switch to a warmer white (around 3000K to 4000K) which is gentler on the eyes, though it may slightly reduce contrast.
To adapt to changing ambient light conditions in your studio, a robust dimming mechanism is indispensable. Stepless dimming is highly superior to stepped dimming (which only offers fixed low, medium, and high settings). A stepless system allows you to hold down the power button to smoothly adjust the brightness from 10% to 100%, letting you dial in the precise level of illumination required to balance the ambient room light with the thickness of your paper.
Ergonomics and Physical Build for Long Drafting Sessions
Drafting floor plans and elevations is a time-intensive task that requires hours of sustained focus. Working on a completely flat surface forced onto a standard desk can lead to severe neck, shoulder, and back strain. To maintain proper posture, your drawing board should support ergonomic positioning. Many modern LED boards feature built-in, adjustable tilt mechanisms, such as integrated kickstands or multi-angle metal brackets. These brackets allow you to set the board at an angle of 10 to 30 degrees, bringing the drawing surface closer to your natural line of sight. Ensure that any tilt mechanism is highly rigid and wobble-free; a flimsy stand that flexes or bounces under the weight of your hand will ruin your drawing precision.
The choice of surface material is another critical decision point, with tempered glass and acrylic (PMMA) being the two primary options:
- Acrylic Surfaces: Acrylic is lightweight, highly shatterproof, and cost-effective, making it the standard choice for portable boards. However, acrylic is a relatively soft plastic that scratches easily. If you frequently use metal drafting tools—such as steel-edged rulers, heavy compasses, dividers, or utility knives—you will inevitably introduce micro-scratches to an acrylic surface. Over time, these micro-scratches catch and scatter the LED light, creating a distracting glare and permanently degrading the optical clarity of the board.
- Tempered Glass Surfaces: Tempered glass is exceptionally hard and highly scratch-resistant. You can glide metal rulers, press sharp compass needles, and even cut media with a utility knife directly on the surface without leaving marks (though using a dedicated cutting mat is always recommended to protect your blades). Glass also provides a perfectly rigid, non-yielding surface that prevents paper from flexing under the pressure of fine technical pens. The main trade-offs of tempered glass are its increased weight and vulnerability to cracking if dropped, making it less suitable for mobile or on-site use.
To ensure stability during detailed work, the board must feature robust, high-friction rubber feet or a weighted base. When you are applying precise downward pressure with a technical pen or drawing long, straight lines with a heavy parallel glider, the board must not slide or shift on your desk. Additionally, pay close attention to the edge design. The borders of the board should be smooth and rounded; sharp, square edges can dig into your forearms or catch on your drafting sleeves, causing discomfort and disrupting your drawing hand.
Power Delivery and Workspace Integration
Integrating an LED drawing board into your workspace requires careful consideration of power delivery and cable management. Traditional drawing boards rely on proprietary DC wall adapters. These adapters provide a highly stable, high-voltage power supply that ensures consistent brightness without any risk of flickering, making them excellent for permanent studio desks. However, they tether you to a wall outlet and limit your ability to move around the office or take the board to client meetings.
USB-C power delivery has become the modern standard for professional workspace integration. A USB-C powered board offers exceptional versatility, allowing you to run the device using your laptop’s USB port, a standard USB wall charger, or a portable external power bank. This portability is incredibly valuable for architects who need to conduct site visits, review plans on-site, or present design options directly to clients in external meeting rooms. When selecting a USB-C board, verify the input requirements; larger A2 or A1 boards with high-brightness LEDs often require a Power Delivery (PD) compatible charger and cable (such as a 9V or 12V input) to reach their full brightness potential. Running a large board on a standard 5V USB port may result in dim lighting or premature power shut-offs.
Another highly practical feature is memory dimming. This function ensures that when you turn the board off and on again, it automatically recalls and returns to your last used brightness setting. This saves you from having to manually recalibrate the illumination level every time you pause your work or power down the system.
Cable routing and connector placement are also vital for maintaining an unobstructed drafting workflow. The power port should ideally be recessed or positioned on the upper or side edges of the board. If the power cable protrudes directly from the bottom edge, it will constantly interfere with the horizontal movement of your T-square or parallel glider. A poorly positioned cable can snag your tools, pull on the board, or even unplug itself mid-drawing, disrupting your concentration and potentially damaging your work.
Matching Board Specifications to Drafting Tasks
To help you select the ideal LED drawing board, it is helpful to match your primary drafting tasks with the corresponding technical specifications. Rather than searching for a single board that excels in every scenario, focus on the features that address your most frequent workflow bottlenecks.
| Drafting Task | Recommended Size | Light & Power Requirements | Surface & Build Priority |
|---|---|---|---|
| Quick Concept Sketching & Tracing | A3 (or compact A4) | 1,500–3,000 Lux; USB-C powered (compatible with laptops and standard power banks) | Lightweight acrylic surface; ultra-thin profile (under 8 mm) for easy transport in a portfolio bag. |
| Detailed Floor Plans & Multi-Layer Overlays | A2 or A1 | 3,000–5,000+ Lux; stable DC adapter or high-output PD USB-C; stepless dimming | Tempered glass surface for scratch resistance; rigid adjustable stand; completely flush bezel. |
| On-Site Markups & Client Presentations | A3 | 2,000–4,000 Lux; USB-C power bank compatible; high-contrast cool white light | Impact-resistant protective casing; robust anti-slip rubber feet; lightweight but durable build. |
For architects who spend the majority of their time at a dedicated studio desk working on complex, multi-layered construction documents, a heavy, high-brightness A2 tempered glass board is the most valuable investment. Conversely, if your role involves frequent travel between the office, client meetings, and construction sites, a lightweight, USB-C powered A3 acrylic board offers the perfect balance of portability and functional workspace.
Pre-Purchase Verification and Surface Care
Before finalizing your purchase, verify the technical specifications and prepare a plan for maintaining the board’s optical clarity. When your board arrives, perform a systematic visual inspection. Unbox the unit and turn the brightness to its maximum setting in a dark room. Check the entire active area for any dead LED nodes, dark spots, or uneven light distribution. Inspect the perimeter of the frame for excessive light bleed, which can be highly distracting during extended use. Finally, run a straightedge ruler across the surface to verify absolute flatness; any bowing or warping will cause your drafting paper to lift, leading to scaling inaccuracies.
To maintain the optical clarity of your drawing board over time, always consult the manufacturer’s care instructions first. If the manufacturer’s guidelines conflict with general cleaning advice, defer to the product’s specific manual. Acrylic and glass surfaces require different cleaning approaches to prevent damage:
- Acrylic Care: Acrylic is highly sensitive to chemical solvents. Never use window cleaners containing ammonia, rubbing alcohol, acetone, or abrasive household cleaners on an acrylic board. These chemicals will chemically attack the plastic, causing it to "craze" (develop a network of microscopic cracks) or turn permanently cloudy, which ruins the light diffusion layer. To clean acrylic, use a dry, clean microfiber cloth to gently wipe away graphite dust, eraser crumbs, and fingerprints. For stubborn ink or grease smudges, use a slightly damp microfiber cloth with a single drop of mild, pH-neutral dish soap, then immediately wipe the surface dry with a clean cloth.
- Glass Care: Tempered glass is much more resilient and can be cleaned using standard glass cleaners or isopropyl alcohol to remove stubborn ink residue and adhesive tape marks. However, you must still avoid using abrasive scouring pads, steel wool, or harsh abrasive powders, as these can scratch any anti-glare or anti-reflective coatings applied to the glass surface. Always spray the cleaner onto the microfiber cloth rather than directly onto the board to prevent liquid from seeping into the seams or power ports.
Frequently Asked Questions (FAQ)
Can I use a standard tablet or monitor as a light box for tracing?
While you can technically display a white screen on a tablet or computer monitor to trace drawings, these devices are poorly suited for professional architectural drafting. Standard digital displays rarely exceed 400 to 600 nits of brightness, which is insufficient to penetrate thick vellum or multiple layers of tracing paper. Furthermore, the glass screens on tablets are highly susceptible to permanent scratching from metal drafting tools like compasses, dividers, and steel rulers. Finally, monitors lack physical paper-alignment aids, and the touch-sensitive screens on tablets will register false inputs unless you use specialized apps to lock the screen, making the tracing process frustrating and inefficient.
Does the LED drawing board emit enough heat to warp tracing paper?
Modern LED drawing boards are highly efficient and emit very little heat compared to older, fluorescent-tube light boxes, which could become hot enough to dry out, shrink, or warp delicate tracing paper. However, some heat is still generated by the internal power regulator, usually concentrated near the power input port or along one edge. In Singapore’s humid tropical climate, paper can absorb ambient moisture and become more prone to warping when exposed to uneven heat sources. This makes selecting a low-thermal-emission LED board even more critical. During extended drafting sessions, check these areas periodically. If you notice localized warmth, avoid taping highly sensitive, low-GSM tracing media directly over the heat zone, or allow the board to cool down periodically to maintain absolute dimensional stability of your paper.

Community discussion
Share your experience or ask a question. Comments are reviewed before publication.