
For beginners starting their embroidery journey in Singapore, finding a reliable threading tool is less about chasing a single premium brand name and more about selecting the right physical design and build quality. Because many sewing accessories sold in local craft shops or on online marketplaces are imported under various generic labels, relying solely on a brand logo can be misleading. Instead, a successful purchase depends on understanding how different threaders interact with your specific needles, threads, and hands.
In Singapore’s warm and humid climate, factors like grip comfort, material corrosion resistance, and wire durability become highly practical considerations. A tool that slips from damp fingers or rusts quickly in storage will only cause frustration. By focusing on observable construction details, connection methods, and needle compatibility, you can easily find a high-quality threading tool that fits your budget and keeps your stitching sessions smooth and enjoyable.
Understanding Threading Tool Designs for Different Embroidery Needles
Before purchasing any threading tool, you must match its physical design to the specific type of embroidery needles in your toolkit. Embroidery needles feature long, narrow eyes designed to accommodate multiple strands of cotton floss, but their sizes vary significantly. Choosing the wrong style of threader can result in bent wires, broken tools, or damaged needle eyes.
Products mentioned in this guide
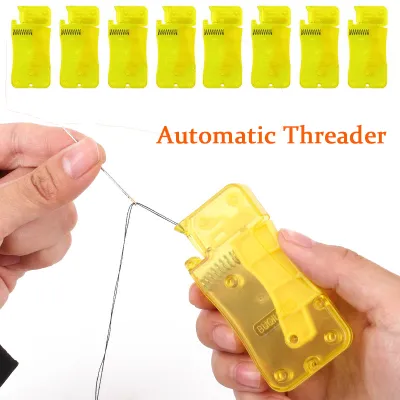
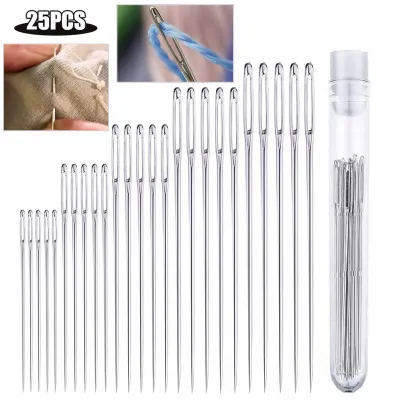
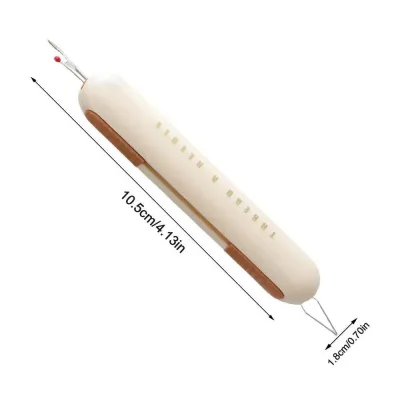
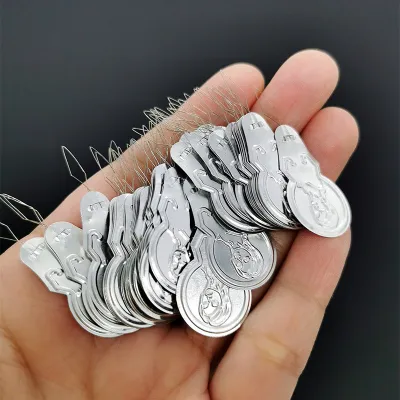
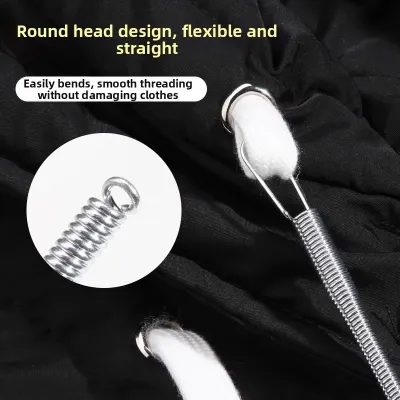
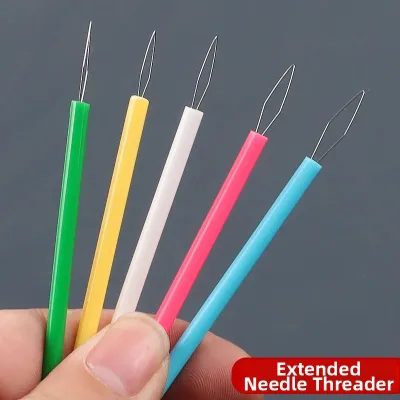
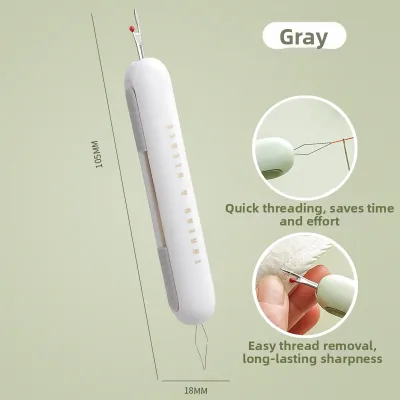
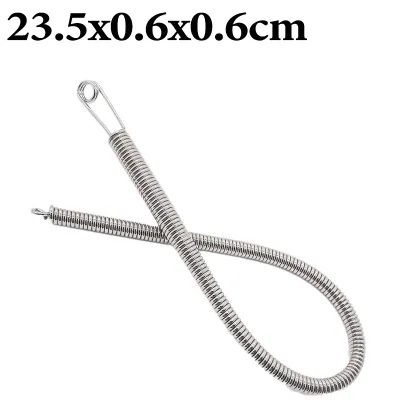
Prices are valid at publication and may change. Please refer to the product page for the latest price.
Fine wire loop threaders are the most common and versatile option for embroidery. These tools feature a thin, flexible steel wire formed into a collapsible teardrop shape. When pushed through a needle eye, the loop compresses, opens up on the other side to receive the thread, and then compresses again as you pull it back through. This flexibility makes them excellent for fine embroidery needles (sizes 7 to 10), where the eye is incredibly narrow.
Solid metal hook designs, often stamped from thin sheets of aluminum or brass, offer a much sturdier alternative. Instead of a flexible wire, they feature a rigid, tiny hook at one or both ends. You pass the hook through the needle eye, loop your thread over the hook, and pull it back through. While virtually indestructible compared to wire loops, these hooks are relatively thick and are only compatible with larger, blunt tapestry needles or heavy-duty chenille needles.
To prevent thread fraying and needle damage, always perform a quick visual check of the tool’s edges. Run your fingertip gently along the metal parts of a hook threader; any rough burrs or sharp edges left over from the manufacturing process can slice through delicate embroidery floss. For wire loop threaders, ensure the wire is perfectly smooth and free of kinks, as any irregularity will catch on the polished inside of the needle eye.
How to Evaluate Brand Quality and Build for Beginners
When evaluating different brands or unbranded multi-packs in local shops, you can easily spot high-quality manufacturing by inspecting a few key structural areas. Since you will be holding and using this tool repeatedly, the overall build quality directly impacts both your comfort and the tool’s lifespan.

First, inspect the handle material and ergonomics. Cheap, flat aluminum “coin” threaders are notoriously difficult to pinch securely, especially during long stitching sessions or in humid weather when fingers can slip. Look for brands that feature larger, textured plastic handles, rubberized grips, or three-sided ergonomic shapes. These designs allow you to maintain a relaxed, secure grip without straining your hand muscles.
Next, closely examine the connection point where the wire loop meets the handle. This is the most common failure point for threading tools. In low-grade brands, the wire is simply sandwiched between two thin pieces of metal and lightly crimped, allowing the wire to pull out under the slightest tension. High-quality tools feature wires that are deeply embedded into molded plastic handles or secured with a robust, visible solder joint.
Reliable manufacturers also provide clear sizing and compatibility information on their packaging. Look for brands that explicitly state the recommended needle sizes or wire gauges their tools can accommodate. Avoid packages that offer no sizing guidance, as you may end up with a wire that is too thick for your fine embroidery needles.
Finally, learn to identify the warning signs of poor quality before making a purchase. If you notice that the wire loops in a package are already slightly bent, or if the plastic handles show rough, unfinished seams, it is highly likely the tool will fail quickly. Investing a few extra dollars in a well-finished tool will save you the hassle of constant replacements.
Matching the Threading Tool to Your Thread and Fabric Setup
Your choice of threading tool must also align with the specific threads and fabrics you plan to use for your embroidery projects. Different materials exert varying levels of friction and tension on the tool, which can affect both the ease of threading and the integrity of your fabric.
Standard embroidery projects typically use six-strand cotton embroidery floss, which beginners usually split into two or three strands. Your threading tool must be able to hold these multiple strands securely within its loop or hook. If you plan to work with thicker specialty threads, such as metallic floss, wool, or pearl cotton, you will need a threader with a wider loop or a sturdier hook to handle the increased bulk.
To avoid jamming the needle eye, you must calculate the combined thickness of the tool and the thread. When you pull a wire loop threader back through a needle eye, the eye must accommodate the thickness of the wire plus twice the thickness of your thread strands. If this combination is too tight, you will have to pull with excessive force, which can snap the wire, shred your embroidery floss, or even bend the needle.
Additionally, consider how the threading tool interacts with your chosen fabric. If you are working on delicate, tightly woven fabrics like silk, linen, or fine cotton batiste, any rough edges on your threading tool can easily snag the fibers. A single snag can ruin hours of careful stitching. Opt for tools with smooth, rounded plastic bodies and clean wire connections to ensure they never catch on your fabric if dropped or misplaced on your work area.
Smart Shopping: What to Verify When Buying Online or In-Store
Whether you prefer browsing physical haberdashery shops in neighborhoods like Chinatown or shopping on local e-commerce platforms, a systematic approach will help you get the best value for your money. Use this practical checklist to guide your next purchase.
- Verify Needle Compatibility: Carefully read the product descriptions and look for close-up photos of the wire or hook. Ensure the seller explicitly lists compatibility with embroidery or crewel needles, rather than just general sewing needles.
- Compare Multi-Packs versus Single Tools: For absolute beginners, a hybrid purchasing strategy works best. Buy a cheap multi-pack of basic wire threaders (often costing around S$2 to S$3 for a pack of ten) to use as immediate backups when wires inevitably break. At the same time, invest in a single, high-quality ergonomic threader (usually priced between S$5 and S$8) for your primary daily use.
- Check Shipping and Return Policies: Because wire loop threaders are incredibly delicate, they can easily be crushed or bent during transit. Verify that the online seller packages their items in protective plastic cases or bubble wrap, and check if they offer quick replacements for items that arrive damaged.
- Filter User Reviews for Specific Pain Points: When shopping online, do not just look at the overall star rating. Search the reviews for keywords like "broke," "bent," "rough," or "snagged." This will help you identify if a particular batch or brand suffers from consistent manufacturing defects.
Frequently Asked Questions (FAQ)
How do I prevent the wire loop on my threading tool from bending?
To maximize the lifespan of a wire loop threader, always pull the tool straight out of the needle eye along the same axis as the needle. Avoid pulling at an angle, as lateral force puts immense stress on the connection point and will quickly bend or snap the wire. Additionally, store your threading tools in a hard-sided needle case or a dedicated compartment in your sewing box to protect them from being crushed by heavier items like fabric shears. If a wire does become kinked, stop using it immediately, as the bent metal will create friction and can scratch the inside of your needle eyes.
Can I use a standard sewing needle threader for embroidery?
Standard sewing needle threaders, particularly the common silver-colored coin style, are designed for very thin sewing threads and tiny needle eyes. While they can occasionally work for fine embroidery needles using only a single strand of floss, they are generally too delicate for multi-strand embroidery work. Forcing multiple strands of cotton embroidery floss through a standard sewing threader will almost certainly snap the fine wire. For embroidery, it is highly recommended to use specialized tools featuring slightly thicker, reinforced wire loops or dedicated metal hook designs that can handle the extra bulk and tension.

Community discussion
Share your experience or ask a question. Comments are reviewed before publication.