
Selecting an LED light drawing board for architectural drafting requires a deliberate focus on dimensional scale, light penetration, and surface resilience. While casual artists or animators can easily work on standard consumer-grade light pads, professional architects, structural engineers, and spatial designers require specialized equipment. Standard light boxes designed for sketching often fail to meet the rigorous physical and optical demands of technical drawing.
The primary challenge lies in the density of the media used in professional drafting. Unlike thin animation paper, architectural tracing relies on heavy vellum, thick tracing paper (ranging from 80 to 112 gsm), or multi-layered blueprint overlays. To project crisp, legible lines through these dense, semi-opaque materials—especially when overlaying three or four sheets to check structural coordination—a light board must deliver high luminous intensity and deep light penetration.
Furthermore, the scale of architectural drawings necessitates a significantly larger active illumination area. Standard architectural sheets, such as ISO A3, A2, or A1 formats, require expansive, uninterrupted surfaces. Attempting to draft a complex floor plan on a small light pad forces the designer to constantly shift, realign, and re-tape the sheets. This repetitive repositioning introduces a high risk of registration errors, scale distortion, and physical damage to delicate tracing paper.
Products mentioned in this guide
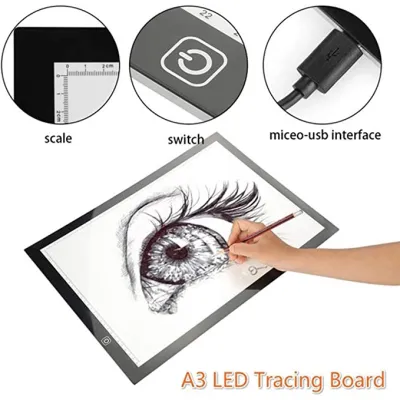
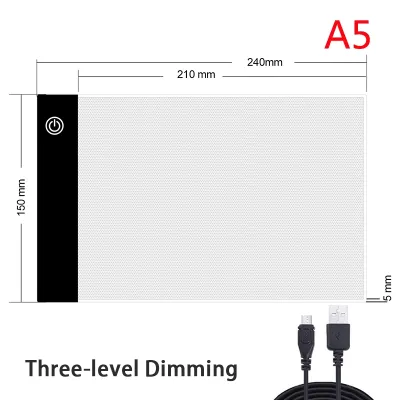
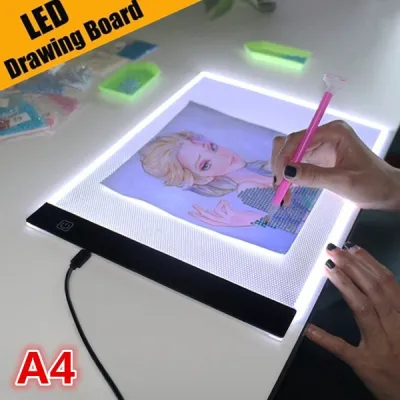
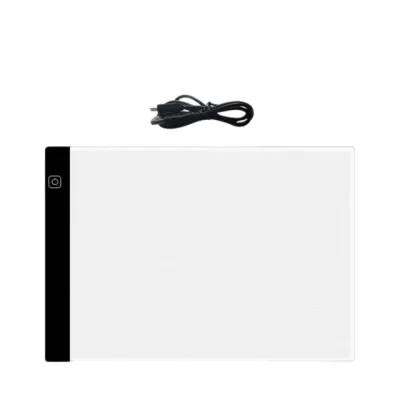
Prices are valid at publication and may change. Please refer to the product page for the latest price.
Finally, edge-to-edge light uniformity is critical for maintaining line weight consistency. In architectural graphics, line weights convey essential spatial information, distinguishing between load-bearing concrete, partition walls, and overhead fixtures. If a light board suffers from center-focused hotspots or dark vignetting along the borders, the designer’s visual perception of line weights becomes distorted, leading to manual drafting inconsistencies across the sheet.
How to Evaluate Light Boards for Architectural Precision
Selecting the right LED light drawing board involves analyzing key technical specifications rather than relying on generic product marketing. For architectural applications, the board must serve as a stable, durable, and optically accurate drafting surface that integrates seamlessly with professional tools.
Matching Board Size to Architectural Paper Standards
When evaluating a light board’s dimensions, it is vital to distinguish between the outer frame dimensions and the actual active illumination area. Many entry-level boards advertise large frame sizes, but the functional, lit zone is significantly smaller due to wide plastic borders, power buttons, and internal circuitry housing. Always verify the active lit area specifications before purchasing to ensure your paper fits entirely within the illuminated zone.
Standard architectural paper formats map directly to specific minimum active lighting areas. For detail drawings, electrical nodes, or joinery sections, an ISO A3 sheet (297 x 420 mm) requires an active area of at least 300 x 420 mm. For comprehensive floor plans, elevations, or site layouts, an ISO A2 sheet (420 x 594 mm) requires an active area of at least 430 x 600 mm, while an ISO A1 sheet (594 x 841 mm) demands a heavy-duty board with an active area of at least 600 x 850 mm.
Choosing the right size also involves balancing the desktop footprint against portability and storage. While an A1-sized light board offers the ultimate canvas for full-scale structural plans, it is heavy, semi-permanent, and requires a dedicated, spacious drafting table. Conversely, an A3 light board is highly portable and fits easily into a standard portfolio bag for site visits, but it restricts your workflow to smaller detail sheets or modular sections.
Brightness Penetration and Uniformity for Thick Media
The light output of an LED board is typically measured in lux (the SI unit of illuminance). To penetrate heavy drafting media, a board should provide a maximum brightness of at least 3,000 to 5,000 lux. However, maximum brightness is only useful if it can be controlled; look for boards featuring touch-sensitive stepless dimming controls rather than fixed, multi-stage brightness levels. This allows you to calibrate the light intensity precisely to match the specific opacity of your vellum and the ambient lighting of your workspace.
Uniformity of light distribution is equally critical to prevent eye strain and ensure drafting accuracy. High-quality boards utilize advanced light guide plates (LGPs) that distribute light evenly from edge-mounted LEDs across the entire surface. When evaluating a board, perform a visual check: look for any noticeable drop in brightness near the corners or any intense hotspots near the light source, as these variations will cause visual fatigue during long drafting sessions.
Additionally, the design of the light diffusion layer determines whether individual LED diodes are visible. Cheap light pads often display a distracting grid pattern of tiny light dots. Professional-grade boards incorporate physical diffusion sheets that blend the light into a solid, smooth, and continuous glow, eliminating diode patterns and allowing you to focus entirely on fine technical lines.
Surface Durability Against Drafting Tools and Compasses
Technical drafting involves the frequent use of sharp, hard tools that can easily damage a delicate surface. Metal-tipped compasses, steel-edge scale rulers, dividers, and fine technical pens are constantly in contact with the board. If the surface material is too soft, it will quickly accumulate deep micro-scratches, which scatter the transmitted light and create distracting halos and glare around your drawing lines.
Common surface materials include standard acrylic, thickened optical-grade acrylic, and tempered glass. Standard acrylic is lightweight and cost-effective but highly susceptible to scratching. Thickened optical acrylic (typically 5mm to 8mm thick) offers improved structural rigidity and better light transmission, though it still requires careful handling. Tempered glass represents the gold standard for durability, offering near-total resistance to scratches from compass points and steel rulers, though it adds significant weight and cost.
Before purchasing, check the manufacturer’s specifications for surface hardness ratings or specialized scratch-resistant coatings. A surface rated at 4H hardness or above on the pencil hardness scale will withstand standard drafting friction far better than untreated plastics, preserving the board’s optical clarity and preventing light-refracting surface damage over years of intensive use.
Recommended Specifications for Different Drafting Workflows
Architectural practices encompass various stages, from initial concept sketching to detailed construction documentation and on-site reviews. Matching your specific workflow to the appropriate light board specifications ensures optimal performance and prevents unnecessary expenditure on oversized or underpowered equipment.

Concept Sketching & Detail Tracing
For quick ideation, schematic design, and localized detail tracing, a compact and agile setup is ideal.
- Recommended Size: ISO A3 or A4.
- Surface Preference: Standard or optical acrylic.
- Key Brightness Feature: 3-level or stepless dimming up to 2,000 lux.
- Workflow Suitability: Perfect for tracing structural nodes, joinery details, or sketching initial floor plan concepts over printed grids.
Full Floor Plan & Elevation Rendering
Developing comprehensive construction drawings, complex elevations, and multi-layered coordination plans requires a heavy-duty, large-format station.
- Recommended Size: ISO A2 or A1.
- Surface Preference: Tempered glass or hardened optical acrylic (4H+ hardness).
- Key Brightness Feature: High-penetration stepless dimming (3,000 to 5,000+ lux).
- Workflow Suitability: Essential for aligning architectural layouts with structural and mechanical overlays, and executing long-duration drawings involving heavy compass work.
On-Site Review & Markups
Conducting field inspections, verifying structural dimensions on-site, or marking up physical blueprints in temporary site offices requires maximum portability and adaptability.
- Recommended Size: Thin, lightweight ISO A3.
- Surface Preference: Matte-finish or anti-glare acrylic.
- Key Brightness Feature: USB-powered (compatible with power banks) with high-contrast neutral white light (5,000K–6,000K).
- Workflow Suitability: Designed to reduce glare from harsh site lighting or bright Singapore sun, allowing clear visibility of overlay sheets during client meetings or contractor coordination.
Drafting Task vs. Recommended Board Specifications
| Drafting Task | Recommended Size | Surface Preference | Key Brightness Feature |
|---|---|---|---|
| Detail Tracing & Node Design | ISO A3 or A4 | Standard Acrylic | Stepless Dimming (1,500–2,000 Lux) |
| Full Floor Plans & Elevations | ISO A2 or ISO A1 | Tempered Glass or Hardened Acrylic | High-Output Stepless Dimming (3,000–5,000+ Lux) |
| On-Site Markups & Field Reviews | ISO A3 | Matte-Finish Anti-Glare Acrylic | USB-Powered, High-Contrast Cool White (6,000K) |
Optimizing Your Drafting Station and Maintaining the Surface
Integrating an LED light board into your architectural workspace requires careful attention to physical ergonomics, visual comfort, and long-term maintenance. Proper setup not only protects your physical health during long drafting sessions but also extends the operational lifespan of your equipment.
Ergonomics and Angle Adjustment
Working on a perfectly flat light board for extended periods can lead to neck and back strain. To improve ergonomics, place the light board on an angled drafting table or utilize an adjustable desktop stand. When working on an incline, ensure the board is equipped with non-slip silicone feet to prevent it from sliding. To secure your tracing paper and base drawings, avoid heavy metal paperweights that can scratch the surface; instead, use low-tack drafting tape or specialized plastic drafting clips that grip the edges firmly without scratching the board.
Eye Strain Prevention
Drafting on a highly luminous surface in a dark room creates extreme visual contrast, leading to rapid eye fatigue, headaches, and blurred vision. To prevent this, maintain a balanced level of ambient lighting in your studio. Use diffused, indirect background light to soften the contrast between the glowing board and the surrounding room. Adjust the light board’s brightness so that it is just bright enough to clearly illuminate the underlying lines, rather than running it at maximum intensity by default.
Surface Cleaning and Care
Maintaining the optical clarity of your light board is essential for accurate tracing. Over time, dust, graphite particles, technical pen ink, and skin oils will accumulate on the surface. To clean the board, first unplug it from the power source. Wipe the surface gently with a dry, clean microfiber cloth. For stubborn smudges, use a slightly damp microfiber cloth with a mild, highly diluted dish soap solution or a specialized optical acrylic cleaner. Never use glass cleaners containing ammonia, isopropyl alcohol, abrasive scouring powders, or rough sponges, as these will chemically cloud the acrylic or leave permanent scratches.
Tool Protection
To preserve the pristine surface of an acrylic light board, take proactive steps to protect it from sharp drafting instruments. When using a technical compass, place a small, clear plastic scrap or a specialized compass pad under the steel pivot point to prevent it from gouging the board. Additionally, you can apply a thin, clear polyester (Mylar) protective overlay sheet across the entire active area. This sacrificial layer absorbs the wear and tear of steel scale rulers and technical pens, and can be easily replaced when worn, keeping your underlying light board in perfect condition.
Frequently Asked Questions (FAQ)
Can I use a standard A4 light board for architectural floor plans?
While an A4 light board is highly portable and excellent for small-scale detail drawings, electrical nodes, or localized joinery sections, it is highly impractical for full-scale architectural floor plans. Standard architectural plans are drawn on much larger sheets (typically A2 or A1) to maintain readable scales like 1:50 or 1:100. Using an A4 board forces you to constantly shift and re-align your drawing, which introduces a high risk of registration misalignment and scale distortion, ultimately compromising the professional accuracy of the plan.
Does the light color temperature affect tracing accuracy?
Yes, light color temperature significantly impacts visual clarity and contrast during detailed tracing. For technical drafting, neutral to cool white light (ranging from 5,000K to 6,500K) is highly recommended. This color temperature provides the sharpest contrast between black technical ink and white or translucent tracing media, making fine lines easier to distinguish. Warm yellow light (below 3,500K) reduces visual contrast and can cause eye fatigue during prolonged drafting sessions, as the eye must work harder to resolve fine line details.

Community discussion
Share your experience or ask a question. Comments are reviewed before publication.