
Selecting the right interfacing is a critical step in any sewing project, directly influencing how your finished garment or craft item drapes, wears, and holds its shape. Interfacing acts as a hidden support system, added to areas like collars, cuffs, waistbands, and button plackets to provide structure and prevent stretching. To choose the perfect match, you must evaluate your main fabric’s weight, stretch, and heat tolerance against the application method and physical structure of the interfacing. Making an incompatible choice can lead to stiff garments, puckered seams, or adhesive bubbling after the first wash.
Understanding the Main Types of Sewing Interfacing
Interfacing is not a one-size-fits-all material; instead, it is categorized by how it attaches to your fabric and how its fibers are constructed. Understanding these two distinct dimensions allows you to easily narrow down your options for any sewing project.
Fusible vs. Sew-In Application
Fusible interfacing features a heat-activated adhesive on one side, which melts and bonds to your fabric when pressed with a hot iron. This modern application method is highly popular because it is fast, convenient, and provides a secure, permanent bond that stabilizes the fabric quickly. It works exceptionally well on stable, medium-to-heavyweight fabrics like cotton, linen, and many synthetic blends that can safely withstand the heat and steam required for activation.
Products mentioned in this guide
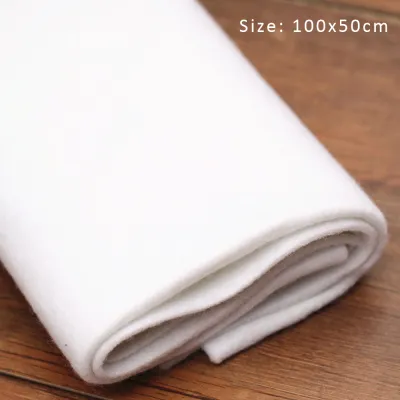
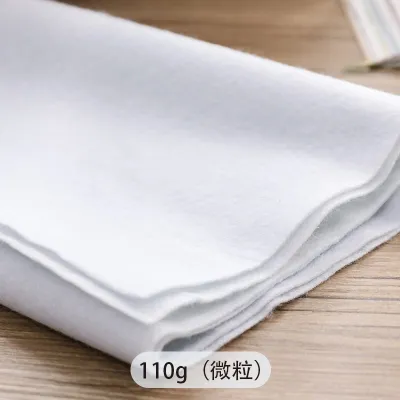
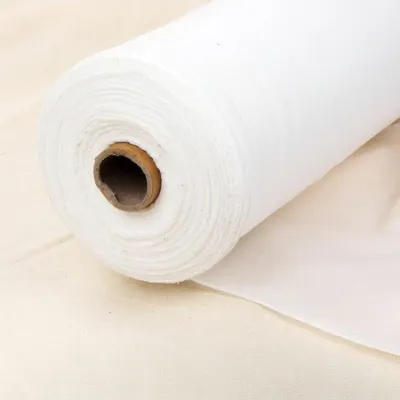
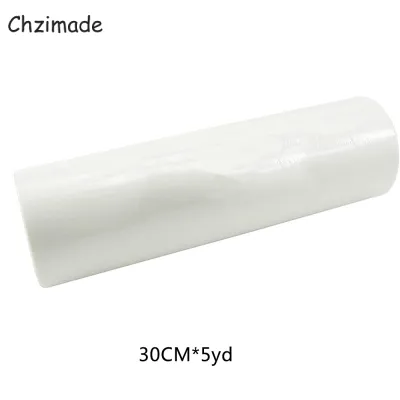
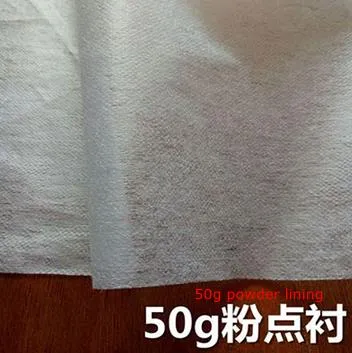
Prices are valid at publication and may change. Please refer to the product page for the latest price.
Sew-in interfacing is a traditional stabilizer that contains no adhesive. Instead of being bonded with heat, it is basted directly to the wrong side of your fabric piece within the seam allowances and then sewn permanently into the seams of the garment. This method is essential for delicate, highly textured, or heat-sensitive fabrics—such as silk, velvet, rayon, or vinyl—that would melt, scorch, or lose their texture under a hot iron. Sew-in interfacing is also preferred in high-end tailoring because it preserves the natural, fluid movement of the outer fabric without adding the slight stiffness that adhesives can sometimes introduce.
Woven, Non-Woven, and Knit Structures
Woven interfacing is constructed just like regular apparel fabric, with intersecting warp and weft threads that create a distinct grainline. Because it has a grain, it behaves naturally when paired with woven fabrics, draping smoothly and moving with the garment. It is highly durable and ideal for tailored jackets, structured collars, and waistbands where you want to maintain a professional, high-quality finish. When cutting woven interfacing, you must align it with the grainline of your pattern pieces, though cutting it on the bias can provide a small amount of flexible give if needed.
Non-woven interfacing is made by bonding synthetic fibers together chemically, thermally, or mechanically, resulting in a material with no grainline. Because it has no grain, it does not fray, and you can cut your pattern pieces in any direction, making it incredibly cost-effective and minimizing fabric waste. However, non-woven interfacing tends to have a slightly stiffer, more paper-like drape than woven options. It is excellent for crafts, bags, and highly structured areas, but should be used cautiously in garments where soft, natural movement is desired.
Knit interfacing is specifically designed with a warp-knit construction that gives it built-in stretch and recovery. This structure is essential when working with jersey, interlock, or any other stretch fabrics. Knit interfacing stretches along with the main fabric, ensuring that the garment retains its elasticity and comfort while still receiving the necessary reinforcement around necklines, pocket openings, and button bands. Using a rigid, non-stretch interfacing on a knit fabric would restrict its movement and likely cause the seams to snap or pucker.
How to Match Interfacing Weight and Type to Your Project
The most important rule when selecting interfacing is that its weight should always be equal to or slightly lighter than your main fabric. If the interfacing is too heavy, it will overpower the fabric, resulting in a stiff, bulky, and unnatural appearance. Conversely, if it is too light, it will fail to provide the structural support your project requires.

For lightweight fabrics such as chiffon, voile, silk, or lightweight cotton lawn, choose an ultra-lightweight fusible or sew-in interfacing. These options reinforce delicate areas like collar stands or buttonholes without adding visible bulk or altering the fabric’s airy, flowing quality.
Medium-weight fabrics like quilting cotton, linen, flannel, or light wool pair best with medium-weight interfacing. This combination adds the perfect amount of crispness to shirt collars, cuffs, and pocket flaps, ensuring they hold their shape through repeated wear and washing without feeling rigid.
Heavyweight fabrics, including canvas, denim, heavy wool, or upholstery materials, require heavyweight interfacing to maintain their structure. This is especially true for non-garment projects like tote bags, backpacks, and home decor items, where the material must support significant weight and tension.
Beyond weight, consider the specific structural needs of your project. A structured jacket collar requires a firm, woven interfacing to stand up properly, while a soft neckline facing on a summer dress needs a light, flexible option that lies flat and smooth. Always check the manufacturer’s product description or label for recommended fabric pairings and care instructions before purchasing, ensuring that the interfacing’s washing or dry-cleaning requirements match those of your main fabric.
Pre-Application Testing and Fabric Care Checks
Before applying interfacing to your cut pattern pieces, you must verify that your main fabric can handle the application process. Check the fabric’s care label for heat tolerance and ironing restrictions. If your fabric cannot tolerate heat or steam, or if it is prone to water spotting, avoid fusible interfacing entirely and opt for a sew-in variety.
Always perform a scrap test before committing to your final project. Cut a small square of your main fabric and a matching piece of your chosen interfacing. Apply the interfacing to the wrong side of the fabric scrap according to the manufacturer’s instructions. Remember to press the iron down firmly in one spot for the recommended number of seconds rather than sliding it back and forth, as sliding can stretch the fabric and distort the bond.
Once the test piece has cooled completely, evaluate the results. Hold the fused scrap in your hand to check the final drape and feel. Look closely at the right side of the fabric to ensure that the adhesive has not seeped through the fibers, which can create a shiny, stiff, or discolored patch.
Define clear stop conditions during your test. If the fabric melts, scorches, develops an unnatural shine, or if the adhesive fails to bond securely, stop immediately. These signs indicate that you need to lower your iron temperature, use a damp press cloth as a protective barrier, or switch to a sew-in interfacing. Additionally, fabrics treated with water-repellent, stain-resistant, or heavy silicone finishes often repel fusible adhesives, making a sew-in approach the only reliable option for long-term durability.
Frequently Asked Questions (FAQ)
Can I use woven interfacing on a stretchy knit fabric?
No, using woven interfacing on a stretchy knit fabric is not recommended. Woven interfacing lacks the necessary stretch and recovery, meaning it will restrict the knit fabric’s natural elasticity. This structural mismatch can cause the fabric to pucker, restrict the wearer’s movement, or lead to torn seams under tension. Always use a dedicated knit interfacing to maintain the garment’s stretch and comfort.
What should I do if fusible interfacing bubbles or peels after washing?
Bubbling or peeling usually indicates an incomplete adhesive bond during the initial application. This can happen if the iron was not hot enough, if you did not apply enough downward pressure, or if you did not hold the iron in place long enough. To fix it, try re-pressing the area using a damp press cloth and a slightly hotter iron, holding it firmly in place for 10 to 15 seconds. If the fabric has a finish that repels glue, or if the adhesive has degraded entirely, you may need to carefully remove the loose interfacing and replace it with a sew-in alternative.

Community discussion
Share your experience or ask a question. Comments are reviewed before publication.