
Choosing the right zip repair kit depends entirely on matching the kit’s components to the specific zipper type, material, and physical demands of your item. A kit designed for delicate clothing will fail on a heavy-duty travel backpack, while a bulky outdoor gear kit will look unsightly and function poorly on a lightweight dress. To restore your item to full functionality, you must diagnose the exact failure point, identify the zipper’s material and size, and select a kit that provides the precise replacement parts and tools required for the job. Taking a systematic approach to this repair ensures a smooth glide and prevents permanent damage to the surrounding fabric.
Identify Your Zipper Type and Failure Point
Before purchasing any zip repair kit, you must identify the structural style of the zipper on your item. Zippers generally fall into three main categories: coil, molded plastic, and metal tooth. Coil zippers, often made of nylon, feature a continuous loop of plastic thread woven into the zipper tape and are highly flexible, making them common in clothing and bags. Molded plastic zippers have individual, thick teeth fused directly onto the tape, offering a rugged look and smooth operation for jackets and outdoor gear. Metal tooth zippers feature individual metal teeth clamped onto the fabric tape, providing high strength and a classic aesthetic for denim, leather, and heavy coats.
Once you know the zipper type, diagnose the specific failure point to determine if a repair kit can solve the issue. The most common failure is a broken or worn-out slider, which causes the zipper to separate behind it or fail to close at all. Other typical issues include a missing or damaged pull tab, a bent or missing top or bottom stop, and separated tracks. If the teeth themselves are missing, broken, or severely misaligned, a simple slider replacement will not suffice, and the entire zipper assembly must be replaced.
Products mentioned in this guide
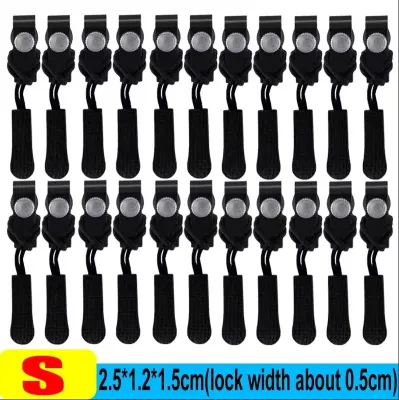
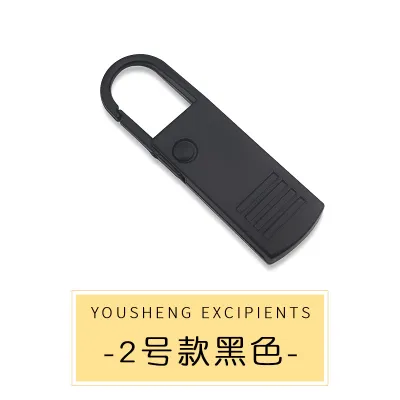
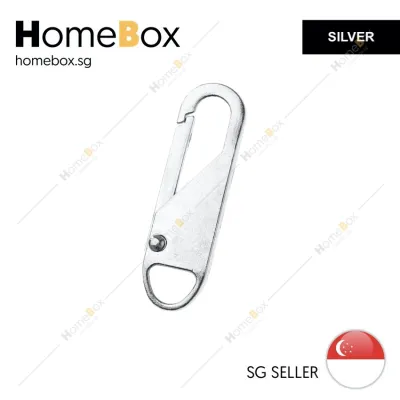
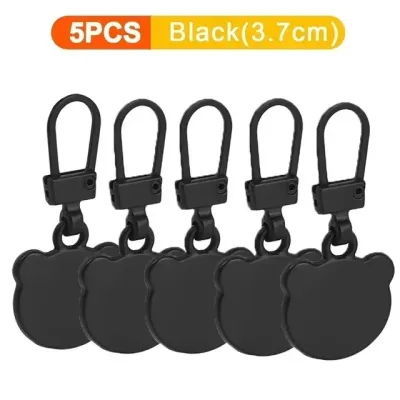
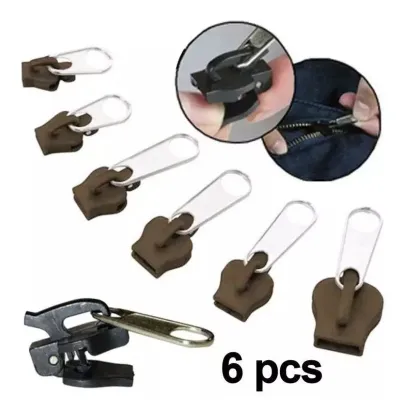
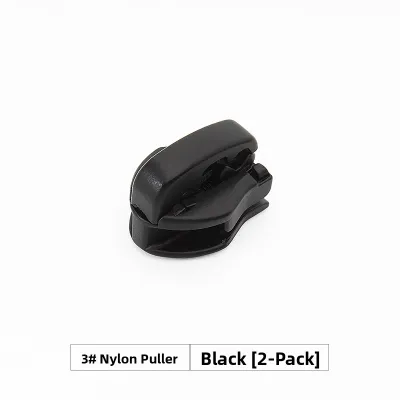
Prices are valid at publication and may change. Please refer to the product page for the latest price.
It is critical to understand that zip repair kits are highly mechanism-specific. A slider designed for a metal zipper will not function correctly on a nylon coil zipper of the exact same size, as the internal channels of the slider are shaped differently to engage specific tooth profiles. Always verify your zipper type and size against the kit’s stated compatibility before attempting a repair. Attempting to force an incompatible slider onto a track can permanently warp the teeth or tear the fabric tape, rendering the entire item unusable.
Match Kit Features to Your Item Category
Selecting the ideal zip repair kit requires aligning the physical demands, environmental exposure, and visual appearance of your item with the specifications of the replacement hardware. Different items subject zippers to vastly different levels of stress and environmental wear. For instance, a suitcase zipper must withstand immense lateral tension when packed, whereas a jacket zipper primarily needs to resist vertical pulling and weather elements.

Before reviewing specific kit contents, evaluate the primary function and environment of your item. Consider whether the repair needs to be virtually invisible, highly weather-resistant, or exceptionally robust. By categorizing your item first, you can narrow down your search to kits that offer the exact materials, sizes, and structural integrity required to restore your item’s original performance.
Clothing and Lightweight Apparel
For everyday garments such as shirts, dresses, light jackets, and trousers, aesthetics, comfort, and fabric preservation are the primary considerations. These items typically utilize small to medium zippers, usually ranging from size 3 to size 5. When repairing clothing, look for kits that specialize in lightweight hardware and offer discreet, color-matching replacement sliders and pull tabs that blend seamlessly with the garment’s design.
Standard, all-purpose repair kits often fall short when dealing with delicate garments or specialized designs like invisible zippers. Invisible zippers feature a unique construction where the coil is hidden on the reverse side of the tape, requiring highly specialized, ultra-slim sliders that are rarely included in generic kits. Using a bulky, standard slider on a delicate fabric can cause the material to bunch, pucker, or catch in the mechanism, leading to tears.
Additionally, always check the garment’s care labels before selecting replacement hardware. If the item requires frequent machine washing, dry cleaning, or high-temperature ironing, ensure the aftermarket metal or plastic components in the kit can withstand these processes without rusting, melting, or discoloring. Heavy metal sliders on very thin fabrics can also drag the material downward, ruining the drape of the garment, so matching the weight of the hardware to the weight of the fabric is essential.
Heavy-Duty Bags and Luggage
Backpacks, duffel bags, suitcases, and utility cases subject zippers to extreme tension, frequent pulling, and rough handling. For these high-stress items, lightweight plastic or thin metal sliders will quickly fail under pressure. You must look for kits that feature heavy-duty metal sliders, typically made of zinc alloy or brass, along with reinforced pull tabs designed to withstand significant pulling force.
Because bags and luggage utilize a wide range of zipper dimensions, often ranging from size 5 up to size 10, a suitable kit must offer multiple size options. Having a variety of sizes ensures you can match the exact width of the zipper track and the thickness of the teeth. A slider that is even a fraction of a millimeter too wide will fail to lock the teeth together, while one that is too narrow will jam or split the track.
To ensure a successful repair, measure the width of the existing zipper track when closed and verify the kit’s stated load-bearing or heavy-duty specifications. Look for kits that include robust top and bottom stops, as these components prevent the slider from running off the track when the bag is packed to its limit. The replacement hardware should feel substantial and show no signs of flexing or bending under manual pressure.
Outdoor Gear and Weather-Exposed Equipment
Tents, sleeping bags, technical rain jackets, and marine gear operate in harsh environments where they are exposed to moisture, dirt, UV rays, and extreme temperatures. Zippers on these items are often specialized, featuring water-repellent coatings, polyurethane seals, or heavy-duty molded teeth designed to keep out the elements. When selecting a repair kit for outdoor gear, compatibility with these weather-resistant tracks is paramount.
Outdoor equipment also frequently requires specialized slider configurations. For example, sleeping bags and reversible jackets often utilize double-sided or reversible sliders that allow the user to operate the zipper from both the inside and the outside of the item. Standard single-sided sliders will make these items incredibly difficult to use, so verify that the kit includes these specific double-sided components if your gear requires them.
Before applying any third-party repair parts to high-end outdoor gear, consult the manufacturer’s guidelines and warranty terms. Some technical brands offer lifetime repair services or require specific proprietary parts to maintain the item’s waterproof rating. Using non-approved aftermarket parts may void your warranty or compromise the weatherproofing of the gear, potentially leading to leaks during outdoor use.
Evaluate Kit Completeness and Tool Quality
A successful zipper repair depends not only on having the right replacement slider but also on the completeness of the kit and the quality of the tools provided. When evaluating a zip repair kit, look closely at the variety and labeling of the included components. A high-quality kit should clearly label each slider size and type, and include an ample supply of matching top stops, bottom stops, and insertion pins to secure the new slider in place.
The inclusion of proper installation tools can make the difference between a quick, clean repair and a frustrating process that damages your item. Many comprehensive kits include precision pliers, which are essential for crimping metal stops and removing old, damaged sliders without tearing the zipper tape. A fine-tipped seam ripper is also highly useful for carefully opening up the stitching at the end of a zipper track to slide a new mechanism on, while heavy-duty thread and hand needles allow you to secure the track afterward.
Avoid kits that lack clear sizing charts, detailed diagrams, or step-by-step instructional guides. Without proper guidance, it is easy to install a slider backward, misalign the teeth, or apply too much pressure with pliers, crushing the new slider. A reliable kit will provide clear visual references to help you identify your zipper type, measure the track accurately, and execute the repair methodically.
Furthermore, keep in mind that the smoothness of the glide and the zipper’s resistance to splitting depend heavily on the exact combination of the slider material and the zipper track type. Because performance varies across different brands and materials, always perform an observable trial before finalizing the repair. Test the replacement slider on a small, non-critical section of the track first. Verify that the slider moves smoothly without catching, and check that the teeth lock together securely behind it without splitting open under light tension.
Recognize When to Replace or Seek Professional Help
While a zip repair kit is an excellent, cost-effective solution for many common issues, it is important to recognize the physical limits of DIY repairs. Some forms of zipper damage are structurally irreparable and require a complete zipper replacement rather than a simple hardware swap. If the zipper tape is torn, frayed, or separating from the fabric of the item, a new slider will not fix the underlying structural failure.
Similarly, if multiple teeth are missing, broken, or melted on a molded plastic or metal zipper, the track can no longer form a secure, continuous seal. Attempting to force a new slider over a section of missing teeth will cause the zipper to split open under the slightest pressure, potentially ruining the surrounding fabric or the item’s contents. In these scenarios, the entire zipper assembly must be unstitched and replaced with a new one.
For high-value items, complex technical gear, leather goods, or heirloom clothing, seeking professional help is often the safest course of action. Professional tailors, cobblers, and specialized gear repair services have industrial sewing machines and specialized tools capable of replacing entire zippers cleanly without compromising the structural integrity or aesthetics of the item. While a professional repair might cost upwards of S$20 to S$50 depending on the complexity, it is often a worthwhile investment to ensure your valuable gear remains fully functional and retains its value for years to come.
Frequently Asked Questions (FAQ)
Can a standard repair kit fix an invisible zipper?
Standard zip repair kits are generally not compatible with invisible zippers due to their unique structural design. On an invisible zipper, the nylon coil is mounted on the back of the zipper tape, pointing inward toward the inside of the garment, which allows the zipper to remain completely hidden from the outside when closed. Because of this reversed orientation, standard sliders cannot properly engage or align the concealed coils. To repair an invisible zipper, you must source a kit specifically labeled for invisible zippers, which contains ultra-slim, specially angled sliders designed to slide smoothly along the reversed track. If such a kit is unavailable, the most reliable solution is to have the entire invisible zipper replaced.
How do I determine the correct slider size for my item?
To determine the correct slider size, start by measuring the width of the zipper teeth when they are fully closed and locked together. Use a ruler or a pair of calipers to measure the width of the teeth in millimeters; this measurement corresponds directly to the zipper size (for example, a tooth width of 5 millimeters indicates a size 5 zipper). Next, inspect the back or bottom of the original slider, as manufacturers often stamp the size number (such as 3, 5, 8, or 10) directly onto the metal casing. Once you have this number and the tooth measurement, cross-reference them with the sizing chart provided in your zip repair kit to ensure an exact match before beginning the installation.
Community discussion
Share your experience or ask a question. Comments are reviewed before publication.