
Finding the ideal label maker for your kitchen depends entirely on your specific storage environment, the types of containers you use, and how often you update your food labels. While many popular brands offer sleek devices, there is no single “best” brand for every household. Instead, the right choice is the one that matches your kitchen’s humidity levels, container materials, and organizational workflow. By evaluating key hardware features, printing technologies, and tape specifications, you can select a system that ensures your food label stickers remain legible, intact, and easy to remove when it is time to wash and reuse your jars.
Key Factors for Choosing a Food Label Maker
When selecting a label maker specifically for kitchen organization, the hardware’s physical design and software capabilities dictate how smoothly the device fits into your daily routine. The first major consideration is connectivity. Modern label makers generally fall into two categories: standalone units with built-in physical keyboards, and smart models that connect to mobile devices via Bluetooth or Wi-Fi. Standalone units are highly reliable and require no external setup, making them excellent for quick, one-off labeling tasks. However, smart models utilizing smartphone applications offer significantly more design flexibility. These apps allow you to easily customize fonts, import custom icons for different food groups, and insert automated date stamps, which is incredibly helpful for tracking food safety and expiration dates.
Another critical hardware factor is tape width compatibility. Kitchen containers vary widely in size, meaning a single tape width rarely fits every application. Small spice jars, oil cruets, and slim condiment bottles require narrow labels, typically around 6mm to 9mm in width, to prevent the text from wrapping awkwardly around curved surfaces. Conversely, large pantry bins, flour canisters, and bulk storage tubs benefit from wider tapes, such as 12mm, 18mm, or even 24mm. These wider formats allow for larger, highly visible text that can be read from across the room, as well as multi-line printing for detailed ingredient lists or allergen warnings. Choosing a label maker that supports a broad range of tape widths ensures maximum versatility across your entire kitchen.
Products mentioned in this guide
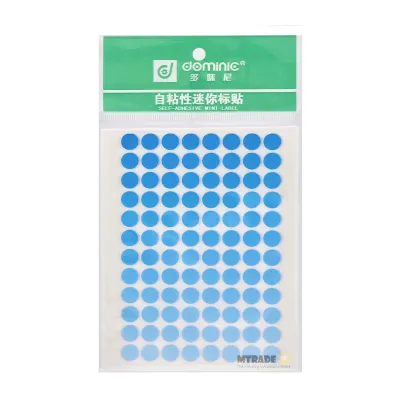
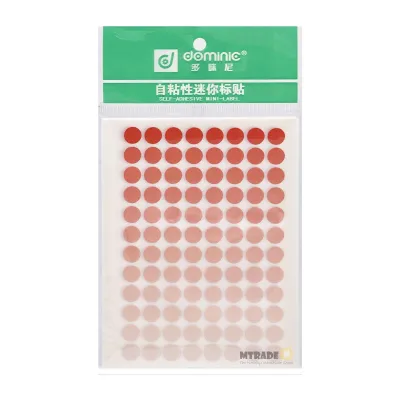
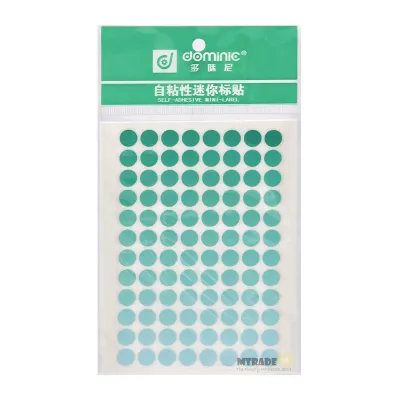
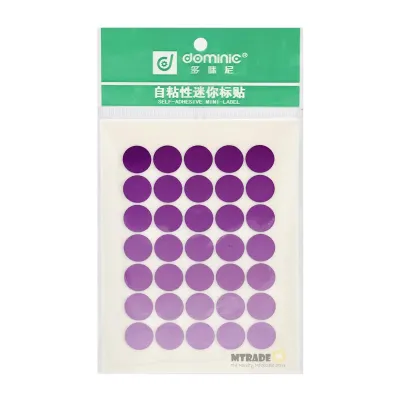
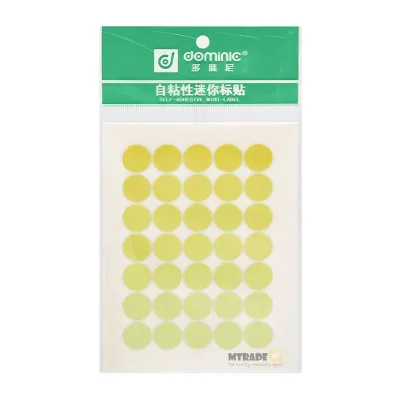
Prices are valid at publication and may change. Please refer to the product page for the latest price.
Finally, consider the device’s power source and physical footprint. Kitchen counters are high-traffic areas where space is often limited. A compact, lightweight, battery-operated or USB-rechargeable handheld label maker can be easily stored in a kitchen drawer and pulled out for quick tasks. If you plan to undertake large-scale organization projects—such as labeling an entire pantry after a major grocery trip—a desktop model powered by an AC adapter is highly advantageous. Desktop models eliminate the risk of the battery dying mid-print and often feature more robust cutting mechanisms, though they require dedicated counter space near an electrical outlet.
Comparing Printing Technologies Across Label Maker Brands
The printing technology utilized by a label maker directly impacts the longevity and durability of your food label stickers under typical kitchen conditions. The most common technology found in consumer-grade label makers is direct thermal printing. This method uses a heated printhead to activate chemical color-forming agents embedded within the specialized label tape. Because direct thermal printers do not require ink cartridges, toner, or ribbons, they are highly compact, cost-effective, and low-maintenance. However, direct thermal labels are inherently sensitive to heat, light, and friction. In a kitchen environment, placing a direct thermal label near a hot stovetop, exposing it to direct sunlight on a windowsill, or running it through a hot dishwasher cycle can cause the entire label to turn black or fade rapidly. Consequently, direct thermal printing is best reserved for dry pantry storage, refrigerator items, or short-term labels that are updated frequently.

For demanding kitchen environments, thermal transfer printing offers superior durability. This technology uses a heated printhead to melt a wax- or resin-based ink from a ribbon directly onto the label tape. The resulting print is highly resistant to moisture, extreme temperatures, scratching, and chemical exposure. Thermal transfer labels are ideal for containers stored in the freezer, where frost and condensation would quickly degrade lesser prints. They also withstand the high temperatures and detergents of automatic dishwashers, making them the preferred choice for reusable meal prep containers, baby bottles, and oil dispensers that require frequent, thorough cleaning. While thermal transfer machines and their dual-component cartridges (tape and ribbon) can be slightly more expensive and bulkier, the long-term legibility they provide is unmatched.
Alternatively, standard home inkjet or laser printers can be used to produce food labels using full-sheet sticker paper. While this approach allows for highly detailed, full-color designs—perfect for homemade jams, preserves, or food gifts—it is generally less practical for day-to-day kitchen organization. Sheet-fed labels must be designed on a computer, printed in batches, and manually cut to size, which lacks the convenience of an on-demand, single-strip label maker. Furthermore, standard inkjet inks are highly water-soluble and will smudge instantly upon contact with wet hands or condensation unless protected by an additional clear laminate overlay.
Evaluating Label Tape Specifications for Food Storage
Even the most advanced label maker cannot perform well without the appropriate tape medium. When organizing food storage, you must carefully evaluate the specifications of the compatible tape cartridges before making a purchase. The primary factor to verify is environmental resistance. Look for manufacturer specifications detailing water, oil, and temperature thresholds. For freezer storage, the tape and its adhesive must be rated to withstand sub-zero temperatures without cracking or losing adhesion. For containers that transition from the refrigerator to the microwave or dishwasher, ensure the tape material can handle rapid temperature fluctuations without peeling or releasing harmful chemical fumes.
Adhesive formulation is another critical variable that dictates how cleanly you can maintain your kitchen containers. Permanent adhesives are designed to bond aggressively to surfaces, making them excellent for plastic storage bins or wooden shelving that will never need re-labeling. However, applying a permanent adhesive label to a glass jar can lead to frustration when you want to change the contents. For reusable glass, metal, or high-quality plastic containers, look for tapes labeled as “removable” or “low-tack.” These adhesives provide sufficient grip to stay in place during daily handling but peel off cleanly without leaving a sticky, unsightly residue. Some specialty brands even offer water-soluble or wash-away labels that dissolve completely under running water, simplifying the container sterilization process.
The backing material of the tape also influences its performance on different container textures. Paper-backed tapes are economical but highly susceptible to tearing, staining, and absorbing grease or moisture, which can harbor bacteria over time. Synthetic backings, such as polyester, vinyl, or polypropylene, are far more hygienic and durable. Vinyl and polyester tapes possess excellent flexibility, allowing them to conform smoothly to highly curved surfaces like round spice jars or squeeze bottles without lifting at the edges. Before labeling your entire kitchen, it is highly recommended to perform a simple trial: apply a single test label to a container, expose it to your typical washing and cooling cycles, and observe its physical stability and ease of removal.
Decision Framework: Matching Label Maker Features to Your Kitchen
To determine which label maker system is best for your household, you must align these technical capabilities with your specific kitchen habits and organizational goals. If your primary objective is managing daily leftovers, labeling school lunchboxes, or organizing a rapidly changing refrigerator, a compact, Bluetooth-enabled direct thermal label maker is highly suitable. The convenience of designing quick labels on your smartphone, combined with the low cost of direct thermal consumables, makes it easy to maintain a dynamic labeling system. In this scenario, pairing the device with removable synthetic tape ensures you can update dates and contents daily without damaging your containers.
If your focus is on establishing a permanent, highly structured pantry or organizing long-term freezer storage, a robust thermal transfer label maker is the superior investment. The exceptional resistance of thermal transfer prints to moisture, frost, and oils ensures your hard work will not fade or peel away over months of storage. For this application, select a model that supports wider tape sizes (12mm to 24mm) to accommodate clear, legible text that helps you identify ingredients at a glance.
Regardless of the brand you choose, always verify the availability and cost of compatible tape cartridges in your local market before purchasing the hardware. Some proprietary tape systems can be expensive or difficult to source, while other brands enjoy widespread availability in local stationery stores and online marketplaces. Ensuring a steady, affordable supply of your preferred tape type—whether it is waterproof polyester, removable vinyl, or colorful decorative tape—is the ultimate key to long-term kitchen organization success.
Frequently Asked Questions (FAQ)
Can I use standard office label tape for food containers?
Standard office label tapes, particularly those made of uncoated paper, are generally not suited for kitchen environments. These tapes lack the protective synthetic layers needed to resist moisture, condensation, and kitchen oils. When exposed to refrigerator humidity or accidental spills, standard paper labels can quickly turn soggy, smudge, or peel off entirely. For reliable kitchen organization, look for synthetic tape options—such as those made of polyester, polypropylene, or vinyl—and verify on the packaging that they are rated as water-resistant or laminated.
How do I remove sticky residue from glass jars after removing food labels?
If a food label sticker leaves a stubborn adhesive residue on your glass jars, you can remove it safely using common household items. Applying a small amount of cooking oil (such as vegetable or olive oil) or a paste made of baking soda and oil to the sticky area will help break down the adhesive bonds. Let it sit for a few minutes, then gently scrub the residue away with a non-abrasive sponge and wash the jar with warm, soapy water. Always check the care instructions for your specific containers, and avoid using harsh chemical solvents or abrasive metal scrubbers that could scratch the glass or compromise food safety.

Community discussion
Share your experience or ask a question. Comments are reviewed before publication.