
Choosing the right closure is a defining step in any bag-making project. The closure does not just keep belongings secure; it also dictates how the bag handles daily wear, how easy it is to assemble, and how professional the finished product looks. Among the various options available, bag magnetic buttons are highly favored for their clean look and effortless functionality. However, selecting between sew-on, prong-back, or adhesive magnetic buttons requires a clear understanding of your project’s structural and aesthetic needs. The ideal choice depends on your bag’s material thickness, your available tools, your crafting experience, and how much physical stress the closure will endure.
Diagnose Your Bag Material and Thickness Compatibility
Woven fabrics like canvas, cotton, and denim have loose structural grids. When you install a prong-back button, the metal prongs must slip between these woven threads. Without proper reinforcement, the constant pulling action of the magnet will cause the threads to shift, leading to fraying and eventual tearing. Non-woven materials like genuine leather, vinyl, and faux leather do not fray, but they are prone to puncturing. Once a hole is made in leather or vinyl, it cannot be undone, meaning any mistake during installation is permanent.
To ensure a secure fit, always check the manufacturer’s recommended fabric thickness range on the button packaging. If your fabric is too thick, the prongs of a prong-back button will not extend far enough to bend flat over the backing washer, resulting in a loose, unstable closure. Conversely, if the fabric is too thin, the button will sag and pull awkwardly on the material.
Products mentioned in this guide
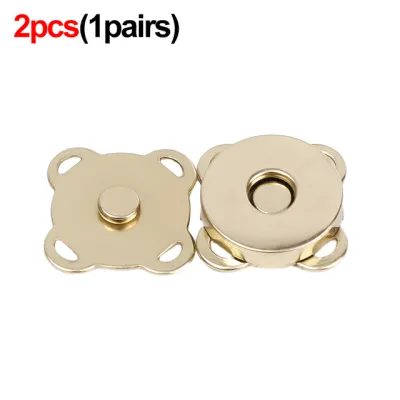
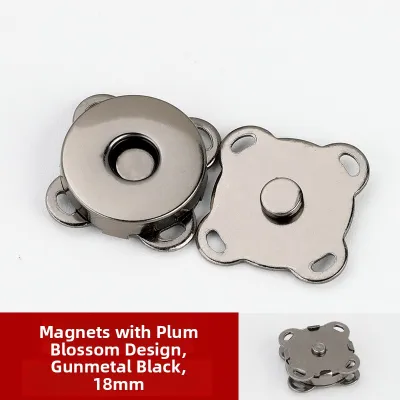
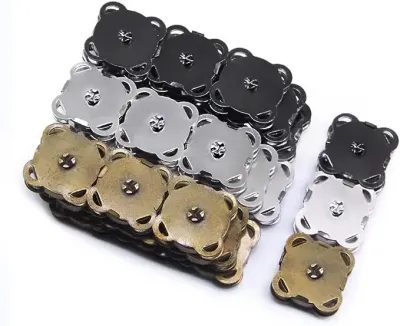
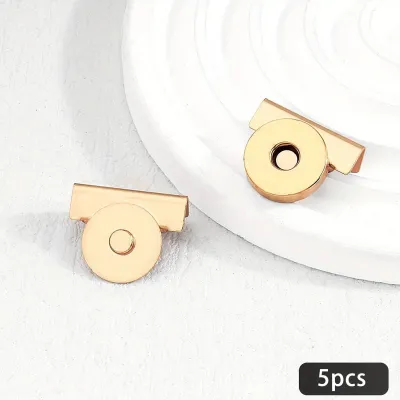
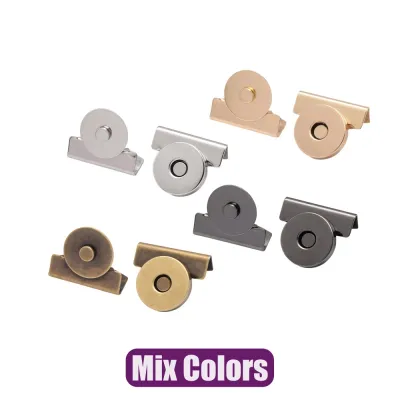
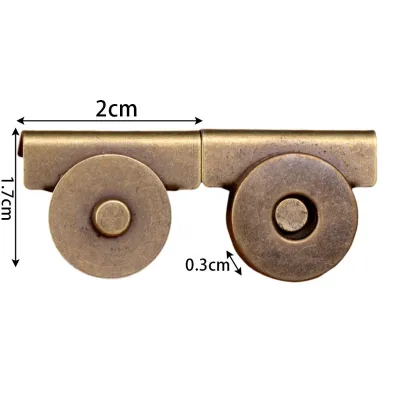
Prices are valid at publication and may change. Please refer to the product page for the latest price.
To prevent damage to thin, stretchy, or delicate fabrics, you must use interfacing or stabilizers. Heavy-weight fusible interfacing, sew-in stabilizers, or even a small scrap of sturdy canvas placed behind the main fabric can distribute the magnetic pull force across a wider surface area. Backing washers, which are typically included with prong-back buttons, are essential for sandwiching the fabric and stabilizer together, preventing the metal prongs from slicing through the fibers under tension.
Match Attachment Styles to Your Skills and Tools
Sew-on magnetic buttons are the most accessible option for beginners and experienced crafters alike. They feature pre-drilled holes along a plastic or metal border, allowing you to stitch them directly to your fabric. You do not need any specialized hardware tools—just a standard hand-sewing needle and heavy-duty thread, such as upholstery nylon or strong polyester thread. If you prefer machine sewing, you can use a zipper foot to stitch close to the magnetic center, provided your machine has enough clearance. Because they require no cutting, sew-on buttons are highly forgiving and can be easily unpicked and repositioned if you make a mistake.

Prong-back magnetic buttons offer a highly secure, professional-looking finish but require a bit more confidence and a specific set of tools. To install them, you will need an awl, a leather punch, or a sharp craft knife to make precise slits in your fabric. You will also need pliers, a setting tool, or a small hammer to bend the metal prongs flat over the backing washer. Precision is critical here; a misplaced cut can ruin your entire bag panel. When bending the prongs, it is generally best to fold them outward rather than inward to create a flatter profile and reduce bulk, especially when working with thicker materials.
Adhesive magnetic buttons are best reserved for specialized projects where stitching or punching holes is physically impossible or aesthetically undesirable. This includes rigid acrylic clutches, highly structured molded leather, or hard plastic cases. Installing these buttons requires meticulous surface preparation. You must clean the bonding area thoroughly with isopropyl alcohol to remove any oils, dust, or manufacturing residues. You will need high-quality craft glues or two-part epoxy, along with clamps to hold the button firmly in place during the curing process. Be sure to work in a well-ventilated space and wear protective gloves when handling strong adhesives to avoid skin contact.
Evaluate Durability Needs Based on Bag Usage
High-frequency or heavy-duty bags, such as daily commuter backpacks, large canvas tote bags, and school bags, experience constant mechanical stress. Every time the bag is opened, a pulling force is exerted directly on the fabric surrounding the closure. For these demanding applications, mechanical attachments are the most reliable choice. Sew-on buttons stitched with multiple passes of heavy-duty thread or prong-back buttons reinforced with metal backing washers and stabilizer fabric provide the necessary resistance to withstand thousands of open-and-close cycles without loosening.
Light-duty, decorative, or evening clutches are subjected to much less physical strain. These bags typically carry lighter items and are opened less frequently, making them excellent candidates for adhesive magnetic buttons. However, the adhesive will only hold if the bonding surface is completely rigid and flat. If the material flexes or bends near the closure, the adhesive bond will eventually shear off under the magnetic pull.
Before purchasing your hardware, verify the magnet strength specified by the manufacturer on the product packaging. A magnet that is too strong for a delicate fabric will eventually tear the fibers, no matter how much interfacing you use. Conversely, a magnet that is too weak will fail to keep a heavy, fully loaded bag closed. Match the magnet’s pull force to the weight of the bag and the thickness of the closure area.
Build Your Final Selection Checklist
Building a final selection checklist helps streamline your purchasing decision and ensures a successful project. Start by cross-referencing your bag’s material compatibility, your tool availability, and your durability requirements. If you are working with delicate silk and do not own pliers or an awl, a sew-on button is your clear winner. If you are crafting a heavy leather backpack and want a flush, professional finish, a prong-back button with a backing washer is the ideal choice.
Next, review the product label for specific care instructions. If your finished bag will need regular washing, ensure the metal hardware is rust-resistant, such as coated brass, stainless steel, or sealed alloys. If you plan to use adhesive buttons, check the glue’s heat resistance, especially if you intend to iron the bag during assembly or if the bag will be exposed to warm environments.
Finally, always plan a hidden stress test on a fabric scrap before working on your main project. Cut a small piece of your bag fabric, apply the exact interfacing or stabilizer you plan to use, and install the magnetic button using your chosen method. Pull the magnet apart repeatedly to observe how the fabric behaves. This simple test allows you to verify the bond strength, check for fabric distortion, and make any necessary adjustments before touching your expensive project materials.
Frequently Asked Questions (FAQ)
Can I wash bags with magnetic buttons in a washing machine?
Always check the manufacturer’s washability guidelines on the packaging before washing your bag. Adhesive bonds can degrade quickly when exposed to water, laundry detergents, or the high heat of a dryer, causing the button to detach. For metal prong-back or sew-on buttons, ensure they are labeled as rust-resistant—typically made of stainless steel, coated brass, or sealed alloys—to prevent rust stains from ruining your fabric. If the packaging does not specify rust resistance, it is safest to hand-wash the bag and dry the hardware immediately with a soft cloth.
How do I hide the back of the magnetic button inside the bag?
The most professional way to conceal the hardware is to install the magnetic button onto the lining fabric or a separate facing panel before assembling the bag. This keeps the prongs, stitches, or adhesive backing completely hidden between the outer fabric and the lining. If your bag design does not include a lining, you can cover the back of the button with a decorative leather patch, a fabric applique, or specialized plastic caps designed to snap over the prongs. This not only improves the interior aesthetics but also protects your bag’s contents from scratching against the metal hardware.
Community discussion
Share your experience or ask a question. Comments are reviewed before publication.