
Most school craft projects do not require contact adhesive glue; standard glue sticks and liquid PVA glues are perfectly adequate for paper, cardboard, and light felt. Contact adhesive glue is only necessary when students work on advanced, mixed-media projects involving non-porous materials like plastics, metals, or laminates, or when building structural models that require an instant, permanent bond without clamping. Understanding this distinction helps parents and students avoid purchasing unnecessary, heavy-duty chemicals for basic classroom tasks, saving money on back-to-school stationery lists where a simple S$1 glue stick is often the superior tool.
How to Evaluate If a Craft Project Needs Contact Adhesive
Evaluating whether a school project requires contact adhesive glue starts with a simple material porosity check. Porous materials, such as standard drawing paper, construction cardstock, and natural wood, have tiny microscopic gaps that easily absorb water-based adhesives like liquid white glue or glue sticks. Non-porous materials, including hard plastics, acrylic sheets, metals, and glass, lack these pores, meaning water-based glues cannot penetrate the surface and will simply peel off once dry. If a project requires bonding a non-porous item to another non-porous surface, a specialized adhesive is usually required to create a lasting bond.
Another critical factor is the structural load and stress conditions of the joint. Flat, low-stress surface bonding—such as pasting a photo onto a poster board—places almost no physical strain on the adhesive. In contrast, three-dimensional models, weight-bearing joints, or curved materials that naturally want to spring back into a flat shape exert constant tension on the bond. Contact adhesive excels in these high-stress scenarios because it creates a strong, flexible bond that resists shearing forces, holding the pieces together immediately without sliding.
Products mentioned in this guide
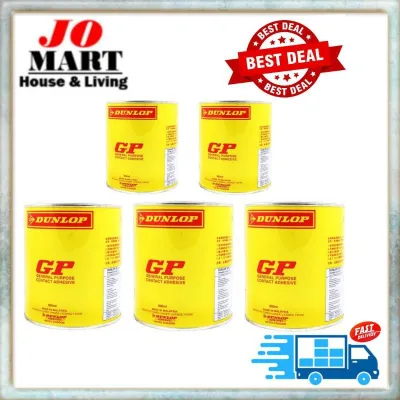
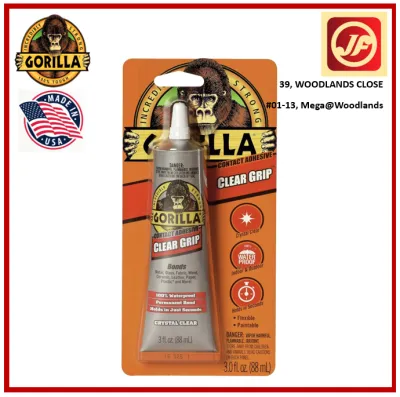
![[ Bundle of 2] Dunlop GP Multi Purpose Contact Adhesive Glue for Shoe wood leather rubber](https://img.lazcdn.com/g/p/f5b5fb0ebe53b46c83f56b1281804a9d.jpg_400x400q80.jpg_.webp)
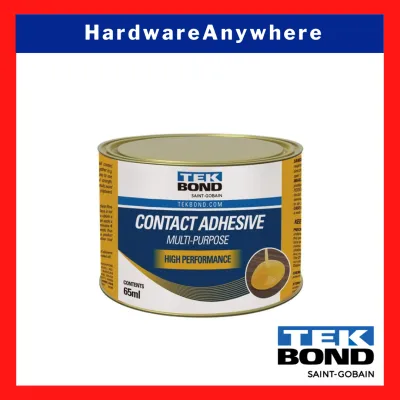
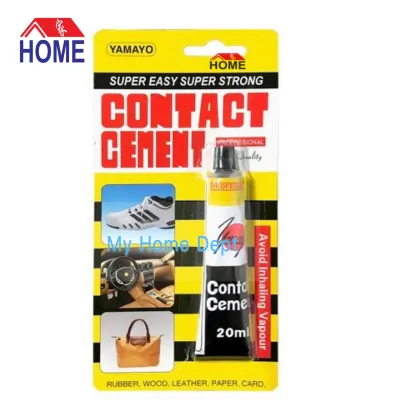
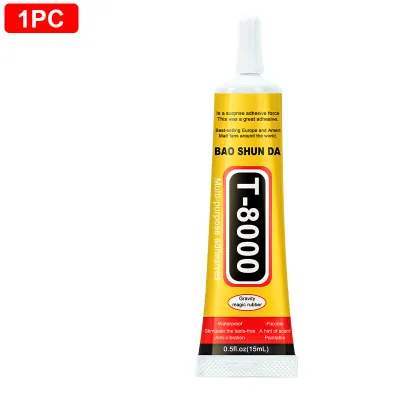
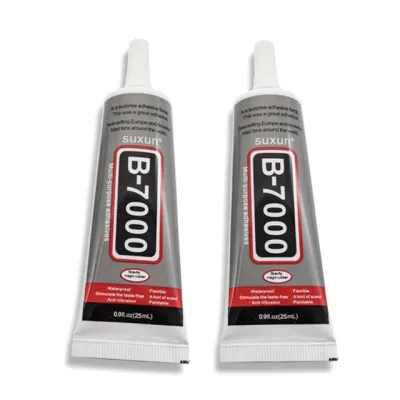
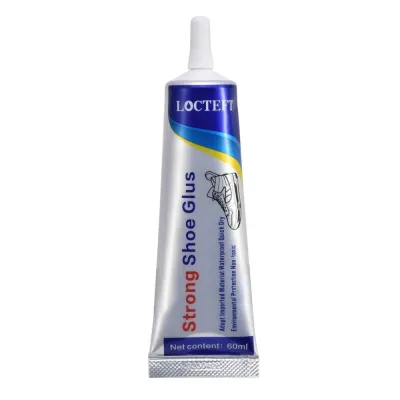
Prices are valid at publication and may change. Please refer to the product page for the latest price.
Finally, consider the trade-offs between permanence and repositioning. Standard school glues dry slowly, allowing students several minutes to slide, adjust, and realign their craft pieces. Contact adhesive offers zero repositioning time; once the two treated surfaces touch, they bond instantly and permanently. If a project requires precise, step-by-step alignment where mistakes are likely, standard glues or double-sided tapes are far more forgiving and less frustrating for students to use.
Contact Adhesive vs. Glue Sticks and Standard School Glues
To prevent over-purchasing school supplies, it is helpful to understand where standard school glues perform best. Glue sticks and liquid polyvinyl acetate (PVA) glues are the undisputed champions of the classroom for paper-to-paper and paper-to-cardboard applications. They are inexpensive, wash out of school uniforms easily, and pose no inhalation risks. Liquid PVA is also excellent for lightweight wood crafts, as it penetrates the wood fibers to create a bond stronger than the wood itself once fully cured, making it ideal for basic science models.

The bonding mechanism of contact adhesive glue is entirely different from these traditional school glues. Instead of applying the glue and joining the pieces wet, you must apply a thin layer of contact adhesive to both surfaces and let them dry separately. This period, known as the open time, allows the solvent to evaporate, leaving a tacky film. When these two dry, tacky surfaces are pressed together, they fuse instantly on contact, requiring no clamps or waiting time for the joint to hold, which is highly useful for vertical or awkward joints.
A common misconception is that using a stronger glue like contact adhesive will make paper crafts more durable. In reality, using contact adhesive on paper or thin cardstock causes severe wrinkling, puckering, and bleeding as the solvents react with the paper fibers. Additionally, using heavy-duty solvent-based adhesives for simple paper tasks introduces unnecessary chemical exposure and strong odors into the study room or classroom, making it a poor choice for everyday schoolwork.
Adhesive Selection Guidelines by Grade Level
As students progress through school, their craft projects naturally scale in complexity, moving from simple flat collages to intricate three-dimensional structures. This progression changes the materials they handle and, consequently, the types of adhesives they require. Matching the adhesive’s strength and chemical properties to both the material porosity and the student’s developmental stage ensures both project success and physical safety.
Early Primary: Safety and Basic Materials
In early primary school, craft activities focus heavily on developing fine motor skills using foundational materials. Students typically work with drawing paper, colored felt, lightweight cardboard, cotton wool, and natural items collected from the school garden. These highly porous materials are easily joined using standard, non-toxic school supplies.
For these classrooms, the recommended adhesives are strictly limited to solid glue sticks, washable PVA white glue, and water-based craft glues. These options are completely non-toxic, solvent-free, and easily cleaned with warm water if spilled on desks or clothing. They provide a safe environment where young children can experiment without risk, and they are highly affordable, often costing less than S$2 per stick.
Contact adhesive glue is entirely unsuitable for early primary students. The strong fumes, flammability of solvent-based formulas, and the advanced fine motor coordination required to apply and align pieces instantly make it a safety hazard. At this stage, there is absolutely no educational or structural need for heavy-duty adhesives, and they should be kept out of the classroom entirely.
Upper Primary and Secondary: Complex and Structural Models
As students enter upper primary and secondary school, science, technology, engineering, and art projects become significantly more complex. Students begin constructing bridge models, architectural prototypes, and mixed-media sculptures. These projects often incorporate challenging materials like balsa wood, thick acrylic plastics, ceramics, and metal wires.
Contact adhesive glue becomes legitimately useful here when bonding non-porous trims, laminating large flat sheets of plastic or wood, or securing heavy structural joints where mechanical clamping is physically impossible. For instance, attaching a rubber strip to a plastic housing or bonding a laminate sheet to a wooden base are classic scenarios where contact adhesive is the most efficient tool. It allows students to continue building without waiting hours for wet glue to dry.
However, because of the chemical nature of these adhesives, strict supervision requirements must remain in place. Students using contact adhesive should always work under adult oversight, preferably in a well-ventilated school laboratory, workshop, or outdoor area. Adhering to school safety policies and wearing appropriate protective gear, such as safety glasses, is essential when handling solvent-based products to prevent accidental inhalation or skin contact.
Safety, Ventilation, and Handling Rules for Contact Adhesive
When a secondary school project genuinely requires contact adhesive glue, establishing strict operational boundaries is vital for safety. The primary concern with traditional contact adhesives is the release of volatile organic compounds (VOCs) as the solvent evaporates. Always apply these glues in a space with active airflow, such as next to open windows, under a workshop extraction hood, or outdoors. If working indoors at home, setting up a fan to blow fumes away from the workspace is highly recommended to maintain a safe breathing environment.
Understanding the application technique is also critical to avoiding ruined projects. You must apply a thin, even coat to both surfaces and wait for the adhesive to become dry to the touch—usually a few minutes—before joining them. Because there is no opportunity to reposition the parts once they touch, students should practice aligning the pieces using dry runs or alignment guides before making actual contact, ensuring a perfect fit on the first attempt.
Finally, proper storage and cleanup boundaries must be maintained to prevent accidents. Contact adhesive containers must be sealed tightly immediately after use to prevent the solvent from drying out, and they should be stored in a cool, dry place away from direct sunlight or heat sources. Uncured residue on tools or workpieces can sometimes be rubbed off gently once tacky, but cured spills may require specialized solvents that must be handled with extreme care to avoid damaging the underlying material or school property.
Frequently Asked Questions (FAQ)
Can contact adhesive be used for heavy cardstock or poster board?
No, contact adhesive is not recommended for heavy cardstock or poster board. The solvents in the adhesive will warp, wrinkle, or bleed through the paper fibers, ruining the clean appearance of the presentation. For heavy paper products, safer and more effective alternatives include heavy-duty PVA wood glue, double-sided mounting tape, or high-tack glue runners.
What is a safer alternative for bonding non-porous craft materials?
If school safety rules restrict solvent-based contact adhesives, look for water-based contact cements or specialized non-toxic craft epoxies. Always check the product labels and safety data sheets to verify material compatibility and safety requirements before purchasing.
Community discussion
Share your experience or ask a question. Comments are reviewed before publication.