
Choosing your first resin mold set is an exciting step into crafting, but the sheer variety of options can make it difficult to know what actually matters. To get optimal results, look for a set made from flexible, high-tear-strength silicone with a high-gloss interior finish, simple geometric shapes, and clear compatibility with your specific resin type. Focusing on these core features helps you avoid common beginner pitfalls like trapped bubbles, torn molds, or dull, cloudy finished pieces.
How to Evaluate Mold Material and Build Quality
The material of your mold directly dictates how easily your finished piece releases and how long the mold itself lasts. High-quality silicone is the standard for resin crafting, but not all silicone is created equal. When browsing, look for platinum-cure silicone, which offers excellent durability, minimal shrinkage, and high resistance to tearing compared to cheaper alternatives.
The interior surface of the mold is another critical factor because resin cures to mirror whatever texture it touches. If the inside of the mold is matte or slightly textured, your cured resin piece will emerge with a dull, cloudy finish that requires extensive polishing. For a crystal-clear, glass-like finish straight out of the mold, verify that the product description specifies a high-gloss interior.
Products mentioned in this guide
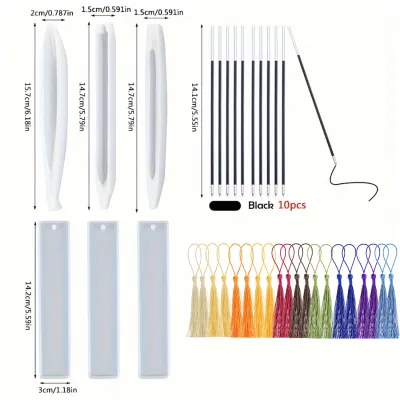
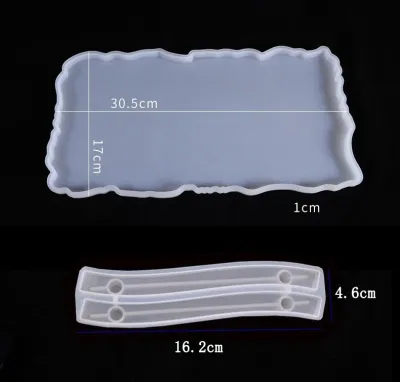
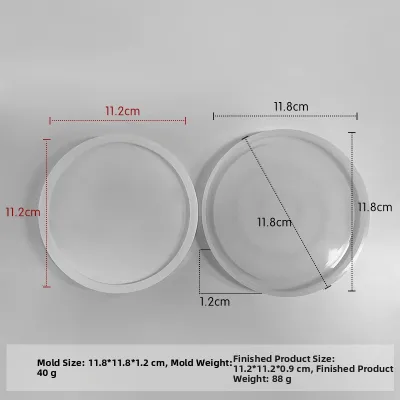
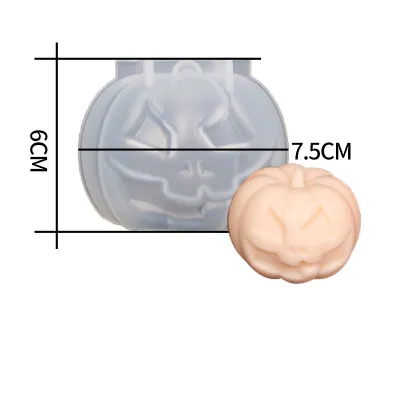
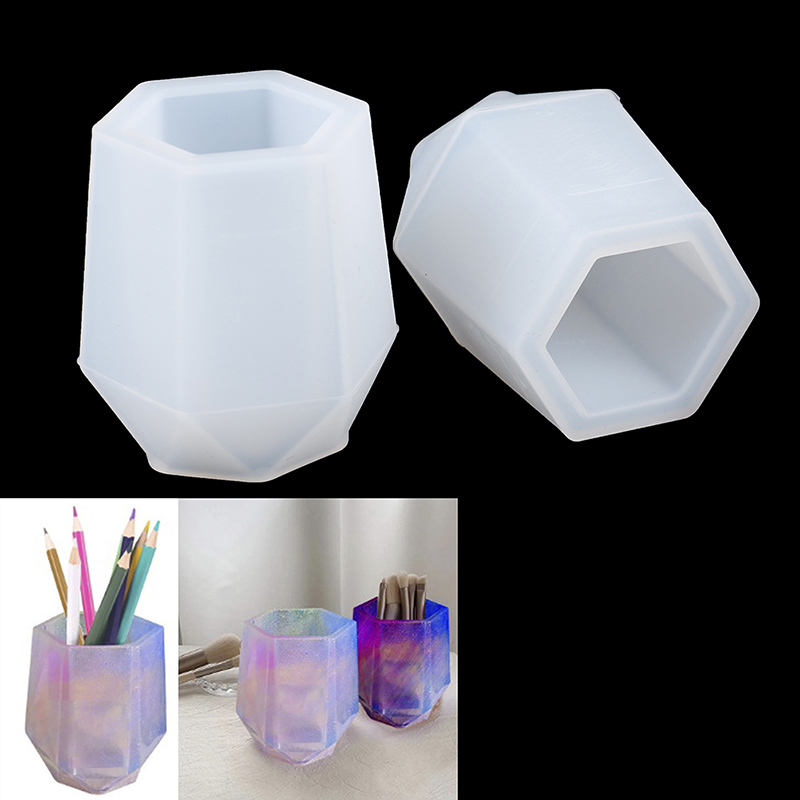
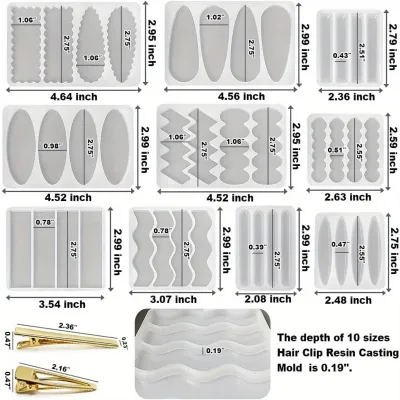
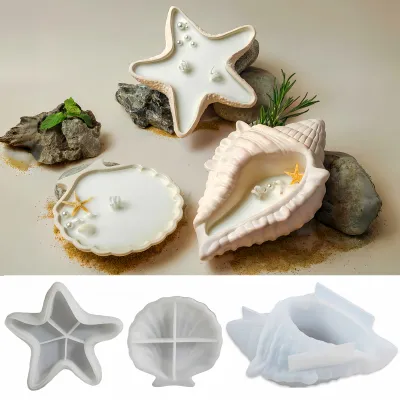
Prices are valid at publication and may change. Please refer to the product page for the latest price.
You should also examine the physical structure, specifically the thickness of the mold walls and the presence of reinforced edges. Thin, flimsy molds often bulge or warp under the weight of liquid resin, resulting in distorted shapes and uneven surfaces. A sturdy mold with thick walls and a flat, stable base ensures your projects cure with straight lines and level surfaces.
Choosing the Right Shapes and Piece Count
As a beginner, it is tempting to purchase massive kits containing dozens of intricate shapes, but starting simple is the most reliable way to build your skills. Basic geometric shapes like squares, circles, hexagons, and flat-backed designs like coasters or simple pendants are ideal for your first projects. These shapes allow you to focus on mastering resin mixing, color blending, and bubble elimination without the added difficulty of complex geometries.

Be cautious of sets that boast an incredibly high piece count but consist mostly of tiny, highly detailed micro-molds. These miniature cavities are notoriously difficult to fill without trapping air bubbles, and demolding them without breaking delicate parts can be highly frustrating. A smaller, well-curated set of highly usable shapes is far more valuable than a massive collection of tiny molds you may never use.
Always check the physical dimensions and volume capacity of the molds before purchasing. Knowing the volume helps you estimate exactly how much resin you need to mix for each project, preventing waste and ensuring you do not run out of material mid-pour. Matching the mold size to your workspace and your budget for resin consumables is a practical step toward a successful first experience.
Spotting Beginner-Friendly Demolding Features
Demolding is often the most satisfying part of resin crafting, but a poorly designed mold can turn this step into a struggle. When selecting a set, look closely at the design for potential traps like deep undercuts, extremely narrow necks, or sharp internal angles. These features can lock the cured resin in place, making it nearly impossible to remove the piece without tearing the silicone or snapping the resin.
If you are shopping in a physical store, you can perform a gentle tactile check to evaluate the mold’s flexibility. Gently stretch the edges of the mold; it should yield easily to your touch but snap back into its original shape immediately. High-quality silicone feels supple and elastic, whereas low-grade materials may feel stiff, plastic-like, or show white stress marks when stretched.
For online shopping, look for product images that show the mold being peeled back or turned inside out. Molds with slightly tapered sides and rounded interior corners are inherently easier to work with because they allow air to enter as you peel the silicone away. A flexible rim that can be rolled down makes the initial release much smoother, reducing the risk of damaging your finished piece.
Checking Accessories and Resin Compatibility
Many beginner mold sets come bundled with various accessories, but it is important to evaluate whether these add-ons offer genuine value. Common inclusions like plastic measuring cups, wooden stirring sticks, and pipettes are highly useful for precise mixing and placement. However, if the price of a bundled set is significantly higher than the molds alone, it may be more economical to purchase high-quality, reusable silicone mixing cups separately.
You must also verify that the mold set is explicitly compatible with the specific type of resin you plan to use. While most silicone molds work well with two-part epoxy resin, some may not perform as expected with UV resin, which requires light to penetrate the mold to cure. If you are using UV resin, ensure the molds are made of clear or highly translucent silicone so the ultraviolet light can reach every corner.
Finally, review the manufacturer’s specifications for temperature limits and recommended release agents. Resin generates heat as it cures, and using a mold outside its rated temperature range can cause the resin to fuse permanently to the silicone. Checking these details on the packaging helps you select the correct mold release spray or technique to preserve your tools.
Red Flags to Avoid When Shopping
One of the most immediate warning signs of a low-quality mold is a strong, harsh chemical odor upon opening the packaging. High-grade, properly cured silicone is virtually odorless, so a pungent chemical smell often indicates cheap manufacturing processes or unsafe additives. These low-grade materials can degrade rapidly when exposed to the chemical heat of curing resin.
Another major red flag is an excessively thin, floppy construction that cannot hold its shape when lifted. If a mold sags or bends significantly under its own weight, it will certainly distort when filled with heavy liquid resin, leading to spilled material and ruined projects. Investing a few extra dollars, perhaps upgrading from a S$10 budget set to a S$20 structured set, can save you from costly resin spills.
Be wary of product listings that rely solely on highly styled, colorful images of finished resin pieces without showing clear photos of the actual empty molds. Some sellers use stock photos of finished crafts that were not even made using the molds on offer. Always look for clear, unedited photos of the empty silicone cavities from multiple angles to ensure you know exactly what shape and depth you are purchasing.
Frequently Asked Questions (FAQ)
How do I clean and store my resin molds to make them last longer?
To clean your molds, wash them gently with warm water and a mild dish soap using your fingers or a soft microfiber cloth. Avoid using abrasive sponges, scrubbers, or harsh chemical solvents like acetone, as these will scratch or degrade the glossy interior surface. Allow the molds to air dry completely, or pat them dry with a lint-free cloth to prevent dust from sticking to the silicone.
In Singapore’s warm and humid climate, keeping your molds free from ambient moisture and dust during storage is especially important. Store your molds completely flat in a cool, dry place away from direct sunlight, which can cause the silicone to become brittle over time. To keep them clean between crafting sessions, place them inside a sealed plastic container or a zip-top bag.
Can I use these molds for materials other than resin?
Many silicone molds are versatile enough to be used with alternative crafting mediums such as wax, soap, gypsum, or polymer clay. However, you must always check the manufacturer’s guidelines to ensure the mold material can withstand the specific temperature or chemical requirements of those mediums.
Crucially, once you use a mold for a specific non-food material like resin, you must never use that same mold for food preparation, even if it is labeled as food-grade silicone. To maintain safety and prevent cross-contamination, it is ideal practice to dedicate each mold to a single type of material. If you enjoy multiple crafts, label your molds or store them separately to avoid mixing them up.
Community discussion
Share your experience or ask a question. Comments are reviewed before publication.