
Selecting the right tailor’s chalk set is one of the most critical decisions for anyone engaged in sewing, dressmaking, or fashion design. A high-quality marking tool ensures that pattern lines, dart locations, and cutting paths remain sharp and visible throughout the construction process. However, choosing the wrong set can lead to permanent fabric staining, inaccurate cuts, or frustratingly faint lines that disappear mid-project. To make an informed purchase, you must evaluate the chalk’s material composition, physical shape, color contrast, and removal properties against the specific fabrics you plan to use.
In Singapore’s unique tropical climate, factors like high relative humidity can significantly influence how marking tools behave on fabric. Some chalk formulations absorb moisture from the air, causing them to crumble easily or adhere more stubbornly to delicate fibers. By understanding the physical properties of different chalk types and establishing a systematic evaluation process, you can confidently select a set that enhances your drafting precision and protects your textile investments.
Understanding Tailor's Chalk Materials and Fabric Compatibility
Tailor’s chalk is not a one-size-fits-all tool, as different materials interact uniquely with various textile fibers. The three primary categories of marking media are clay-based chalk, wax-based chalk, and natural soapstone. Each material offers distinct physical properties that dictate its suitability for specific fabric weights and textures.
Products mentioned in this guide
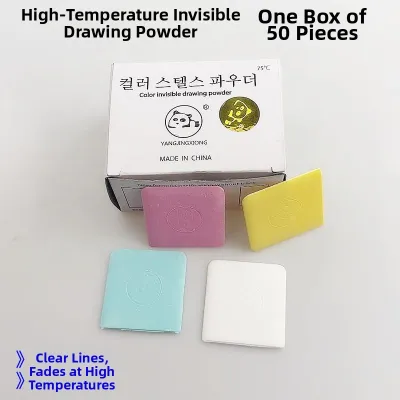
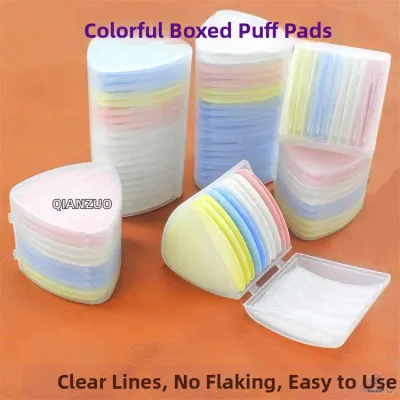
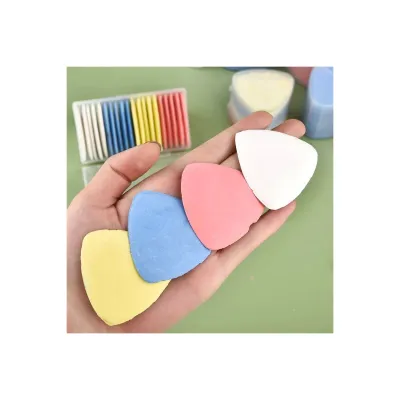
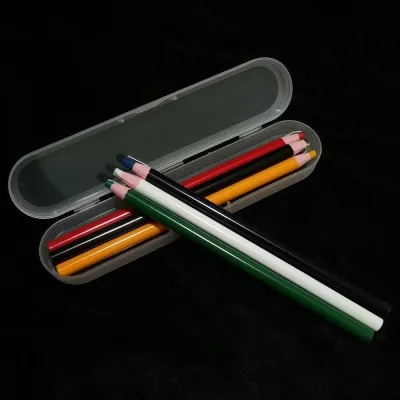
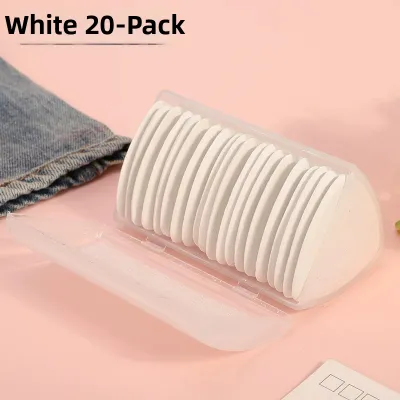
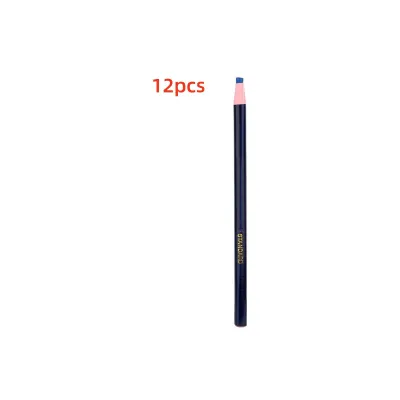
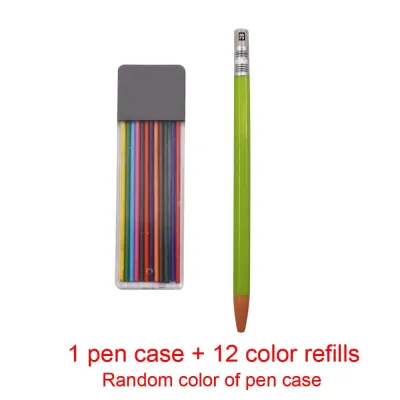
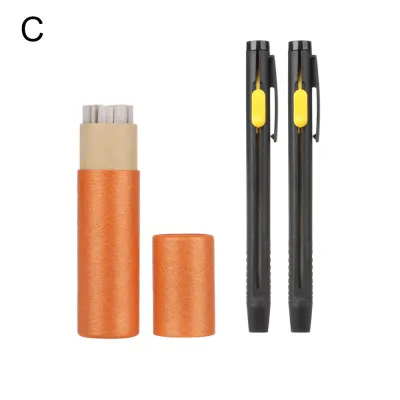
Prices are valid at publication and may change. Please refer to the product page for the latest price.
Clay-based chalk is the traditional choice for most tailors and hobbyists. Composed primarily of compressed calcium carbonate or talc, clay chalk produces dry, crisp lines that sit on top of the fabric fibers. It is highly favored for its ease of removal, as the marks can usually be brushed away or patted off with a clean cloth. This dry characteristic makes clay chalk exceptionally well-suited for medium to heavy woven fabrics, such as cotton canvas, denim, and wool. However, because clay chalk relies on a dry binder, it can be brittle and prone to breaking if dropped on hard studio floors.
Wax-based chalk offers a completely different marking experience. Formulated with a wax binder, this type of chalk glides effortlessly across smooth, slippery, or synthetic fabrics without dragging or snagging the weave. The resulting lines are highly durable and resistant to accidental smudging during handling. While wax chalk is excellent for structured tailoring fabrics and heavy synthetics, it presents risks for delicate materials. The wax can penetrate deep into the fibers of lightweight silks, satins, or sheer polyesters, potentially leaving greasy residues that are difficult to remove without specialized treatment.
Soapstone is a natural, mineral-based alternative carved from talc blocks. It is incredibly durable, heat-resistant, and produces clean, fine lines on dark, heavy, or highly textured fabrics like tweed and woolens. Soapstone marks do not easily rub off during handling, making them ideal for long-term tailoring projects. However, soapstone requires slightly more pressure to apply, which can distort lightweight or stretchy knit fabrics during the marking process.
To ensure fabric safety, always perform a preliminary test on a scrap piece of your project fabric before marking your main pattern pieces. Apply the chalk with your normal marking pressure, let it sit for several hours to simulate your sewing timeline, and then attempt to remove it using your preferred method. This simple step prevents irreversible damage to expensive textiles and helps you identify the most compatible chalk material for every project.
Evaluating Chalk Shapes and Ergonomics for Marking Tasks
The physical form of your tailor’s chalk directly impacts your drawing precision and hand comfort during long drafting sessions. Marking tools are available in several distinct shapes, each designed to optimize specific types of pattern work.

Traditional triangular and rectangular flat chalks remain highly popular for a reason. The wide, flat surfaces are easy to grip between the thumb and forefinger, providing excellent control when drawing long, straight lines against a heavy acrylic ruler or wooden yardstick. The tapered edges of a fresh triangle allow for incredibly sharp lines. However, as you use the chalk, these edges naturally wear down and become rounded. To maintain precision, you must regularly sharpen the edges using a dedicated chalk sharpener, a small pocket knife, or by gently scraping the edge against a fine-grit sandpaper block.
Pencil-style chalk markers offer a familiar writing grip that is highly intuitive for beginners and experienced sewists alike. These tools typically feature a wooden casing that can be sharpened with a standard pencil sharpener, or a mechanical clutch mechanism that holds a thin, replaceable chalk lead. Pencil-style markers are outstanding for detailed work, such as marking buttonhole placements, transferring intricate embroidery designs, or tracing small notches. They allow for high precision but may require frequent sharpening or lead advancement to keep the lines thin.
For continuous, drag-free marking on challenging fabrics, rolling wheel powder dispensers are an innovative alternative. These devices feature a small plastic reservoir filled with loose chalk powder and a tiny, serrated metal wheel at the tip. As you roll the wheel across the fabric, it dispenses a perfectly consistent, ultra-fine line of powder. Because the wheel rolls rather than slides, it applies virtually zero tension to the fabric, making it the absolute best choice for highly elastic knits, delicate jerseys, and flimsy chiffons that easily bunch up under traditional solid chalk.
When browsing for a set, consider the overall ergonomics of the tool. If you frequently draft large patterns or manage joint discomfort, look for chalk holders with soft, non-slip rubber grips or ergonomic plastic casings. A comfortable grip reduces hand fatigue, allowing you to maintain consistent pressure and line quality from the start of your layout to the final cut.
Assessing Color Visibility and Safe Removal Methods
A professional tailor’s chalk set should provide a balanced assortment of colors to ensure high contrast against any fabric in your collection. Without adequate contrast, you risk straining your eyes or making inaccurate cuts due to poorly visible guidelines.
Standard sets typically include white, blue, yellow, and red or pink chalks. White is the universal default for dark fabrics, offering clean visibility without the risk of pigment staining. For light-colored fabrics, pastel shades of blue or yellow provide excellent contrast. Red and pink chalks are highly visible on medium-toned fabrics but contain stronger pigments that require extra caution during the removal process. When selecting a color, always choose the lightest shade that remains clearly visible under your studio lighting.
Understanding how to safely remove chalk marks is just as important as making them. Manufacturers generally design tailor’s chalk to be removed through one of three primary methods: brushing, washing, or thermal evaporation. Clay-based chalks are usually formulated for mechanical removal, meaning they can be brushed away with a soft-bristled fabric brush or wiped off with a damp cloth. Washable chalks rely on water to dissolve the binders and pigments, requiring a quick cycle in the washing machine or a gentle hand-wash to disappear completely.
Heat-removable chalks, often wax-based or specialized synthetic formulations, are designed to vanish when exposed to the heat of a household iron. While this offers incredible convenience, it is vital to verify that the heat does not permanently set the pigment into the fabric fibers instead of removing it. In Singapore’s humid environment, moisture can sometimes bond the chalk pigments to the fabric before you apply heat, making a pre-ironing wash test essential.
Always conduct a comprehensive removal test on a hidden seam allowance or a scrap piece of fabric. Apply the chalk, let it cure, and then test your removal method. Check the fabric under bright, natural light to ensure no ghost lines, oily residues, or pigment stains remain. If a mark persists, try a different chalk color or material before proceeding with your project.
Checking Set Inclusions, Storage, and Refill Availability
When purchasing a tailor’s chalk set, evaluating the practical value of the package and its long-term usability will save you time and money. A well-thought-out set should meet your immediate project needs while offering a sustainable path for future refills.
Begin by reviewing the color assortment and piece count. A basic set of four to six pieces in assorted colors is generally sufficient for general garment sewing. If you specialize in specific types of tailoring, such as working primarily with dark wools or light bridal silks, you may want to look for specialized sets that offer multiple pieces of a single color, such as an all-white or all-blue pack. This prevents you from wasting money on colors you rarely use.
Because traditional clay and wax chalks are highly fragile, the quality of the packaging is a critical consideration. Look for sets that come housed in a sturdy, hard-shell plastic storage case, preferably with custom-cut foam inserts that cradle each piece of chalk individually. This protective packaging prevents the chalk from rattling, chipping, or shattering into useless crumbs when stored in your sewing box or transported to sewing classes. A secure latching mechanism on the case ensures it won’t accidentally pop open during transit.
For mechanical chalk pencils and rolling wheel dispensers, investigate the availability and cost of replacement refills before making your initial purchase. Some proprietary marking systems require highly specific refill cartridges or loose powder packets that can be difficult to source locally. Opt for brands that offer widely compatible refills, allowing you to reuse the ergonomic plastic holders indefinitely. This not only reduces plastic waste but also ensures you won’t be left with an unusable tool once the initial chalk supply runs out.
Building Your Shortlist: A Step-by-Step Evaluation Checklist
To help you navigate the wide variety of options available at local haberdasheries, specialty sewing shops, and online marketplaces, use this step-by-step checklist to evaluate and finalize your purchase.
- Step 1: Define Your Fabric Profile. Review the projects you sew most frequently. If you work primarily with structured cottons and wools, prioritize a high-quality clay-based set. If you work with slippery synthetics or delicate knits, look for wax-based options or a rolling wheel powder dispenser.
- Step 2: Inspect the Tool Ergonomics. Choose a physical format that matches your drafting style. Select flat triangles for long, straight lines, or mechanical pencils and rolling wheels for intricate curves, pattern alterations, and detailed markings.
- Step 3: Verify the Color Assortment. Ensure the set contains at least three contrasting colors (such as white, blue, and yellow) to cover the full spectrum of light, medium, and dark fabrics in your stash.
- Step 4: Check the Storage Solution. Confirm that the set includes a protective, hard-shell case with foam padding to safeguard the fragile chalk pieces from breaking during storage or travel.
- Step 5: Assess Refill and Accessory Availability. For mechanical or powder-based systems, verify that replacement leads or powder refills are easy to purchase. If buying flat chalks, check if the set includes a built-in sharpener or if you need to purchase one separately.
- Step 6: Read User Feedback and Seller Policies. When shopping on online marketplaces, read customer reviews specifically looking for mentions of excessive crumbling during shipping, ease of removal, or staining issues. Ensure the seller has a reliable return or replacement policy in case the chalk arrives damaged.
By systematically working through this checklist, you can avoid the common pitfalls of purchasing low-quality marking tools. Investing a small amount of time in selecting the right tailor’s chalk set will reward you with cleaner lines, more accurate cuts, and a much more enjoyable sewing experience.
Frequently Asked Questions (FAQ)
Can I use regular classroom chalk instead of a tailor's chalk set?
It is highly recommended to avoid using regular classroom blackboard chalk for fabric marking. Classroom chalk is typically made from gypsum (calcium sulfate) and contains coarse binding agents and pigments that are not formulated for textiles. These ingredients can scratch delicate fabric fibers, produce excessive, messy dust, and leave permanent stains that do not wash out. Furthermore, classroom chalk lacks the specialized shapes, such as tapered edges or fine powder wheels, required for precise pattern drafting. Always use purpose-made tailor’s chalk to protect your fabrics and ensure accurate markings.
How do I remove wax-based tailor's chalk from delicate fabrics?
To remove wax-based tailor’s chalk, you generally need to apply gentle heat to melt the wax binder, allowing it to transfer out of the fabric. Place a clean sheet of white absorbent paper, such as blotting paper or a plain paper towel, directly over and under the chalk mark. Set your household iron to a low, dry setting (no steam) and press gently over the paper. The heat will melt the wax, which is then absorbed by the paper. Always test this method on a scrap piece of the exact same fabric first, as excessive heat can melt synthetic fibers or permanently set certain pigments into the weave.
Community discussion
Share your experience or ask a question. Comments are reviewed before publication.