
Selecting your first acrylic paint set is a pivotal step in your artistic journey, as the quality of your initial materials directly impacts how easily you learn to manipulate color, blend gradients, and control your brush. For beginners, the ideal starter set should offer a balanced selection of highly mixable colors, a forgiving and versatile consistency, and clear labeling that helps you understand what you are putting on your canvas. Rather than buying the largest or most expensive kit available, focusing on a few essential criteria—such as pigment quality, tube volume, and surface compatibility—will save you money and prevent the frustration of working with chalky, unresponsive paints.
How to Evaluate Paint Quality and Consistency
To evaluate paint quality, you must first understand the distinction between student-grade and professional-grade acrylics. Student-grade paints are formulated with lower pigment concentrations and a higher proportion of fillers, such as calcium carbonate. While this makes them highly affordable and excellent for practicing basic brushwork, color mixing, and composition, they tend to be slightly less vibrant and more transparent than their professional counterparts. Professional-grade paints, on the other hand, feature pure pigments and minimal fillers, offering exceptional tinting strength and coverage. For those just starting out, a high-quality student-grade set is typically the most practical choice, providing a reliable balance of performance and value without the pressure of wasting costly materials.
The physical consistency, or viscosity, of the paint is another critical factor that dictates how it behaves on your painting surface. Acrylic paints generally fall into two main categories: heavy body and fluid. Heavy body acrylics have a thick, buttery texture similar to oil paints, allowing them to retain brushstrokes, palette knife marks, and sculptural textures. This consistency is highly forgiving for beginners because it is easy to control on a vertical easel and can be effortlessly thinned down with small amounts of water to achieve a smoother finish. Fluid acrylics have a much lower viscosity, flowing smoothly like heavy cream, which makes them excellent for detailed line work, glazing, or pouring techniques. Starting with a heavy body set is highly recommended, as it offers the greatest versatility; you can easily make a heavy paint fluid, but you cannot easily make a fluid paint heavy without purchasing specialized thickening mediums.
Products mentioned in this guide
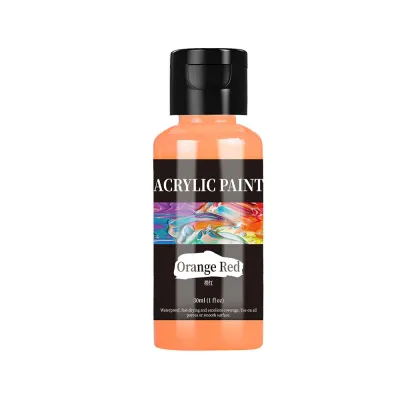
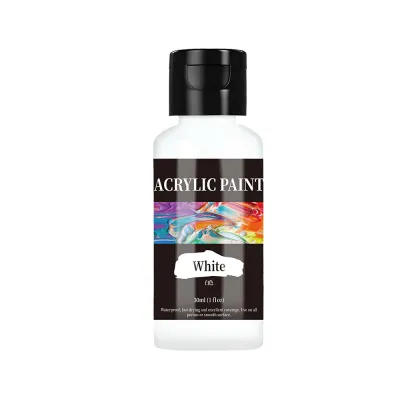
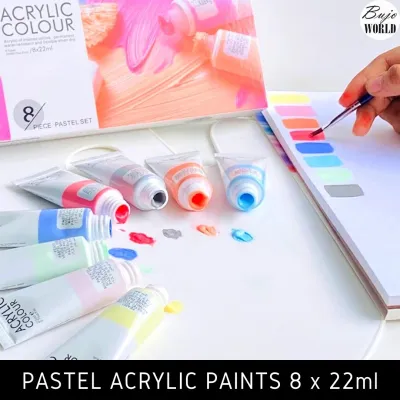
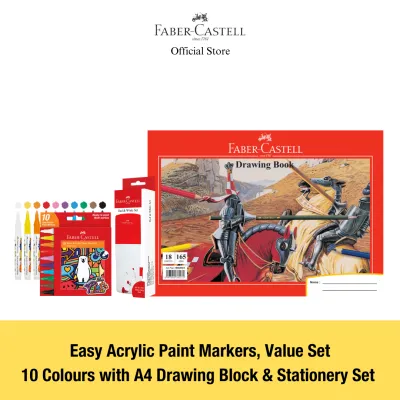
Prices are valid at publication and may change. Please refer to the product page for the latest price.
Before purchasing any set, you should also learn to read the lightfastness ratings printed on the individual tubes. Lightfastness refers to a pigment’s resistance to fading or changing color when exposed to light over time. Most reputable manufacturers use the ASTM International standard (such as ASTM D5098) to rate their paints, where Category I indicates excellent lightfastness, Category II represents very good lightfastness, and Category III or higher indicates fair or poor resistance. Alternatively, some brands use a star rating system, where three or four stars denote maximum permanence. Checking these symbols ensures that the hours you spend practicing and creating your first finished pieces will not be lost to premature fading, even when using student-grade materials.
Choosing the Right Colours and Accessories
When browsing starter sets, it is easy to be enticed by boxes containing dozens of pre-mixed shades. However, a set focused on a limited palette of primary colors, plus black and white, is far more educational and practical for a beginner. A classic “split-primary” palette—consisting of a warm and a cool version of red, yellow, and blue—teaches you the fundamentals of color theory and color mixing far better than a massive set of pre-mixed secondary colors. For example, mixing a warm blue like ultramarine with a warm red like cadmium red produces a deep, earthy purple, while mixing a cool blue like phthalo blue with a cool red like quinacridone magenta yields a vibrant, clean violet. Learning to mix your own greens, oranges, and purples from a small, high-quality selection of primaries builds a strong foundation that will serve you throughout your artistic journey.

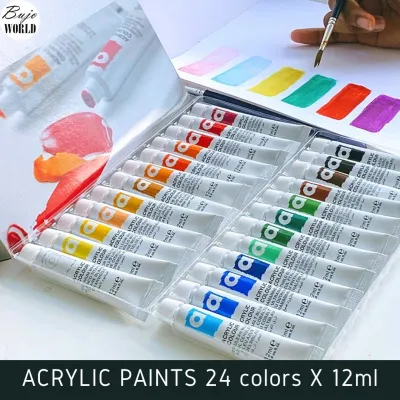
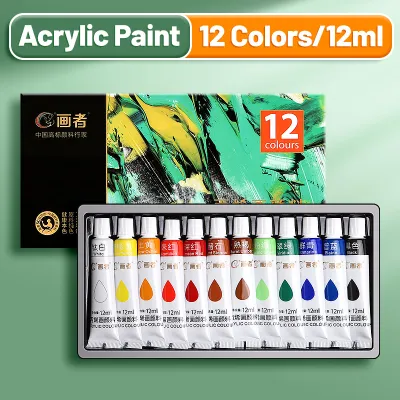
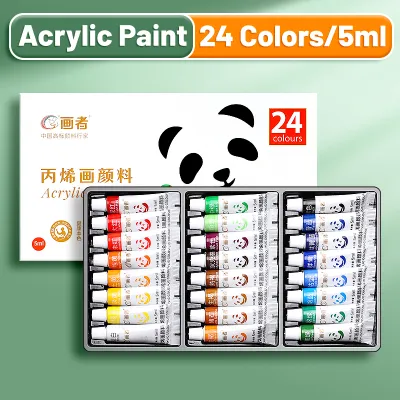
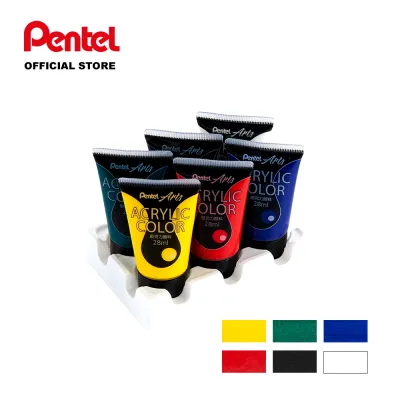
The volume of the paint tubes in a starter set is another detail that requires careful inspection. Many budget-friendly kits contain tiny 5ml or 12ml tubes, which can easily run out during your very first painting session, especially when working on larger canvases. For a practical starting point, look for sets that offer tubes of at least 20ml to 59ml (2 ounces). Titanium white is the most frequently used color in any palette, as it is essential for tinting, highlighting, and mixing pastel shades; therefore, it is highly beneficial to choose a set that includes a larger tube of white, or plan to purchase an individual large tube of white separately to supplement your starter kit.
Many beginner sets are sold as comprehensive kits that bundle paints with accessories like plastic palettes, synthetic brushes, and miniature easels. While these bundles seem convenient, the included tools are often of lower quality, featuring brushes that shed synthetic bristles onto your wet canvas or palettes that are difficult to clean. In most cases, it is more cost-effective to purchase a paint-only set from a reputable manufacturer and source your brushes and surfaces separately. A couple of high-quality synthetic brushes—such as a medium flat brush for broad strokes and a small round brush for details—will provide a much better painting experience than a dozen cheap, shedding brushes included in a budget bundle.
Matching the Set to Your Canvas and Workspace
Your choice of paint set must also align with the surfaces you plan to paint on and the physical environment of your workspace. Acrylic paint is incredibly versatile and adheres well to a wide variety of surfaces, but beginners should start with primed mediums to ensure optimal paint adhesion and prevent the paint from soaking into the material. Acrylic paper pads (typically 290gsm or thicker) are excellent for quick studies, color mixing charts, and practice strokes because they are easy to store and do not warp excessively when wet. Primed canvas boards offer a rigid, sturdy surface that is highly stable and easy to prop up on a table, making them ideal for finished projects. To verify the compatibility of your paint with a new surface, perform a simple trial: apply a small swatch of paint thinned with a little water to an inconspicuous corner of the material to observe if it bleeds, warps, or peels as it dries.
The physical format of your paint set also dictates how easily you can set up, clean up, and store your materials, especially if you have limited space. Traditional metal or plastic tubes are the industry standard for acrylics because they keep the paint airtight, preventing it from drying out prematurely. If you paint at a dedicated desk or have a permanent studio space, a standard tube set is highly practical. However, if you need a highly portable, travel-friendly setup for painting outdoors or in shared spaces, look for compact pod systems or sets with secure flip-top caps that are easy to open and close with one hand.
When planning your initial investment, a budget of S$15 to S$40 is generally sufficient to secure a high-quality student-grade starter set. This price range allows you to access reliable pigments without a massive financial commitment, leaving room in your budget for essential surfaces and brushes. As you develop your skills and identify the specific colors you use most frequently, you can gradually upgrade to professional-grade single tubes rather than buying another complete set. It is also important to consider the local climate when working with acrylics; high relative humidity can slightly extend the wet time of acrylics on your palette, but working in an air-conditioned room will accelerate drying times significantly, requiring you to work in smaller sections or use a fine mist of water to keep your paints workable.
Pre-Purchase Checklist and Common Mistakes to Avoid
Navigating the vast array of art supplies online can be challenging, and beginners often fall prey to misleading marketing claims on unbranded or generic sets. One common red flag is the use of vague terms like “professional quality” or “artist grade” on incredibly cheap sets sold on online marketplaces; true professional paints are rarely sold in large, cheap bundles because high-quality pigments are expensive to source. Additionally, do not confuse the term “non-toxic” with “skin-safe.” While an AP (Approved Product) non-toxic seal from the Art and Creative Materials Institute (ACMI) ensures the paint is safe for normal studio use and does not contain harmful chemicals, it is not formulated for cosmetic use and should not be applied to the skin.
Another common mistake is overlooking the rapid drying time of acrylic paint, which can make blending smooth gradients difficult for beginners. If you plan to practice soft transitions, wet-on-wet blending, or portraiture, check if your starter set includes a slow-drying medium or an acrylic retarder. Alternatively, you can purchase a small bottle of retarder separately; adding just a few drops to your paint on the palette slows down the evaporation process, giving you more time to blend and manipulate the colors before they cure.
Before finalizing your purchase, use this quick label verification checklist to ensure your chosen set meets professional safety and usability standards. First, verify that the manufacturer clearly lists the specific pigment codes (such as PW6 for Titanium White or PB29 for Ultramarine Blue) on the packaging or product description, which indicates a high-quality formulation. Second, check for a recognized safety certification, such as the ACMI AP seal, to guarantee the materials are safe for home use. Finally, ensure the tube volumes are clearly stated in milliliters or fluid ounces, avoiding sets that use ambiguous sizing descriptions like “small” or “travel size” without precise measurements.
Frequently Asked Questions (FAQ)
Can I use student-grade acrylics for finished artwork?
Yes, you can absolutely use student-grade acrylics for finished pieces, especially when you are still developing your style and do not want to worry about the cost of materials. However, because student-grade paints contain more fillers and lower pigment concentrations, they may not offer the same vibrant depth or coverage as professional-grade paints. If you plan to sell or exhibit your work, pay close attention to the lightfastness ratings on the tubes to ensure the colors will not fade over time. To protect your finished artwork from dust, UV rays, and environmental moisture, always apply a high-quality, UV-resistant acrylic varnish once the paint has fully cured, which helps preserve the colors and provides a uniform gloss or matte finish.
Do I need to buy extra mediums with my first set?
For your very first painting sessions, you do not need to invest in extra acrylic mediums, as clean water is perfectly sufficient for thinning your paint, cleaning your brushes, and blending colors. Water allows you to achieve watercolor-like washes and adjust the flow of heavy body acrylics easily. However, thinning acrylic paint with more than thirty percent water can break down the acrylic binder, leading to poor adhesion and uneven drying on the canvas. As you progress to more advanced techniques, you may want to explore dedicated mediums; gloss or matte mediums thin the paint while maintaining its adhesive strength, gel mediums add thick texture for impasto work, and retarders slow down the drying time for seamless blending.
How do I keep my acrylic paints from drying out in the tubes?
To maximize the lifespan of your acrylic paint set, establish a quick maintenance routine every time you finish a painting session. Always wipe the threads of the tube nozzle with a damp cloth before screwing the cap back on; dried paint on the threads can prevent a tight seal, allowing air to enter and dry out the remaining paint, or it can glue the cap shut permanently. Store your paint tubes in a cool, dry place away from direct sunlight, and consider storing them cap-down in a container so that any air bubbles rise to the bottom of the tube. If you have squeezed paint onto your palette and want to keep it wet for the next day, you can use a stay-wet palette or place a damp paper towel under a sheet of baking paper inside an airtight plastic container.

Community discussion
Share your experience or ask a question. Comments are reviewed before publication.