
Selecting your first sewing kit box for embroidery is a crucial step that directly impacts your stitching journey. A beginner should look for a combination of durable, specialized tools—such as sharp crewel needles and fine-tipped scissors—and a highly organized, moisture-resistant storage container. Because embroidery involves many small, delicate components like skeins of stranded floss, hoops, needle cases, and fabric markers, the ideal kit balances space-saving organization with high-quality starter tools that protect your materials from damage. Choosing the right setup from the start prevents thread fraying, lost needles, and the frustration of working with inadequate equipment, allowing you to focus entirely on mastering your stitches.
Assess Your Project Needs and Workspace Before Buying
Before browsing online marketplaces or local craft shops, take a moment to evaluate your specific embroidery goals and physical environment. Different needlework techniques require vastly different tools. For instance, traditional surface embroidery and cross-stitch rely on slender needles and multiple skeins of stranded cotton thread, which fit easily into shallow, segmented trays. Conversely, punch needle embroidery requires thick monk’s cloth, bulky yarn, and wide-barrel punch needles that demand deep, open compartments. If you buy a box designed solely for fine sewing threads, you will quickly find it cannot accommodate the bulky accessories of alternative needle arts.
Your physical workspace is another critical factor. If you live in a compact apartment or enjoy stitching during your daily commute, at local cafes, or at community craft meetups, a lightweight, highly portable box with a secure handle and a compact footprint is essential. If you have a dedicated crafting desk at home, a larger, multi-tiered stationary organizer with cantilever trays might serve you better, allowing you to keep all your tools visible and accessible at once.
Products mentioned in this guide
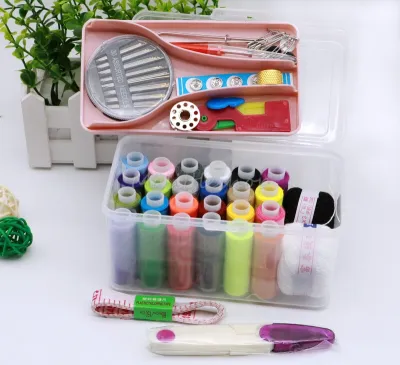
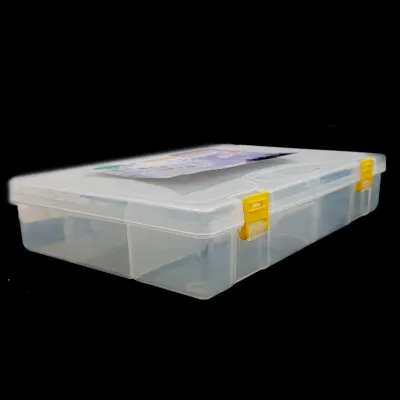
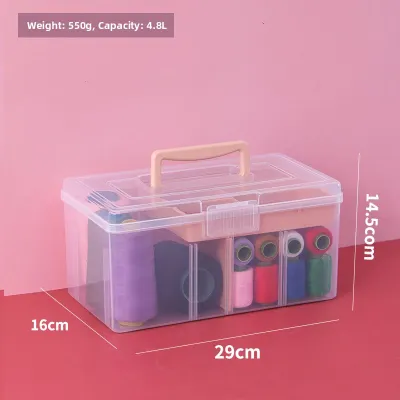
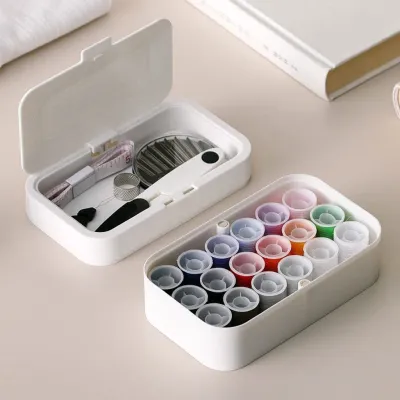
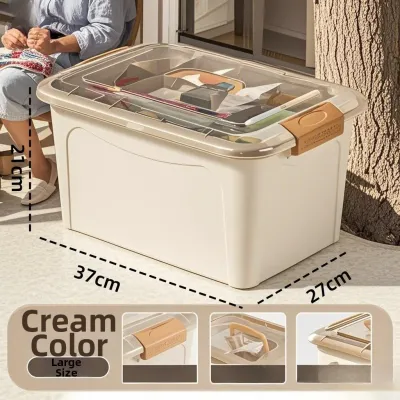
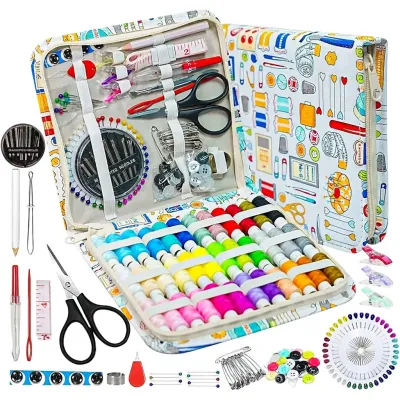
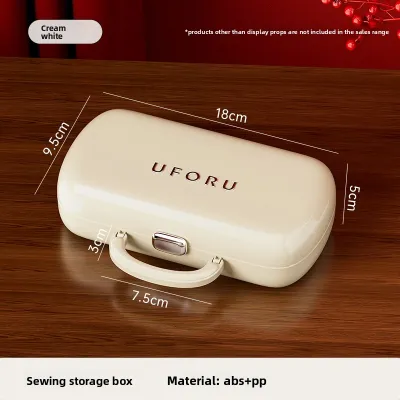
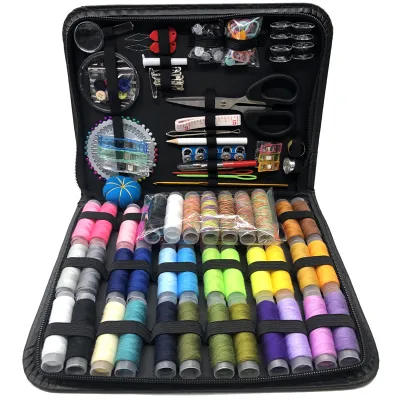
Prices are valid at publication and may change. Please refer to the product page for the latest price.
Finally, decide whether you need an all-in-one starter kit that includes consumables like threads and fabric, or simply an empty, high-quality storage box to organize tools you already own. Beginners often benefit from pre-packed kits to avoid the decision fatigue of buying tools individually, but you must ensure the included storage box is robust enough to house your collection as it inevitably grows.
Core Embroidery Tools to Prioritize in Your First Kit
Many beginner kits on the market are packed with dozens of low-quality “filler” items—such as flimsy plastic needle threaders or hundreds of yards of weak, unlabeled thread—to make the set look more valuable. To get the best value, focus on a kit that prioritizes the quality of a few essential tools rather than one that offers a hundred cheap, unusable pieces.

Needles, Threads, and Hoops
Needle Selection: Standard sewing needles (sharps) are generally unsuitable for embroidery. Instead, look for a kit that contains dedicated crewel needles. These needles feature medium-length shafts, exceptionally sharp points to pierce tightly woven fabrics without tearing, and elongated eyes designed to accommodate multiple strands of embroidery floss at once. A good starter kit should offer a variety pack of crewel needles in sizes 5 through 10, giving you the flexibility to work with different thread thicknesses.
Thread Quality: The most common embroidery thread is six-strand stranded cotton. When evaluating a kit, check the product specifications to confirm the threads are made of 100% long-staple cotton rather than cheap polyester, which can twist, knot, and fray easily under tension. In warm, humid climates, colorfastness is also critical; verify on the packaging labels that the threads are dye-fast to prevent colors from bleeding when you wash, block, or steam your finished piece.
Hoop Design: An embroidery hoop keeps your fabric taut, which is vital for maintaining even stitch tension and preventing puckering. Look for a kit that includes a sturdy hoop—either wooden or plastic—equipped with an adjustable metal tension screw. Inspect the inner and outer rings to ensure there are no splinters, rough edges, or warping that could snag or permanently crease your linen or cotton fabric. A 6-inch or 8-inch hoop is the ideal versatile size for beginners.
Scissors and Fabric Markers
Embroidery Scissors: Standard household scissors are too bulky and dull for delicate needlework. Your kit should feature small, dedicated embroidery scissors with fine, needle-sharp tips. These allow you to snip threads incredibly close to the fabric surface without accidentally slicing your active stitches or damaging the surrounding fabric fibers.
Fabric Markers: Transferring designs is a major part of the embroidery process. Look for kits that include water-soluble, air-erasable, or heat-erasable fabric pens. Water-soluble markers are highly reliable as they wash away completely with cold water, while heat-erasable pens disappear with the steam of an iron.
Verification Steps: Because different fabric fibers react uniquely to marking inks, always verify the manufacturer’s removal instructions. Before drawing your entire design, perform a quick test on a small scrap of your project fabric, let it dry for a few hours, and then apply the recommended removal method (such as a light mist of water or a quick pass of an iron) to ensure the ink disappears completely without leaving a ghost stain or reacting with the fabric dye.
Evaluating Box Design, Compartments, and Portability
The box itself is the backbone of your organization. A poorly designed box leads to tangled threads, lost needles, and general frustration, which can quickly drain the joy out of your new hobby.
Adjustable Dividers: Thread skeins, hoops, needle cases, and scissors all have different shapes and sizes. Look for a sewing kit box that features adjustable or removable dividers. This flexibility allows you to customize the compartment sizes as your tool collection evolves, preventing your items from sliding around and getting damaged. For example, you can create a long compartment for your fabric markers and scissors, and smaller, square compartments for your thread bobbins.
Secure Latches and Lids: A secure closing mechanism is non-negotiable, especially if you plan to transport your kit. Look for robust, snap-lock latches that won’t accidentally pop open inside a tote bag. The lid should fit flush against the top of the internal dividers; if there is even a small gap, small items like pins, needles, and thread bobbins will slip into adjacent compartments whenever the box is tilted or carried vertically.
Footprint and Portability: Consider the physical dimensions of the box. A compact, stackable design is ideal for homes where storage space is often at a premium. If you travel with your embroidery, look for a box made of lightweight but durable materials with a comfortable, fold-down handle. Cantilever-style boxes are excellent for home use as they expand outward to reveal multiple tiers of tools, but they can be too bulky for travel.
Efficiency Features: Several smart design details can elevate your stitching experience. A transparent lid allows you to perform quick inventory checks without opening the box. Built-in pin cushions or magnetic needle minders keep active needles safe during a stitching session, while clear labeling areas on the exterior help you identify the contents at a glance if you decide to own multiple boxes for different projects.
Inspecting Material Quality and Tool Durability
To ensure your sewing kit box lasts for years, you must look past attractive colors and inspect the actual materials and construction using observable standards.
Box Materials: Molded plastic boxes should feel thick and rigid, not flimsy or brittle. Check the hinges; integrated plastic “living hinges” (where the lid and base are joined by a thin, continuous strip of plastic) tend to crack over time with heavy use, whereas metal pin hinges or separate snap-on hinges offer much better durability. If you prefer a classic wooden box, verify that it is treated or sealed to prevent warping in humid conditions, and run your fingers along the interior edges to check for rough spots or splinters that could snag delicate silk or cotton threads.
Rust Prevention: High relative humidity can cause metal tools to rust quickly if they are unprotected. Check if the needles come in a secure, moisture-resistant foil packet or a tightly sealed plastic case. Avoid kits where needles are left loose or stuck directly into cheap foam, which can trap ambient moisture against the metal. Look for nickel-plated or gold-plated needles, which offer superior rust resistance.
Scissor Construction: Inspect the alignment of the scissor blades. When closed, the tips should meet perfectly without any gap. The pivot screw should feel snug but smooth—if the screw is too loose, the blades will fold the thread instead of cutting it; if it is too tight, your hand will fatigue quickly. High-quality scissors are typically made of forged steel rather than stamped metal.
Thread Preservation: Read any care and storage labels included with the threads. High-quality threads should be stored away from direct sunlight to prevent UV fading, and kept in a dust-free, dry environment. A well-sealed plastic sewing box is highly effective at shielding your threads from both dust and ambient indoor humidity, preserving their strength and color vibrance over time.
Signs It Is Time to Supplement or Upgrade Your Kit
A beginner sewing kit is an excellent starting point, but as your skills develop, you will eventually notice the limitations of your starter gear. Recognizing these signs early prevents frustration and keeps your crafting enjoyable.
Performance Bottlenecks: Pay attention to how your tools behave during a project. If your embroidery scissors begin to chew or fray the ends of your floss instead of making a clean snip, the blades have dulled. If your needles bend easily under gentle pressure or if the eyes have rough interior burrs that constantly shred your thread, it is time to upgrade. Similarly, if your embroidery hoop constantly loses tension, forcing you to pull and tighten the fabric every few minutes, the hoop has warped or the screw threads have stripped.
Expanding Project Scope: As you move on to more complex patterns, you may find that the basic color palette of threads or the single hoop size provided in your starter kit no longer suffices. You might need specialized needles, like milliner needles for bullion knots, or larger wooden hoops for grander designs.
Smart Upgrades: When you reach this stage, you do not need to buy a completely new boxed set. It is far more cost-effective to keep your existing sewing kit box as your primary storage and gradually replace individual tools with premium, professional-grade alternatives. Investing in a single pair of high-quality forged steel scissors or a set of premium gold-plated needles will immediately elevate your stitching experience while maximizing the utility of your original box.
Frequently Asked Questions (FAQ)
Can I use a regular sewing kit for embroidery?
While you can technically use some basic items, a standard sewing kit is not optimized for embroidery. Regular sewing needles (sharps) have small, round eyes that make threading multi-strand embroidery floss incredibly difficult, and their thin shafts can cause the thread to wear down as you pull it through the fabric. Furthermore, standard sewing thread is much thinner than embroidery floss, meaning your stitches will lack the rich texture and coverage required for needlework. Using dedicated embroidery tools ensures a smoother crafting process and a vastly superior finished product.
How do I prevent my embroidery threads from tangling in the box?
Embroidery floss is highly prone to tangling if left loose in a storage compartment. The most effective way to prevent this is to wind your thread skeins onto plastic or cardboard thread bobbins. Once wound, you can write the color identification number directly on the bobbin and store them upright in the narrow compartments of your sewing kit box. Alternatively, for threads you plan to use immediately, you can use small, clear, resealable plastic bags or specialized thread drops to keep individual colors separated, clean, and completely tangle-free.
Community discussion
Share your experience or ask a question. Comments are reviewed before publication.