
To choose the right DIY embroidery punch set as a complete beginner, you must focus on the compatibility between three core elements: the needle diameter, the yarn thickness, and the weave of the foundation fabric. Punch needle crafting relies entirely on tension and friction to hold loops of yarn in place. If these three elements are not perfectly matched, your loops will unravel the moment you lift the needle, leading to immediate frustration.
For those living in cozy apartments or looking for a relaxing, low-mess textile craft, a complete starter kit is an excellent entry point. It provides a self-contained project that does not require a massive dedicated workspace or complex machinery. By understanding what makes a high-quality set, you can avoid common pitfalls and ensure your very first crafting session is a satisfying success.
Essential Components of a Complete Punch Needle Kit
A truly beginner-friendly DIY embroidery punch set should contain every tool and material required to complete a project from start to finish. The core of any kit is the punch needle tool itself, which acts as a hollow wand that guides the yarn through the fabric. Alongside the needle, you need a sturdy embroidery hoop or frame to hold your fabric taut, and the correct foundation fabric, such as monk’s cloth or linen, which acts as the canvas for your design.
Products mentioned in this guide
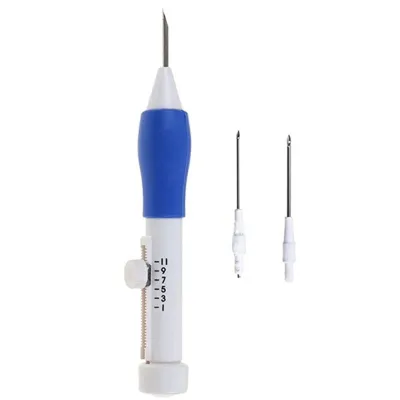
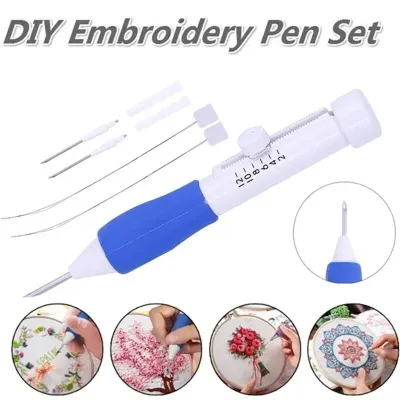
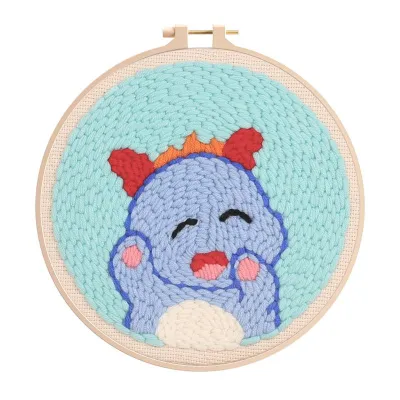
Prices are valid at publication and may change. Please refer to the product page for the latest price.
Beyond these primary tools, a complete set must include the necessary consumables and accessories. Look for kits that provide ample yarn or embroidery floss in the exact weights required for the design, ideally with a generous buffer in case of mistakes. A needle threader is another absolute necessity; because the yarn must travel through the entire length of the hollow needle shaft and out through the eye at the tip, you cannot thread a punch needle without this thin, flexible wire tool. A basic pair of sharp trimming scissors is also highly beneficial for cleanly cutting yarn tails without fraying the fibers.
Instructional support is the final piece of the puzzle for a beginner. The best starter sets do not leave you guessing; they include pre-printed patterns on the fabric or tracing templates that you can transfer yourself. Clear, step-by-step printed guides or links to video tutorials are invaluable for learning how to hold the needle, maintain consistent stitch spacing, and troubleshoot loose loops. Having a clear visual roadmap ensures you can focus on mastering the physical technique rather than worrying about design proportions.
Quality Indicators for Beginners: What Actually Matters
When evaluating a DIY embroidery punch set, you should look past flashy packaging and focus on the physical construction of the components. The needle mechanism is the most critical point of failure. If you choose an adjustable needle, inspect how the needle length is secured. Low-quality plastic locking collars can slip under the pressure of repetitive punching, causing the needle to slide back into the handle and resulting in uneven loop heights. Sturdy metal thumb screws or secure slot-and-pin mechanisms are much more reliable, while solid wooden or molded plastic fixed needles offer maximum stability with zero risk of slipping.

Hoop tension is another make-or-break factor for successful punching. The foundation fabric must be stretched until it is drum-tight; if you tap the fabric with your finger, it should produce a clear, high-pitched sound. Standard wooden embroidery hoops often struggle to maintain this level of tension, allowing the fabric to sag as you repeatedly push the needle through. For beginners, plastic hoops featuring a built-in lip or groove—often referred to as non-slip hoops—are highly recommended because they lock the fabric securely in place and prevent slipping during long crafting sessions.
Fabric suitability and hole recovery are the ultimate indicators of material quality. High-quality monk’s cloth, which is a 100% cotton even-weave fabric, has excellent hole recovery. If you make a mistake, you can easily pull the yarn out and scrape the disrupted fabric threads with the tip of your needle or a fingernail to wiggle the threads back into place, leaving no permanent damage. Cheap, synthetic fabrics or stiff cross-stitch canvas (like Aida cloth) will tear or stretch permanently under the force of a punch needle, leaving gaping holes that can no longer hold the yarn loops in place.
Evaluating Set Variations: Adjustable vs. Fixed Needles
As you browse different DIY embroidery punch sets, you will primarily choose between kits featuring adjustable needles and those with fixed-length needles. Adjustable needles offer incredible versatility because they allow you to change the length of the exposed metal shaft. This adjustment directly controls the height of the yarn loops on the front of your work, enabling you to create beautiful, multi-textured designs with high-pile fluffy areas and low-pile flat details. The trade-off is that adjustable needles tend to be bulkier, heavier, and require careful handling to ensure the locking mechanism remains tight.
Fixed needles, on the other hand, are prized for their simplicity and ergonomic comfort. Because they are constructed as a single, solid piece, they are lightweight and highly durable, making them comfortable to hold for hours at a time. They deliver perfectly consistent stitch depths because there are no moving parts that can slip. However, if you want to experiment with different loop heights or switch to a completely different yarn weight in the future, you will need to purchase entirely separate fixed needles for each variation.
Regardless of the needle type, you must verify the compatibility between the needle’s inner diameter and the yarn provided in the kit. The yarn must slide completely freely through the hollow shaft of the needle with zero friction. If the yarn is too thick or has slubs and knots, it will catch inside the needle, preventing the loops from staying in the fabric when you lift the tool. Conversely, if the yarn is too thin for the needle diameter, it will simply fall out of the eyelet, making it impossible to form consistent stitches.
Building Your Starter Shortlist: A Step-by-Step Checklist
To find the perfect starter set without feeling overwhelmed, follow this structured decision-making process to narrow down your options:
- Define your primary project goal: Decide what you want to create first. Small, flat items like coasters, mug rugs, or mini wall hangings are ideal for beginners because they require smaller hoops (typically 15cm to 20cm) and can be completed in a single afternoon, providing quick gratification.
- Cross-reference the fabric weave and needle size: Ensure the kit specifications explicitly state that the included fabric matches the needle gauge. For thick, chunky yarn, look for a 5mm needle paired with 12-to-14-count monk's cloth. For fine embroidery floss, ensure the kit includes a fine needle (under 2mm) paired with tightly woven weaver's cloth or linen.
- Check the accessory list for duplicates and spares: Verify that the kit includes at least two wire needle threaders. These threaders are delicate and can easily snap or get lost; having a spare ensures your project does not grind to a halt over a minor mishap.
- Review seller terms on online marketplaces: When purchasing your set from an online marketplace, read customer reviews specifically to check for shipping quality. Ensure other buyers received intact plastic hoops and that the yarn colors matched the product photos. Opt for sellers that offer straightforward return policies in case of missing components.
Frequently Asked Questions (FAQ)
Can I use regular embroidery floss with a standard punch needle?
No, you cannot use regular six-strand embroidery floss with a standard punch needle. Standard punch needles are designed for thick yarn and have a wide inner shaft; if you attempt to use thin embroidery floss, the thread will slip out of the needle because there is not enough physical friction to hold it against the fabric. To use embroidery floss, you must purchase a specialized fine punch needle (typically 1mm to 2.2mm in diameter) and pair it with a tightly woven fabric like weaver’s cloth or high-quality linen.
Do I need a special frame, or will a standard embroidery hoop work?
For small beginner projects under 20cm, a standard plastic embroidery hoop with a non-slip lip or groove works perfectly well to maintain the necessary fabric tension. However, as you progress to larger projects or apply more physical force during punching, standard hoops may require constant re-tightening. If you decide to pursue the craft seriously, upgrading to a dedicated punch needle frame equipped with gripper strips or carpet tacks is highly recommended, as these frames hold the fabric drum-tight without slipping.
Community discussion
Share your experience or ask a question. Comments are reviewed before publication.