
A complete beginner should look for a cross-stitching kit that features a low-count Aida fabric (ideally 11-count or 14-count), pre-sorted cotton embroidery floss, a clear and color-coded pattern chart, and essential tools like a blunt tapestry needle and a sturdy embroidery hoop. Starting with these user-friendly components ensures you can learn the basic cross-stitch technique without struggling with tiny fabric holes, tangled threads, or confusing instructions. Selecting the right kit from the start prevents early frustration and sets you up for a relaxing, rewarding crafting experience.
Quick Checklist: What Makes a Kit Beginner-Friendly?
Before purchasing your first cross-stitching kit, a quick inspection of the packaging or product description can save you hours of frustration. A truly beginner-friendly kit should clearly state its contents and display a few key indicators of simplicity.
First, verify that the fabric included is Aida cloth, which has a distinct, open grid weave that is easy on untrained eyes. The pattern chart must be printed in high-contrast colors or clear symbols, accompanied by a basic stitch guide that explains how to form a standard cross-stitch.
Products mentioned in this guide
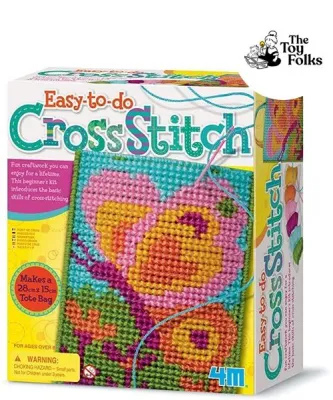
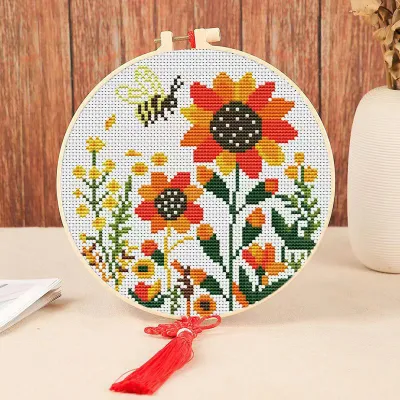
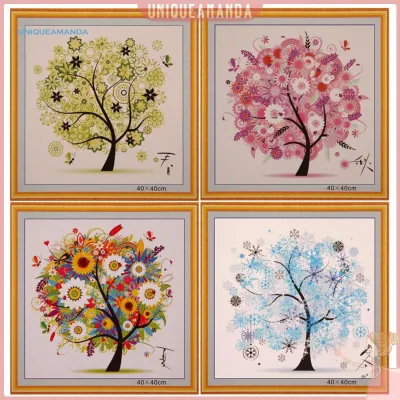
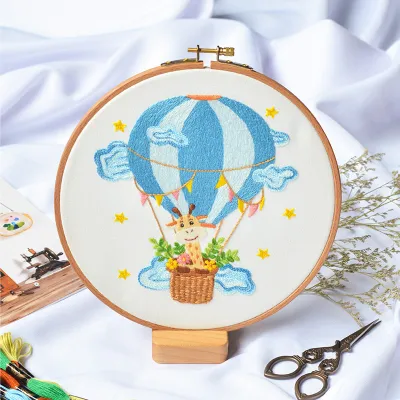
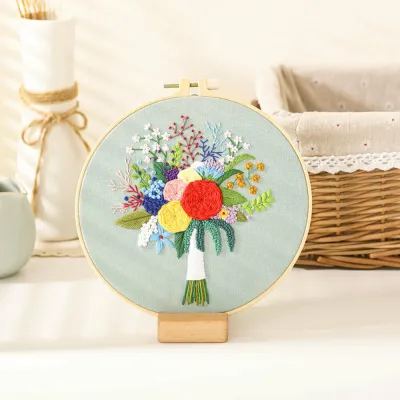
Prices are valid at publication and may change. Please refer to the product page for the latest price.
Additionally, look for kits that offer pre-sorted threads on a labeled organizer card rather than a loose bundle of tangled skeins. Finally, ensure the kit includes at least one blunt-tipped tapestry needle and a tension-holding hoop so you can begin stitching immediately without making separate trips to a craft store.
Choosing the Right Fabric and Hoop
The foundation of any cross-stitch project is the fabric, and for beginners, the type of weave makes all the difference. Woven fabrics like Aida feature highly visible, square-shaped holes that guide your needle naturally, making it easy to keep your stitches uniform. In contrast, advanced materials like linen or evenweave require you to count threads manually over a tight, dense surface, which can quickly lead to eye strain and misplaced stitches.

To ensure the fabric is suitable, check the fabric count printed on the kit’s label. Fabric count refers to the number of holes per inch; a lower number means larger holes and an easier stitching experience. For absolute novices, an 11-count or 14-count Aida fabric is ideal, as it allows you to see the grid clearly under standard home lighting. Avoid counts of 16, 18, or higher until you are comfortable with the basic hand movements.
The embroidery hoop is equally critical for maintaining even tension across your fabric. A quality kit should include a hoop—typically made of smooth plastic or polished wood—that tightens securely with a metal tension screw. When testing the hoop, verify that the inner and outer rings fit together snugly without warping. If the fabric slips or sags while you stitch, your tension will become uneven, resulting in puckered fabric and distorted designs.
Assessing Thread Quality and Needle Fit
Embroidery floss brings your design to life, but low-quality threads can easily fray, knot, or break mid-stitch. When evaluating a kit, look for pre-sorted thread organizers where each color is pre-cut and threaded through a labeled cardboard or plastic bobbin. This setup prevents the strands from tangling in storage and helps you quickly identify the correct shade matching the pattern legend.
The material of the thread also dictates how smoothly it glides through the fabric. Six-strand cotton embroidery floss is the standard for quality needlework, offering a soft texture and a subtle sheen. You can verify the material by checking the product specifications on the box. If you plan to wash your finished piece later to remove oils or marking lines, ensure the packaging states that the threads are colorfast to prevent dyes from bleeding into the white fabric.
Equally important is the needle included in the kit. Cross-stitching requires a tapestry needle, which features a blunt tip and a large, elongated eye. The blunt tip prevents you from piercing the fabric threads, ensuring the needle only passes through the pre-woven holes. The needle size must match the fabric count; for instance, a size 24 needle is perfect for 14-count Aida, as it slips through the holes easily without stretching the fabric or letting the thread slip out of the eye.
Evaluating Pattern Clarity and Instructions
A beautiful design is only enjoyable to stitch if the pattern chart is easy to read. Beginners should look for kits that provide a large, grid-based chart with distinct, high-contrast symbols representing each thread color. Avoid charts that rely solely on subtle color shading, as dark blues and deep purples can look identical under warm indoor lighting, leading to frequent mistakes and tedious unpicking.
A comprehensive kit must also include a clear instruction booklet or a visual stitch guide. This guide should illustrate how to secure your thread without knots, how to execute a standard cross-stitch, and how to read the pattern legend. If the instructions are written in multiple languages, check that the English translation is clear and accompanied by step-by-step diagrams.
For your very first project, consider the overall design size and the frequency of color changes. A small, simple design measuring under 15 centimeters across is highly recommended. Designs with large blocks of a single color—often called “color blocking”—allow you to build a rhythm and gain confidence. Conversely, patterns that require frequent color changes after only a few stitches can feel overwhelming and slow down your progress significantly.
Red Flags: Which Kits to Avoid
While browsing online marketplaces or local craft shops in Singapore, some kits may look appealing but present hidden challenges for beginners. One major red flag is a pre-printed or stamped fabric kit where the printed ink is misaligned with the actual weave of the fabric. If the printed design does not line up perfectly with the holes, you will constantly have to decide whether to follow the ink or the grid, resulting in a messy finished piece.
Another pitfall is choosing designs that are overly complex for a first-time stitcher. Avoid kits that feature extensive “confetti stitching,” which refers to isolated single stitches of various colors scattered across the canvas. Similarly, steer clear of patterns that rely heavily on fractional stitches (such as quarter or three-quarter stitches) or complex backstitching, as these techniques require piercing the fabric threads rather than using the open holes.
Finally, watch out for incomplete kits that omit essential components to lower the price. Some budget options sold on online marketplaces may exclude the embroidery hoop, needles, or even sufficient thread, forcing you to spend extra money on separate supplies. Always read the “what’s included” list carefully to ensure you are getting a complete package that is ready to stitch straight out of the box.
Frequently Asked Questions (FAQ)
Do I need to buy extra tools if my kit already includes them?
While a complete kit provides the essentials, upgrading a few minor tools can greatly improve your stitching comfort. The snips or scissors included in budget kits are often dull, which can crush and fray the ends of your embroidery floss, making threading difficult. Investing S$5 to S$10 in a pair of sharp, dedicated embroidery scissors with fine tips will make clean cuts every time. Additionally, if the included hoop is made of thin, flexible plastic that fails to hold tension, upgrading to a sturdy wooden hoop or a non-slip plastic hoop with a groove mechanism is a worthwhile adjustment.
How can I tell if a kit's fabric count is too high for a beginner?
You can determine if a fabric count is too high by looking at the count number on the packaging and performing a quick visual check. Fabric count has an inverse relationship with hole size: the higher the number, the smaller and closer together the holes will be. For example, 18-count Aida has 18 holes per inch, which requires excellent eyesight and precise needle control. If you look at the fabric and cannot easily distinguish the individual squares and holes from a comfortable reading distance, the count is too high for a beginner. Stick to 11-count or 14-count Aida to keep your early projects stress-free.
Community discussion
Share your experience or ask a question. Comments are reviewed before publication.