
Selecting your first punch needle kit can be the difference between discovering a deeply satisfying, lifelong hobby or abandoning it out of frustration. A complete, high-quality kit must contain a properly sized punch needle tool, a matching foundation fabric (ideally Monk’s cloth), a high-tension hoop or frame, pre-measured yarn of a compatible weight, a sturdy needle threader, and clear instructions with a starter pattern. Buying a poorly matched set is the most common reason beginners struggle, as mismatched materials cause loops to fall out instantly.
To ensure your first project is a success, you must know how to evaluate the quality of each component. Many mass-produced kits cut corners on essential tools, leading to slipping fabric, broken threaders, and unraveling yarn. By learning what to look for in a starter set, you can confidently choose a kit that offers a smooth, frustration-free introduction to this textile art.
The Essential Beginner Punch Needle Kit Checklist
A complete punch needle kit should allow you to open the box and start crafting immediately without requiring extra trips to a specialty store. When evaluating a kit, check the product description to ensure it includes these essential components:
Products mentioned in this guide
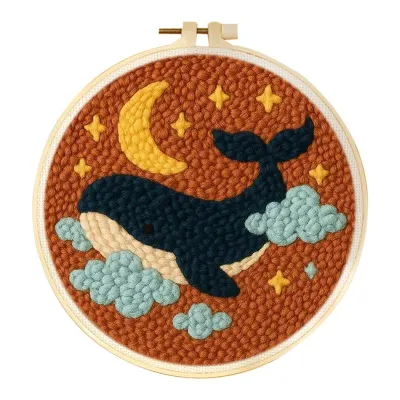
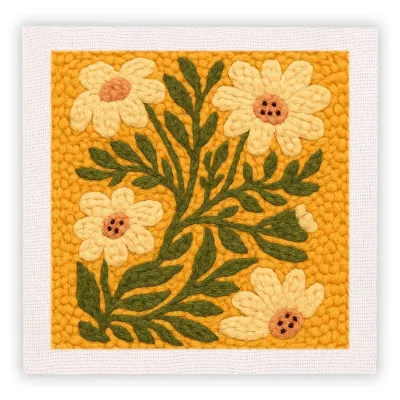
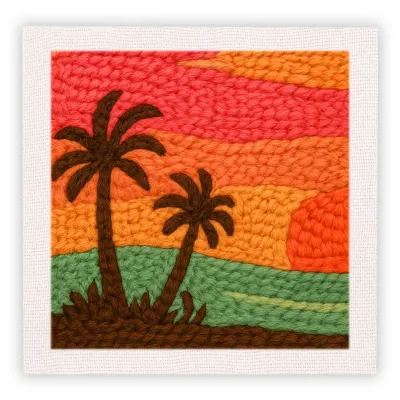
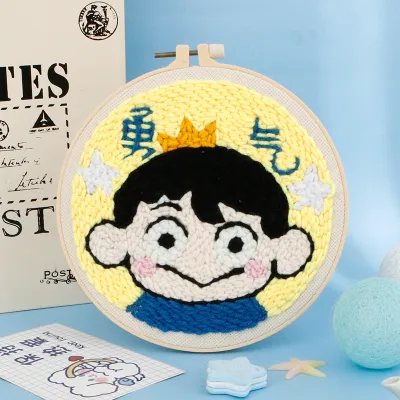
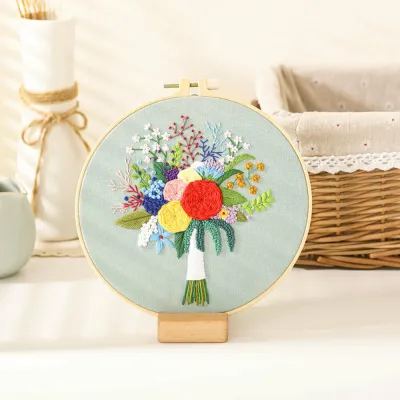
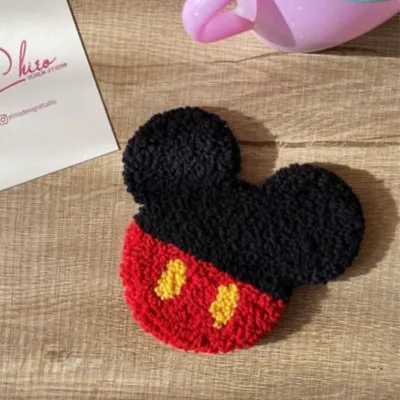
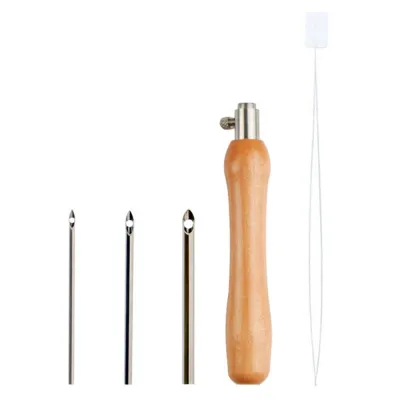
Prices are valid at publication and may change. Please refer to the product page for the latest price.
- Punch Needle Tool: The primary instrument, which must be comfortable to hold and properly sized for the included yarn.
- Foundation Fabric: The backing material that holds the yarn loops in place (typically Monk's cloth for beginners).
- Embroidery Hoop or Frame: A tensioning device to keep the fabric drum-tight while you work.
- Yarn: Adequate quantities of yarn in the correct weights and colors to complete the pattern.
- Needle Threader: A long, flexible wire tool required to pull the yarn through the hollow shaft of the needle.
- Small Scissors or Snips: Sharp cutting tools for trimming yarn tails and finishing loops.
- Pattern and Instructions: A clear design (ideally pre-printed on the fabric) and step-by-step guidance.
Be highly cautious of kits that exhibit immediate red flags. The most common warning sign is a kit that lacks a needle threader, which makes the punch needle virtually impossible to thread. Other red flags include flimsy, thin plastic hoops that cannot maintain tension, and unlabelled, highly synthetic yarn that sheds excessively. A well-designed kit balances convenience with durable tools that will not fail mid-project.
The Punch Needle: Sizes, Adjustability, and Build Quality
The punch needle itself is the most critical tool in the kit. It works by pushing yarn through the foundation fabric, leaving a loop on the opposite side when the needle is withdrawn. The thickness of the hollow metal shaft determines the weight of the yarn you can use, making it the central anchor for all other materials in the kit.

Beginners will encounter two main types of punch needles: adjustable and fixed-length. Adjustable needles feature a mechanism—such as a dial, slots, or spring-loaded notches—that allows you to change the length of the exposed metal tip. This adjustment directly alters the height of the yarn loops, enabling you to create varied textures, such as high, fluffy piles next to short, flat stitches, within a single design. Fixed-length needles limit you to one uniform loop height, but they are often sturdier and simpler for a beginner to handle without worrying about the needle slipping out of adjustment.
Needle Sizes and Yarn Compatibility
When choosing a punch needle kit, check if the specifications detail the needle’s outer diameter or size classification (such as fine, medium, or bulky). A standard beginner needle is typically a bulky or regular size (around 4mm to 5mm in diameter), which is designed to accommodate thick rug yarn or double-stranded worsted weight yarn.
The yarn must slide completely freely through the hollow shaft and eyelet of the needle. If the yarn is too thick for the needle, it will jam inside the shaft, preventing loops from forming and causing the yarn to pull back out as you lift the tool. Conversely, if the yarn is too thin, it will slip out of the needle eye constantly. Ensure the kit explicitly states that the provided yarn is perfectly matched to the needle size.
Handle Materials and Ergonomics
Because punch needle crafting requires repetitive downward pressure, the design of the handle significantly impacts your comfort. Basic kits frequently include cheap, straight plastic handles. These handles lack grip and can cause hand fatigue, cramping, or joint strain within minutes of continuous use.
Look for kits that feature wooden handles (such as turned maple or beechwood) or ergonomic resin handles with contoured grips. A contoured handle fits naturally into the palm of your hand, allowing for a relaxed grip and better control. This ergonomic support is crucial for maintaining consistent punching depth, which directly translates to uniform loop heights on the front of your work.
Foundation Fabric and Hoops: Ensuring Proper Tension and Weave
Proper tension is the single most important factor in successful punch needle crafting. If the foundation fabric sags, the needle cannot pierce it cleanly, causing the loops to unravel. The fabric weave must be loose enough to let the needle pass through without tearing the threads, yet tight enough to spring back and grip the yarn securely when the needle is withdrawn.
Evaluating Foundation Fabric Weave
Monk’s cloth is the gold standard foundation fabric for beginners. It is a 100% cotton fabric woven with a double-thread count (typically 12 to 14 holes per inch). This grid-like structure is incredibly forgiving; if you make a mistake, you can simply pull the yarn out, scrape the fabric with your fingernail or the tip of your needle to close the holes, and punch the exact same spot again.
Avoid kits that list generic “embroidery canvas” or “cotton cloth” without specifying the weave. Some kits include primitive linen or burlap. While linen offers a beautiful, rustic look, its irregular weave makes consistent punching much harder for beginners. Burlap is inexpensive but brittle; it sheds fibers constantly and can easily tear under the pressure of a thick needle, especially if the edges are not pre-finished with tape or overlock stitching to prevent fraying.
Hoop Tension and Grip Mechanisms
To maintain the necessary tension, look for kits that include wooden embroidery hoops with sturdy metal screw tensioners. High-quality wooden hoops, particularly those made of dense beechwood, grip the fabric much better than cheap alternatives. For larger projects, specialized punch needle frames with gripper strips or locking plastic hoops with a lip-and-groove design provide excellent, slip-free hold.
In Singapore’s humid climate, choosing a high-quality hoop is especially important. High relative humidity can cause cheap bamboo or thin wood hoops to warp or swell slightly, leading to a loss of fabric tension. Strongly avoid thin, snap-together plastic hoops. These hoops lack the friction needed to hold heavy fabrics like Monk’s cloth; as you punch, the fabric will constantly slip toward the center, requiring tedious readjustments that disrupt your rhythm.
Yarn Selection: Matching Weight and Fiber to Your Needle
The yarn included in your kit affects both the ease of crafting and the durability of the finished piece. Wool and high-quality wool-blend yarns are ideal for beginners because wool fibers possess a natural, microscopic “crimp” or texture. This texture creates friction against the cotton threads of the Monk’s cloth, helping the loops cling securely to the backing fabric.
In contrast, 100% acrylic yarns are often very smooth and slippery. While budget-friendly, slippery synthetic fibers or highly mercerized cotton yarns have less grip, making them prone to pulling out of the fabric if your tension or technique is slightly off. If your kit includes acrylic yarn, ensure it is a high-loft, textured acrylic rather than a slick, shiny variety.
Always verify the yarn yardage provided in the kit. A common complaint with low-cost kits is running out of a specific color before finishing the pattern. A reliable kit will explicitly state the yardage or provide at least 20% to 30% more yarn than the pattern strictly requires to account for beginner mistakes, tension variances, and practicing stitches. Additionally, check product descriptions or user reviews to ensure the yarn does not shed excessively, which can blur the clean lines of your design.
Crucial Accessories: Threaders, Scissors, and Finishing Supplies
While the needle, fabric, and yarn are the primary components, the small accessories included in a kit dictate how smoothly your crafting sessions will go. Missing or low-quality accessories can stall your progress before you even make your first stitch.
Threaders, Scissors, and Marking Tools
A punch needle cannot be threaded without a specialized threader, as the yarn must travel through the entire length of the hollow metal shaft. Look for kits that provide a sturdy, thick-wire needle threader or a flexible nylon loop threader. Avoid kits that only include flimsy, thin-wire threaders with tiny metal tabs, as these break easily under the tension of pulling yarn through a narrow shaft.
Sharp, small snips or curved embroidery scissors are also essential. You will need to trim yarn tails close to the fabric surface constantly. Dull household scissors will fray the yarn ends, making your project look messy. A water-soluble fabric marker is another excellent inclusion, allowing you to trace or adjust patterns directly on the fabric; the lines disappear completely with a damp cloth once the project is finished.
Adhesives for Edge Securing and Finishing
Because punch needle loops are held in place solely by fabric tension, the back of the project must be secured if the item will be handled, washed, or used as a functional piece like a coaster or trivet. Fabric glue or a flexible finishing adhesive locks the loops permanently into the backing fabric.
If you plan to make functional items, look for a kit that includes a small bottle of non-toxic, flexible, clear-drying fabric glue. If the kit does not include adhesive, you will need to source a flexible craft glue (such as textile adhesive or PVA-based fabric glue) separately before finishing your project. Avoid stiff, brittle glues like standard hot glue, which can make the finished piece rigid and uncomfortable to touch.
Pre-Packaged Kits vs. Custom Bundles: Which Should You Choose?
For absolute beginners, a pre-packaged punch needle kit offers unmatched convenience. It eliminates the guesswork of matching needle sizes to fabric weaves and yarn weights. However, mass-produced kits often cut corners on hidden components, supplying low-grade plastic hoops, breakable threaders, or synthetic yarn that slips out of the fabric.
When shopping online, evaluate kits using this checklist:
- Does the description state the exact needle brand or size (e.g., Lavor, Oxford, or adjustable 5mm)?
- Is the fabric explicitly identified as "Monk's cloth" rather than generic "embroidery canvas"?
- Is the yarn fiber content clearly labeled (e.g., 100% wool or 80/20 acrylic-wool blend)?
- Are the instructions comprehensive, including troubleshooting tips?
If you find that pre-packaged kits in your local market frequently feature flimsy plastic hoops and unlabelled acrylic yarn, assembling a custom bundle is often the better long-term investment. Purchasing a premium adjustable punch needle and a sturdy beechwood hoop or gripper frame separately allows you to reuse these high-quality tools indefinitely. You can then source authentic Monk’s cloth and premium wool yarn from specialized local craft retailers or online boutique suppliers, ensuring a frustration-free introduction to the craft.
Frequently Asked Questions (FAQ)
Can I use regular embroidery floss in a punch needle kit?
Standard six-strand embroidery floss is generally too thin for the medium or bulky punch needles found in most beginner kits. If you attempt to use it, the floss will not fill the needle shaft, and the loops will simply pull out of the fabric. While ultra-fine punch needles (often called embroidery punch needles) are designed specifically for floss, they require a very tightly woven, specialized fabric like weavers cloth rather than the standard Monk’s cloth included in starter kits.
Why does my yarn keep pulling out of the fabric?
This common issue usually stems from three main factors. First, the foundation fabric may have lost its drum-tight tension; make sure your hoop is tightened securely. Second, you might be lifting the needle tip too high off the fabric surface between punches; the tip should always graze the fabric as you slide it to the next stitch. Third, you may be using a slippery synthetic yarn that lacks the natural friction needed to stay anchored in the fabric weave.
Do I need a special punch needle pillow form for my first project?
No, a pillow form is not necessary for your first project unless the kit is specifically designed to create a cushion. For your very first attempt, it is highly recommended to start with flat, manageable projects such as coasters, mug rugs, or small wall hangings. These projects allow you to master consistent loop heights and tension control without the added complexity of sewing, stuffing, and finishing a three-dimensional object.
Community discussion
Share your experience or ask a question. Comments are reviewed before publication.