
A good beginner leather paint kit must include flexible acrylic-based leather paints, a surface preparer or deglazer, a protective finisher, and basic application tools like synthetic brushes and sponges. Rather than just looking for the largest box of colors, beginners should evaluate whether a kit provides the complete chemical and physical workflow required to prep, paint, and seal leather without cracking or peeling. This guide breaks down the essential components you need to verify before making a purchase, ensuring your first leather crafting projects are set up for success.
When you first venture into customizing leather shoes, bags, or wallets, the sheer variety of art supplies can be overwhelming. It is tempting to buy the cheapest set of paints available, but leather is a unique, organic medium that expands, contracts, and bends with use. Standard paints will quickly fail on this dynamic surface, leading to unsightly flaking and cracking.
A successful project relies on a systematic three-step process: preparation, painting, and finishing. A comprehensive starter kit acts as an all-in-one solution that guides you through these phases safely and effectively. By understanding what each component does, you can select a kit that offers genuine value and professional-grade durability.
Products mentioned in this guide
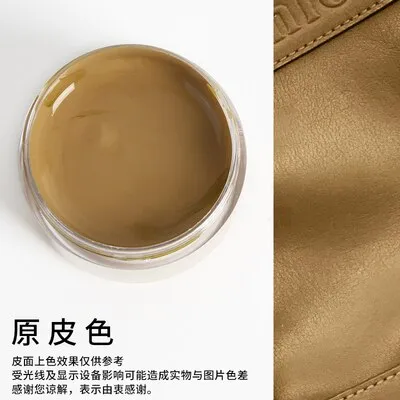
![[SG FREE ] Car Leather Repair Kit Paint Cleaner For Auto Seat Sofa Shoes Universal](https://img.lazcdn.com/g/p/1eec7321b7d56a3cac0da75422e8efac.jpg_400x400q80.jpg_.webp)
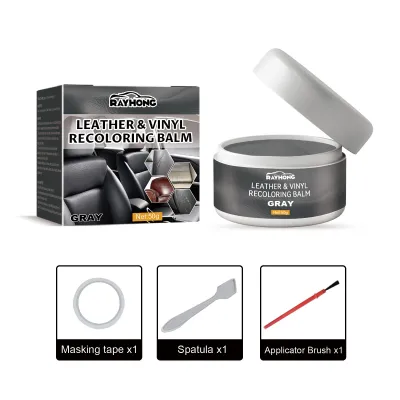
![[SG FREE ] 20ml Eidechse Car Care Liquid Leather Repair Kit Auto Complementary Color Paste Car Seat Sofa Bag Scratch Cr](https://img.lazcdn.com/g/p/03e0d6338a2223e3b166ebd5b2a6e6e7.jpg_400x400q80.jpg_.webp)
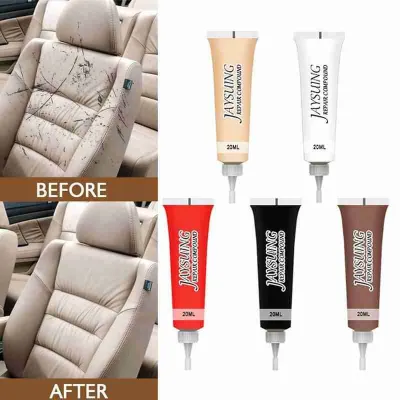
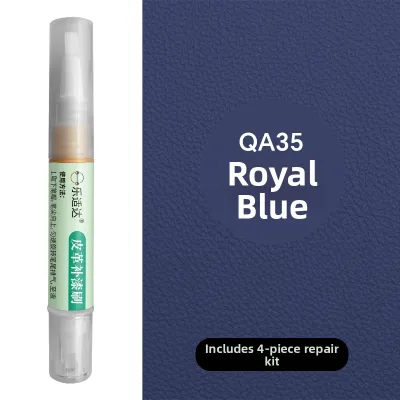
Prices are valid at publication and may change. Please refer to the product page for the latest price.
Identifying the Right Paints and Pigments for Your Projects
The core of any leather paint kit is, naturally, the paint itself. However, not all acrylic paints are formulated equally. Leather paints must utilize highly flexible acrylic polymers as their binder. When the paint dries, these polymers form an elastic film that can stretch and flex alongside the leather fibers without losing adhesion or fracturing. Before purchasing a kit, check the product specifications to confirm that the paints are explicitly labeled as flexible, water-based acrylics designed specifically for leather.
A beginner does not need dozens of pre-mixed shades to get started. Instead, look for a kit that prioritizes a high-quality, versatile color palette. A well-rounded starter set should include the primary colors (red, blue, and yellow), alongside essential neutrals like flat black and titanium white. A kit that includes a color-mixing guide is highly beneficial, as it teaches you how to blend these base pigments to create custom hues, saving you money and storage space in the long run.
Opacity is another critical factor to evaluate. High-quality leather paints contain a dense concentration of pigments, allowing them to cover dark leather surfaces with fewer coats. Check product descriptions or user reviews for mentions of coverage and opacity. If a paint is too thin or watery, you will find yourself applying six or seven layers, which increases the thickness of the paint film and makes it more susceptible to peeling.
Finally, be aware of the distinction between standard flat or satin paints and specialty variants like metallics, neons, or glitter paints. While these specialty paints can add stunning accents to your projects, they often have lower opacity and require a solid base coat of flat white or black paint to stand out. If a kit consists entirely of metallic colors without any standard white or black base paints, you will likely need to purchase those foundational colors separately to achieve the desired results.
Checking for Proper Surface Preparers and Deglazers
Many beginners make the mistake of painting directly onto a leather item right out of the box. However, new leather goods are almost always treated with factory finishes, protective waxes, silicone coatings, and oils. These treatments create a slick barrier that prevents paint from bonding with the actual leather pores. To ensure your paint adheres permanently, you must strip away these factory coatings using a surface preparer or deglazer.

A reliable beginner kit should include a dedicated leather preparer. These solutions are typically alcohol-based or mild solvent blends designed to dissolve surface finishes without compromising the structural integrity of the leather underneath. Avoid kits that suggest using harsh household solvents like pure industrial acetone or paint thinners as a primary preparer, as these can dry out the leather excessively, leading to premature cracking and dry rot.
In addition to the liquid preparer, look at what application accessories are included in the kit. Applying a deglazer requires friction to physically scrub away the factory finish. Kits that include lint-free microfiber wipes, cotton pads, or wool daubers are highly advantageous. Using standard paper towels or cotton balls can leave behind tiny fibers that get trapped in the wet paint later, ruining the smooth finish of your project.
Because preparers contain volatile organic compounds (VOCs), safety and handling must be considered. Always check the product labels in the kit for clear safety instructions, flammability warnings, and ventilation requirements. When working in enclosed home environments, such as a typical apartment, ensuring proper ventilation by opening windows or using a fan is essential for dispersing solvent fumes safely.
Ensuring the Kit Includes Adequate Finishers and Sealants
Once your paint design is complete and dry, it remains vulnerable to physical wear, moisture, and environmental damage. This is why a protective finisher, also known as a topcoat or sealant, is a non-negotiable component of a complete leather paint kit. The finisher acts as a sacrificial barrier, absorbing scuffs and scratches while locking the paint safely beneath it.
When evaluating a kit, identify the type of finisher included. Finishers generally come in three main sheens: matte, satin, and gloss. A matte finisher provides a natural, low-shine look that mimics the original appearance of luxury leather. Satin offers a subtle, semi-gloss sheen that is highly popular for athletic shoes and handbags. Gloss delivers a high-shine, patent-leather effect. Ensure the kit you choose includes a finisher that aligns with your aesthetic goals, or look for a kit that offers a versatile satin or matte option.
Compatibility is paramount when it comes to sealants. The finisher must be chemically compatible with the specific leather paint brand used in the kit. Mixing different brands of paints and finishers can sometimes result in a tacky, uncured surface that attracts dust and hair. A kit that bundles paints and finishers from the same manufacturer guarantees that the chemical formulas will bond seamlessly, curing into a smooth, dry, and durable protective layer.
For items that will face heavy daily use, such as wallets, belts, or shoes, look for finishers that offer water-resistant or UV-protective properties. In warm, humid climates, moisture and sweat can soften unprotected acrylic paint over time. A high-quality, water-resistant finisher prevents this degradation, keeping your custom designs vibrant and intact even when exposed to sudden rain showers or daily handling.
Evaluating the Quality of Included Application Tools
The tools included in a kit directly influence the precision and enjoyment of your painting process. While it is easy to focus solely on the paint bottles, low-quality brushes can lead to frustration, visible brush strokes, and shed bristles embedded in your artwork.
First, examine the bristles of the included brushes. For acrylic leather paints, synthetic bristles (such as nylon or polyester) are vastly superior to natural animal hair. Synthetic fibers do not absorb water, which allows them to maintain their spring, shape, and stiffness when loaded with heavy-bodied acrylic paint. They are also much easier to clean with soap and water, ensuring they can be reused for multiple projects.
A practical beginner kit should offer a thoughtful variety of brush shapes and sizes. Look for a set that includes at least three distinct types: a wide flat or wash brush for laying down smooth, even base coats over large areas; a medium round brush for sketching shapes and filling in mid-sized designs; and a fine detail liner brush (such as a size 0 or 00) for crisp outlines, lettering, and edge work.
Beyond brushes, look for utility accessories that facilitate color mixing and paint management. Mixing palettes, small plastic cups, or paint wells are incredibly useful because leather paint dries relatively quickly when exposed to air. Droppers or pipettes are also valuable additions, allowing you to add precise amounts of water or thinning mediums to adjust the paint’s viscosity without diluting the pigment too much.
Finally, check if the kit includes specialty application tools like high-density sponges, masking tape, or stencils. Sponges are excellent for applying finishers evenly without leaving brush marks, and they can also be used to create beautiful gradient or textured effects. Low-tack masking tape is essential for blocking off clean lines on sneakers or panels, ensuring that paint only goes where you want it to.
Your Pre-Purchase Checklist for a Beginner Leather Paint Kit
To help you make an informed decision, use this structured checklist to compare different leather paint kits and select the one that best fits your creative goals and budget.
| Evaluation Criteria | What to Verify | Why It Matters |
|---|---|---|
| Paint Volume vs. Project Scale | Check bottle sizes (e.g., 1 oz / 30ml vs. 2 oz / 60ml). | Small bottles are perfect for wallets or shoes; larger projects like jackets require more volume. |
| Chemical Compatibility | Ensure preparer, paint, and finisher are from the same brand. | Prevents chemical reactions, peeling, or sticky surfaces after curing. |
| Curing & Heat-Setting | Read instructions for heat-setting requirements. | Some paints require a hair dryer or heat gun to fully cure and resist water. |
| Refill Availability & Cost | Check if individual bottles are sold locally. | Allows you to replace frequently used colors (like white or black) without buying a new kit. |
When considering paint volume, keep in mind that a standard starter kit containing 1-ounce (approximately 30ml) bottles is usually more than enough to complete several pairs of custom sneakers or multiple small leather goods like cardholders. However, if you plan to paint a large leather jacket, a messenger bag, or a piece of furniture, you will need to look for kits with larger bottle sizes or ensure that individual refill bottles are easily accessible.
Refill availability is a crucial long-term consideration. In Singapore, check if local art supply stores or reputable online marketplaces stock individual bottles of the brand included in your kit. You will inevitably run out of white paint, black paint, and surface preparer much faster than specialty colors like green or purple. Being able to purchase single S$8 to S$15 replacement bottles locally saves you from the expense of buying an entirely new kit.
Lastly, review the manufacturer’s curing guidelines. While many leather paints air-cure completely within 24 to 48 hours, some formulations benefit greatly from heat-setting. If the instructions recommend using a heat gun or a hair dryer to lock in the paint and finisher, make sure you have this equipment on hand at home before starting your project.
Frequently Asked Questions (FAQ)
Can I use regular acrylic paint instead of specialized leather paint?
Regular craft acrylic paints are not recommended for leather projects because they lack the highly flexible binders found in specialized leather paints. When regular acrylic paint dries, it forms a rigid plastic layer that cannot stretch or bend. As soon as the leather flexes, the paint will crack, flake, and peel away. Specialized leather paints are formulated with elastic acrylic polymers that move dynamically with the leather fibers. If you must use regular acrylics on a rigid, non-flexing leather item, you should mix them with a dedicated fabric or leather painting medium, though this requires careful testing and rarely matches the durability of specialized leather paint.
Do I need an airbrush to apply leather paint and finisher?
No, an airbrush is not necessary for beginners. Most starter leather paint kits are specifically designed for hand-brushing and sponge application, which are perfectly adequate for solid colors, detailed line work, and edge painting. Hand-brushing allows you to learn paint control and understand how the medium behaves on leather. Airbrushes are excellent tools for advanced crafters who want to achieve seamless color gradients, ultra-thin coats, or paint large-scale items quickly, but they require a significant investment in equipment and maintenance. If you decide to upgrade to an airbrush later, you can easily thin your existing kit paints with water or a compatible airbrush medium.
Community discussion
Share your experience or ask a question. Comments are reviewed before publication.