
To start embroidery, a beginner does not need an expensive, sprawling sewing kit. You only need four core items: a sturdy embroidery hoop, a pack of embroidery needles (crewel needles), stranded cotton embroidery floss, and a piece of non-stretch woven fabric. By focusing on these high-quality basics, you can master fundamental stitches without the clutter and confusion of unnecessary accessories.
Starting a new craft often brings the temptation to buy pre-packaged, multi-piece sets. However, many generic sewing kits are designed for quick clothing repairs rather than decorative needlework. Building a dedicated, streamlined embroidery kit ensures that every tool serves a specific purpose, saving you money and reducing frustration as you learn.
Assess Your Starting Point: Defining Your Embroidery Needs
Before purchasing any supplies, take a moment to define your immediate project goals. Embroidery encompasses various styles, from simple line art and modern minimalist designs to dense, complex floral fills. If you plan to start with basic outlines, you will need fewer thread colors and simpler tools than if you intend to tackle highly detailed, shaded satin-stitch patterns.
Products mentioned in this guide
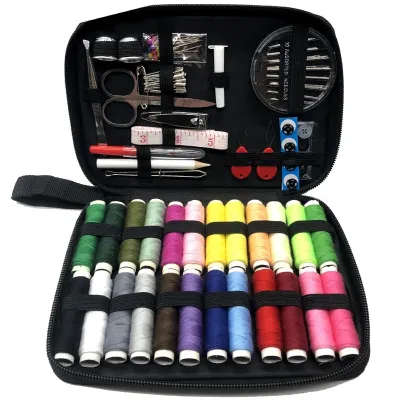
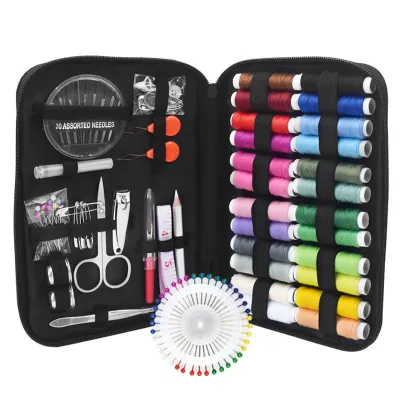
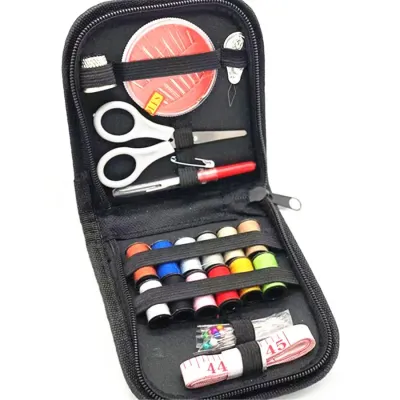
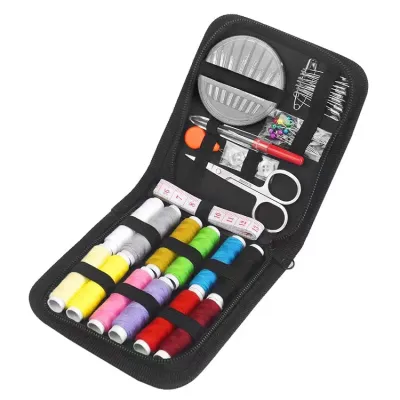
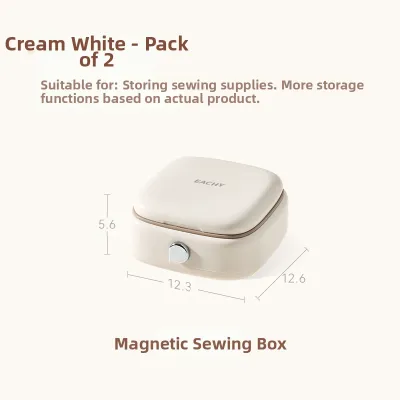
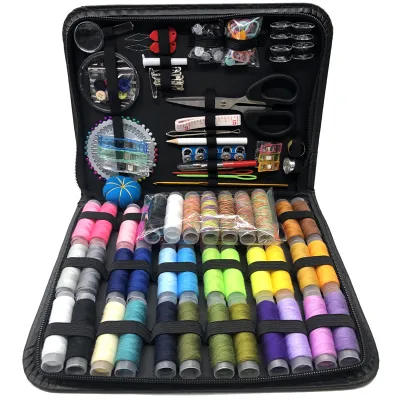
Prices are valid at publication and may change. Please refer to the product page for the latest price.
Consider your physical workspace and storage limitations. In compact living environments, such as typical apartments in Singapore, keeping a massive collection of frames and stands can quickly clutter your living area. A small, portable kit that fits into a drawer or a decorative tin allows you to stitch comfortably on the sofa, at a desk, or even during a commute without taking up valuable space.
Setting a realistic initial budget is crucial for long-term enjoyment of the craft. It is far better to allocate S$15 to S$25 toward a few high-quality, reliable basics than to spend the same amount on a massive, low-grade kit filled with weak threads and splintered hoops. High-quality needles and smooth fabric make the learning process significantly more enjoyable and prevent early discouragement.
Core Essentials: Building Your Basic Embroidery Sewing Kit
Embroidery Hoops: The hoop is essential for keeping your fabric taut while you work, which prevents puckering and uneven stitches. For beginners, a 15cm to 20cm (6-inch to 8-inch) hoop is the ideal size, as it fits comfortably in one hand and accommodates most starter patterns. Look for hoops with a smooth inner ring and a sturdy adjustment screw that tightens securely without stripping.

Needles: Embroidery needles, often called crewel needles, differ from standard sewing needles because they feature a medium-to-long eye and a very sharp point. The larger eye is designed to accommodate multiple strands of embroidery floss without fraying the thread. A multi-size pack containing sizes 5 through 10 is excellent for beginners, allowing you to experiment with different thread thicknesses on various fabrics.
Thread: Stranded cotton embroidery floss is the standard choice for hand embroidery. Each skein consists of six individual strands twisted together, which you can easily separate depending on the desired thickness of your lines. For fine detail work, you might use only one or two strands, while bold outlines or textured fills may require four to six strands.
Fabric: The choice of fabric directly impacts your stitching experience and the final appearance of your work. Beginners should look for medium-weight, non-stretch woven fabrics such as plain cotton calico, linen, or linen-cotton blends. Avoid stretchy materials like jersey or synthetic knits, as they warp easily under tension and make it difficult to maintain consistent stitch tension.
Helpful Add-ons: When to Upgrade Your Kit
Scissors: While household kitchen scissors can cut thread, they are often too bulky to snip close to the fabric surface without damaging your stitches. Investing in a small pair of dedicated embroidery snips or fine-tipped sewing scissors makes a noticeable difference. Look for scissors with sharp, narrow blades that can cleanly cut thread ends right at the knot.
Marking Tools: Transferring your design onto fabric requires a reliable marking tool that will not leave permanent stains. Water-soluble fabric pens are highly popular because the blue ink disappears completely when dabbed with a damp cloth. Alternatively, heat-erasable pens allow you to remove guidelines using the heat of a household iron or a hairdryer, though you should always test these on a scrap piece of fabric first to check for ghosting or residue.
Needle Threaders: Threading multiple strands of cotton through a small needle eye can be challenging, especially in humid climates where thread ends may soften and splay quickly. A simple wire loop needle threader or a sturdy aluminum slot threader can save time and reduce eye strain. Keep a few of these inexpensive tools in your kit to streamline your setup process.
What to Skip: Common Beginner Kit Traps
One of the most common mistakes is purchasing massive, pre-packaged sewing kits that boast hundreds of thread colors for a suspiciously low price. These threads are often made of low-grade polyester or unmercerized cotton, which tangles easily, breaks under tension, and may bleed dye when washed. Starting with five to ten high-quality skeins of reputable stranded cotton is far more satisfying than struggling with a mountain of fragile, knot-prone thread.
You can safely skip specialized equipment like heavy-duty floor stands, slate frames, or elaborate magnifying lamps when you are just starting out. These tools are designed for large-scale, professional, or long-term projects that require two-handed stitching. A simple hand-held hoop is perfectly adequate for learning the basics and keeps your initial setup lightweight and mobile.
Be cautious of expensive, pre-printed fabric kits that do not allow for mistakes. While they offer convenience, learning basic stitches and tension control on plain scrap fabric first gives you the freedom to practice without the pressure of ruining a pre-designed piece. Once you feel comfortable with your stitch consistency, you can easily transfer your own designs or purchase individual patterns.
Assembling and Organizing Your Kit
To keep your tools in excellent condition, select a compact, portable container that fits your lifestyle. A small metal biscuit tin, a zippered canvas pouch, or a plastic organizer box with adjustable dividers works beautifully. This keeps your sharp needles, scissors, and delicate threads protected from dust, moisture, and accidental damage while keeping everything in one place.
Needles require careful storage to prevent loss, bending, and rust, which can be accelerated by humid environments. A simple fabric pincushion, a handmade felt needle book, or a small magnetic needle case will keep your needles secure and organized by size. Never leave needles loose in your kit, as they can easily slip through seams or dull your scissors.
Keep your embroidery threads organized to prevent tangling and knotting. Winding your active skeins onto small plastic or cardboard bobbins is a highly effective method, allowing you to write the color code directly on the bobbin. Store these bobbins upright in a clear organizer box so you can quickly scan your color palette before starting a new project.
Frequently Asked Questions (FAQ)
Can I use a regular sewing needle for embroidery?
While you can technically pass a single strand of thread through a regular sewing needle, it is not ideal for hand embroidery. Regular sewing needles (such as sharps) have small, round eyes designed for thin sewing thread, making it difficult to thread multiple strands of embroidery floss. Additionally, their slender shafts do not create a large enough hole in the fabric for the embroidery thread to pass through smoothly, leading to friction, fraying, and potential fabric puckering.
Do I need to buy an expensive wooden embroidery hoop?
No, you do not need an expensive wooden hoop to begin. Sturdy plastic hoops, especially those featuring a molded lip or groove on the inner ring, often provide superior tension retention and fabric grip compared to budget wooden hoops. While high-quality wooden hoops made of polished beechwood are excellent for framing finished work, a simple, affordable plastic hoop is highly durable and perfectly suited for the actual stitching process.
Community discussion
Share your experience or ask a question. Comments are reviewed before publication.