
Selecting the right big whiteboard for a classroom or tuition centre in Singapore requires balancing student visibility with the physical realities of your teaching space. A board that is too small forces students at the back to strain their eyes, while an oversized board can overwhelm a compact room, block essential pathways, or prove difficult for teachers to utilize fully. By analyzing viewing distances, wall structural limits, and teaching styles, you can identify the exact dimensions that support an engaging and comfortable learning environment.
To make an informed decision, you must evaluate how your physical space interacts with your instructional needs. Whether you are outfitting a modern commercial unit, a heritage shophouse tuition space, or a standard school classroom, the right whiteboard serves as the central hub for visual learning and student engagement.
Assessing Your Classroom Space and Visibility Needs
Determining the ideal size of a big whiteboard begins with the furthest seat in the room. For handwritten text and diagrams to remain legible, the height of the board must scale with the depth of the classroom. A practical guideline is that for every 3 meters of viewing distance, written characters should be at least 2.5 centimeters tall. To accommodate multiple lines of text at this scale, the whiteboard itself requires a minimum vertical height of 1.2 meters (4 feet), which is the standard height for most large-format boards.
Products mentioned in this guide
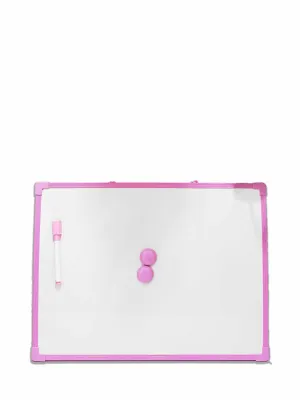
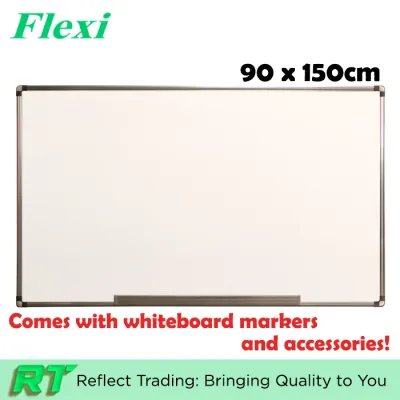
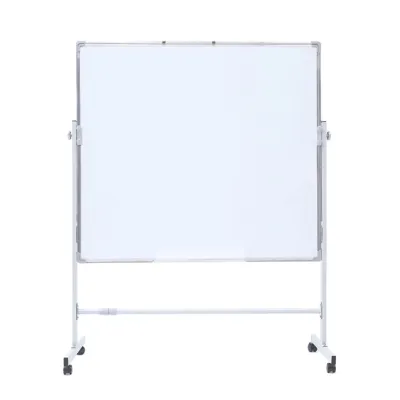


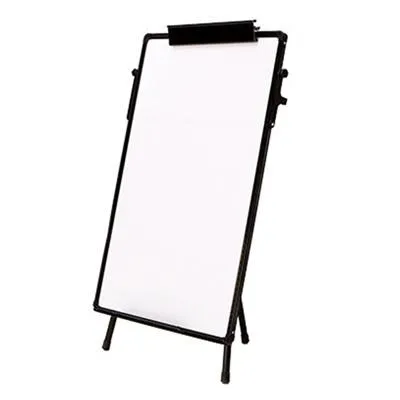
Prices are valid at publication and may change. Please refer to the product page for the latest price.
Measuring your usable wall width requires more than a simple corner-to-corner tape measurement. You must deduct the space required for door swings, window frames, structural pillars, and mandatory safety walkways. In Singapore, where tuition centres often operate in partitioned commercial spaces, structural pillars can break up a wall surface. Ensure you leave at least 30 to 50 centimeters of clearance on either side of the board to prevent the writing area from feeling cramped or obstructed by adjacent architectural features.
Ceiling height and ambient lighting also dictate how much vertical board space you can realistically use. Singapore’s bright tropical daylight combined with standard overhead fluorescent or LED classroom lighting can create harsh glare on glossy whiteboard surfaces. If your ceiling is low, mounting a very tall board may position the top section directly under a light fixture, reflecting blinding glare toward the students. Before finalizing your board size, observe the light reflection patterns on your target wall at different times of the day.
Matching Whiteboard Dimensions to Room Layouts
Compact tuition centre rooms designed for small groups of 5 to 15 students typically operate best with a standard 4×6 foot (approximately 1.2 x 1.8 meters) or 4×8 foot (approximately 1.2 x 2.4 meters) whiteboard. These dimensions provide ample writing space for lesson outlines, vocabulary lists, or mathematical equations without dominating the entire wall. A board of this size keeps the classroom feeling open and prevents the visual clutter that can distract students in smaller learning environments.

Standard school classrooms or larger lecture-style tuition rooms with 20 to 40 students demand a wider writing surface. For these spaces, a 4×12 foot (approximately 1.2 x 3.6 meters) board or a modular multi-panel setup is highly effective. This extended width allows educators to preserve key lesson concepts on one side of the board while actively solving problems or writing new notes on the other, maintaining a continuous flow of information without constant erasing.
If your curriculum incorporates interactive teaching zones, your board choice must adapt to these activities. For early childhood education or language classes where teachers frequently use magnetic letters, visual charts, or physical manipulatives, a high-quality magnetic whiteboard surface is essential. When planning these interactive zones, ensure the board size allows for dedicated sections: one side can remain reserved for static magnetic teaching aids, while the other remains clear for active writing and drawing.
Installation Clearances and Wall Requirements
Large-format whiteboards are heavy, and verifying your wall’s structural integrity is a critical safety step before purchase. Modern commercial partitions in Singapore are often constructed from drywall, which cannot support the weight of a heavy, solid-core big whiteboard without proper reinforcement. Installers must locate the internal metal or timber studs to anchor the board securely. For concrete or brick walls, appropriate masonry anchors must be used to prevent the board from pulling away from the wall over time.
Maintaining safe clearances from classroom infrastructure is equally important. A big whiteboard must not obstruct access to electrical switches, power outlets, air conditioning controllers, or ventilation grilles. If your classroom utilizes a pull-down projection screen, verify that the screen can descend fully without striking the whiteboard frame or any tray accessories. Leaving a clear gap between the board frame and surrounding fixtures prevents accidental damage and ensures easy access for maintenance.
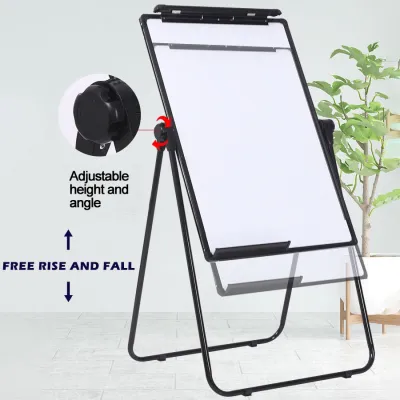
When wall mounting is not feasible due to structural limitations or glass partitioning, a mobile whiteboard on a rolling floor stand offers an excellent alternative. Mobile stands allow you to reconfigure the classroom layout easily for group work or collaborative projects. However, keep in mind that mobile stands occupy valuable floor space and require a wide base for stability. If floor space is at a premium, a wall-mounted board remains the most space-efficient choice.
Common Sizing and Placement Mistakes to Avoid
One of the most frequent errors in classroom setup is mounting the whiteboard too high on the wall. While this might seem like a good way to clear low furniture or storage units, it forces students in the front rows to crane their necks upward, leading to physical discomfort during long lessons. It also positions the top of the board out of reach for most teachers, rendering a significant portion of your investment unusable.
To avoid ignoring the teacher’s physical reach zone, plan the vertical placement of the board based on the average height of your teaching staff. The active writing zone should ideally sit between shoulder and waist height. If you plan to use magnetic letters or interactive accessories that students must reach, the bottom edge of the board must be positioned low enough for them to access comfortably without kneeling or straining.
Finally, always account for the swing radius of classroom doors and the clearance of window coverings. A door that opens inward can easily strike the edge of a whiteboard frame, causing chips, dents, or structural loosening over time. Installing heavy-duty door stops or adjusting the horizontal placement of the board by a few centimeters can prevent costly damage and preserve the lifespan of your writing surface.
Frequently Asked Questions (FAQ)
Can I use multiple smaller whiteboards instead of one big whiteboard?
Yes, using multiple smaller whiteboards is a viable alternative, but it comes with distinct trade-offs. Installing two 4×4 foot boards side-by-side creates a visible center seam and a gap in the writing surface due to the frames. This can disrupt continuous writing and diagramming. However, modular smaller boards offer greater installation flexibility on walls with structural obstructions and can be taken down individually for group activities or relocated to different rooms as your tuition centre grows.
How high should a big whiteboard be mounted for younger students?
For primary school or kindergarten students, the whiteboard should be mounted significantly lower than in an adult classroom. The bottom edge of the board should sit approximately 60 to 75 centimeters from the floor, ensuring that the lower half of the writing surface is within their natural arm’s reach. When lowering the board, ensure that it does not conflict with low-level classroom storage, cubbies, or safety railings, and verify that the mounting hardware is completely recessed to prevent scrapes or snags.
Community discussion
Share your experience or ask a question. Comments are reviewed before publication.