
Selecting the right type of styrofoam is the foundation of any successful craft project, whether you are building a school diorama, sculpting a miniature landscape, or designing a floral centerpiece. While all white foam might look similar on the shelf, choosing the wrong density or shape can lead to crumbling edges, melted surfaces, or structural collapse. Matching the physical form and density of the material to your specific creative goals ensures a smooth crafting process and a durable finished piece.
Navigating the options in your local craft store does not have to be a guessing game. By understanding how different shapes and densities behave under your tools, you can confidently select the exact material needed for your next project.
Understanding Craft Styrofoam and Density Grades
To choose the right material, it helps to understand what craft styrofoam actually is. The white, pebbled foam most commonly found in craft stores is Expanded Polystyrene (EPS). This material is made by expanding tiny polystyrene beads with steam and fusing them together in a mold. It is distinct from Extruded Polystyrene (XPS), which is a dense, continuous foam board typically used for home insulation and favored by advanced model makers for its ultra-smooth, grainless texture.
Products mentioned in this guide

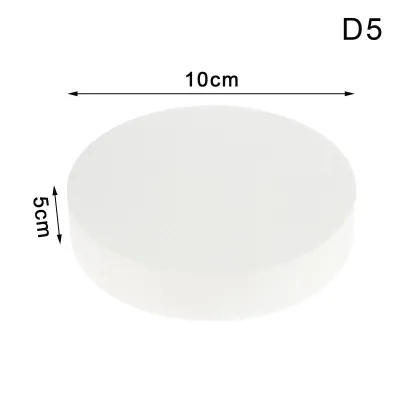
Prices are valid at publication and may change. Please refer to the product page for the latest price.
Density is the most critical factor governing how the foam behaves under your tools. High-density EPS has tightly packed, smaller beads, which provide excellent structural strength, resist crumbling, and allow for clean, detailed carving. Low-density EPS contains larger beads with more air space, making it incredibly lightweight and cost-effective for filling large volumes, though it tends to flake and tear when cut with a standard blade.
Before purchasing, you can evaluate the density of a foam piece using a few simple, observable checks. Perform a gentle pinch test on an inconspicuous corner: high-density foam will feel firm and resist compression, while low-density foam will yield easily under light thumb pressure. You can also perform a scratch test to see if individual beads detach easily from the surface, or check the manufacturer’s product specifications on the packaging for density ratings.
Choosing the Right Form Factor for Your Project
Craft foam is manufactured in several standard shapes to minimize the amount of cutting and shaping you have to do at home. Selecting the correct form factor—whether flat sheets, solid blocks, or pre-molded geometric shapes—saves time, reduces waste, and ensures your project has a stable foundation.

Sheets and Boards
Flat styrofoam sheets and boards are the go-to choice for projects requiring flat, uniform surfaces. They are ideal for constructing diorama bases, layering architectural models, creating lightweight backing boards, or crafting flat hanging signs.
When selecting sheets, inspect them for thickness uniformity across the entire board, as uneven sheets can cause your models to tilt. Check that the edges are perfectly straight and square, especially if you plan to stack or layer multiple sheets together using adhesive.
Blocks and Bricks
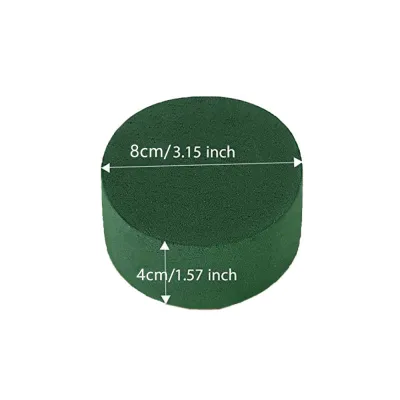
Solid blocks and bricks provide the bulk material needed for subtractive crafting, where you carve away excess foam to reveal a three-dimensional shape. These are highly suited for sculpting figurines, carving custom terrain for tabletop gaming, or creating heavy-duty display bases that need to support significant weight.
When choosing a block, look for consistent internal density by inspecting the outer surfaces for uniform bead distribution. Inconsistent blocks may contain hidden internal voids or loose pockets of beads that can cause the foam to crumble unexpectedly mid-carve, ruining fine details.
Balls, Cones, and Pre-Carved Shapes
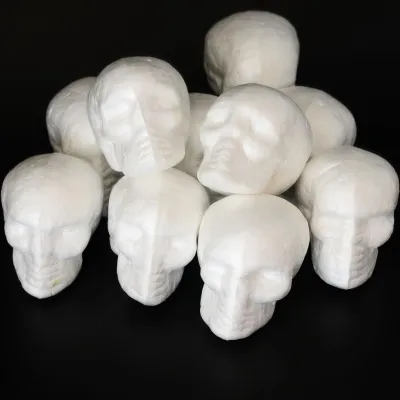
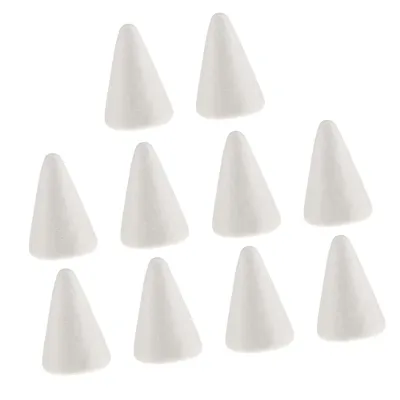
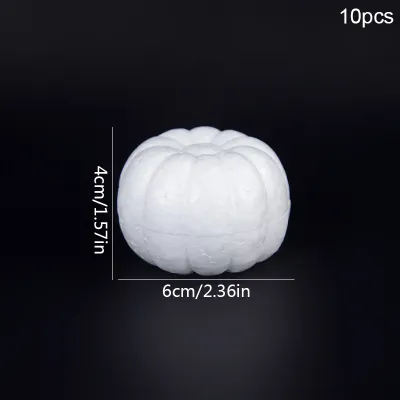
Pre-shaped foam items like spheres, cones, wreaths, and stars are designed to save you the difficult task of carving perfect symmetry by hand. They serve as excellent bases for holiday ornaments, floral arrangements, cake dummies used by bakers to display icing techniques, and seasonal decorations.
However, pre-shaped foam often features noticeable surface seams left behind by the manufacturing molds. To achieve a professional finish, you will need to prepare these shapes by gently sanding down the seams or applying a lightweight filler or primer before painting or covering them.
Matching Adhesives, Paints, and Finishes to EPS Foam
One of the most common mistakes in foam crafting is using incompatible chemicals that chemically react with the polystyrene, causing it to melt, pit, or dissolve entirely. Because EPS is highly sensitive to petroleum-based solvents, choosing the wrong adhesive or paint can instantly ruin hours of hard work.
Never use standard solvent-based glues, household spray paints, or enamel paints on styrofoam. The propellants used in traditional aerosol cans and the solvents in heavy-duty adhesives act as rapid solvents that liquefy the delicate cell walls of the foam beads.
Instead, always read product labels carefully to verify that they are explicitly marked as “foam safe,” “solvent-free,” or “water-based.” Safe options include low-temperature hot glue, school PVA glue, and water-based acrylic paints, which adhere beautifully without damaging the foam structure.
Even when a product claims to be safe, environmental factors like high local humidity can affect drying times and chemical behavior. Always perform a quick compatibility test by applying a small dab of your chosen adhesive or paint to a scrap piece from the same foam batch, allowing it to dry completely to ensure no melting or warping occurs. If you are on a tight budget, spending just a few S$ on a dedicated foam-safe glue is far better than ruining an expensive project.
Practical Techniques for Cutting, Shaping, and Cleanup
Working with styrofoam requires the right tools to achieve clean edges and keep your workspace manageable. You can shape foam using either cold cutting or hot cutting methods, depending on the level of precision your project demands.
Cold cutting involves using serrated kitchen knives, utility knives, or fine craft blades. While highly accessible, cold cutting can produce a jagged edge and a large volume of static-cling foam crumbs; keeping your blade at a shallow angle and lubricating it with a bit of paraffin wax can help produce smoother cuts.
Hot cutting utilizes a heated thermal wire tool that melts cleanly through the foam, sealing the edges as it cuts and leaving virtually no mess. If you choose hot cutting, always work in a well-ventilated space—such as near an open window with a fan running—to disperse the mild fumes, and avoid holding the tool in one spot too long to prevent scorching.
Cleaning up styrofoam debris can be frustrating due to static electricity, which causes tiny white beads to cling to hands, clothing, and floors. Instead of dry sweeping, which scatters the beads into the air, wipe down your work surface with a damp cloth or spray a light mist of water or anti-static spray over the area before sweeping to neutralize the static charge.
Frequently Asked Questions (FAQ)
Can I use regular spray paint on styrofoam crafts?
No, regular household spray paint should not be used directly on styrofoam. The chemical propellants and solvents inside standard aerosol cans will dissolve the polystyrene on contact, leaving you with a melted, pitted surface. To paint your foam safely, use specialized water-based acrylic spray paints labeled as foam-safe, or apply a protective barrier coat of PVA glue or gesso over the entire foam surface before using standard paints.
How do I glue two large pieces of styrofoam together securely?
To bond large pieces of styrofoam, use a low-temperature hot glue gun, a specialized foam-safe construction adhesive, or standard PVA craft glue. Ensure both surfaces are clean, dry, and free of loose foam dust or beads before applying the adhesive. Press the pieces firmly together and allow them to cure completely according to the manufacturer’s instructions, using light weights or toothpicks to hold them in place while the glue dries.
Community discussion
Share your experience or ask a question. Comments are reviewed before publication.