
To begin cross-stitching (十字绣), you do not need a massive craft cabinet filled with specialized tools. The absolute bare minimum required to complete your first project consists of just four core items: fabric, a tapestry needle, stranded cotton thread, and a basic tension tool like a hoop.
Advanced gadgets, magnetic needle minders, and elaborate storage boxes are completely unnecessary when you are just starting out. They add complexity and cost to a hobby that is fundamentally simple and relaxing.
You can easily acquire these basic supplies at a local craft shop or online marketplace in Singapore for a very modest budget. A simple starter setup typically costs between S$10 and S$20, making cross-stitch one of the most accessible needlecrafts available.
Products mentioned in this guide
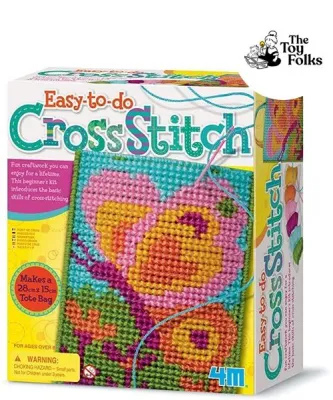
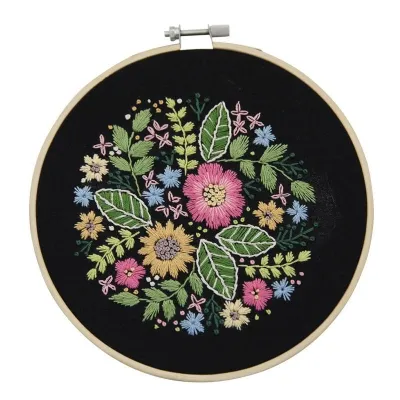
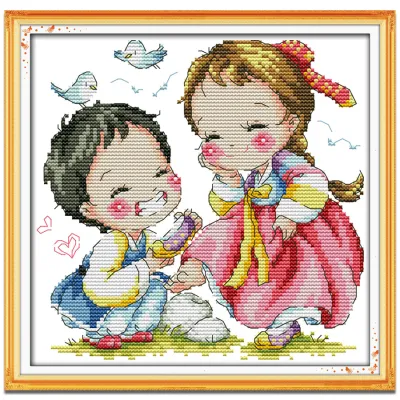
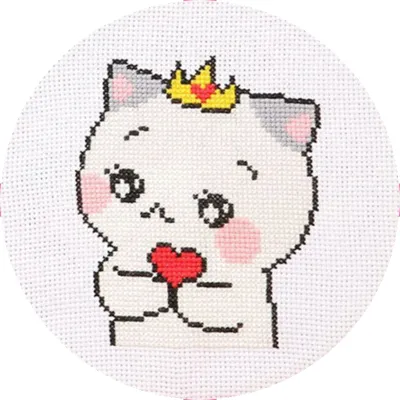

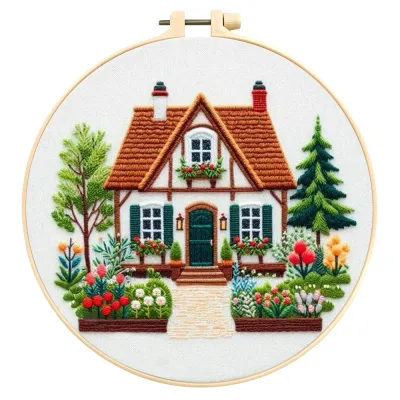
Prices are valid at publication and may change. Please refer to the product page for the latest price.
Choosing Your First Cross-Stitch Fabric
The fabric you choose serves as the foundation for your entire project. For beginners, Aida cloth is the undisputed standard. Unlike linen or evenweave, Aida is woven with distinct, open squares that form a clear grid, making it incredibly easy to see where to insert your needle.
Linen and evenweave fabrics require you to count over two threads for each stitch, which can quickly strain your eyes and lead to counting mistakes if you are not experienced. Aida cloth is also naturally stiffened with starch, which helps it hold its shape even if you do not have a heavy-duty frame.
Fabric “count” refers to the number of holes per linear inch. For your first project, 14-count Aida is highly recommended. A 14-count fabric means you will make 14 stitches per inch, resulting in a size that is easy to see and work with. If you choose a higher count, like 16-count or 18-count, the holes become much smaller, requiring finer needles and more precise eyesight.
When purchasing fabric, check the quality by holding it up to the light. The weave should be uniform, and the holes should be clearly defined without loose threads blocking them. Because woven fabrics naturally fray at the edges when handled, you will need to inspect the borders and plan to secure them before you begin stitching.
Selecting the Right Needles and Thread
Cross-stitching requires a specific type of needle known as a tapestry needle. Unlike sharp sewing needles, tapestry needles have a blunt tip and a significantly larger eye. The blunt tip prevents you from splitting the fabric threads, allowing the needle to slide smoothly through the pre-existing holes in your Aida cloth.

Tapestry needles are sized by numbers; counterintuitively, larger numbers represent smaller needles. For 14-count Aida fabric, a size 24 needle is the standard choice. If you move to a finer 16-count fabric, a size 26 needle is more appropriate to avoid stretching the holes.
The thread used for cross-stitch is called stranded cotton, or embroidery floss. Each skein of floss consists of six individual strands twisted together. You do not stitch with all six strands at once; instead, you must gently separate the strands. For 14-count Aida, using two strands is the standard practice to achieve balanced coverage without crowding the fabric.
When buying thread, look for reputable brands that display clear color codes on their paper labels. These numbers correspond to pattern charts, making it easy to match colors. For a small starter project, you can organize your threads simply by looping them through holes punched in a piece of clean cardboard, writing the color code next to each hole.
Hoops, Frames, and Fabric Tension Tools
Keeping your fabric taut is essential for maintaining even stitch tension and preventing puckering. The most common and cost-effective tool for this is a simple embroidery hoop. Hoops consist of an inner ring and an outer ring with a tightening screw.
Wooden hoops are lightweight, inexpensive, and classic, but they can sometimes have rough spots that snag delicate fabrics. Plastic hoops, particularly those with a molded lip or groove, offer a much stronger grip and prevent the fabric from slipping as you work. For a beginner, a 6-inch or 7-inch plastic hoop is highly versatile and comfortable to hold for long periods.
Alternative tension methods include scroll frames, which roll the fabric onto rollers, or stitching “in-hand” without any hoop at all. Stitching in-hand is possible with stiff Aida cloth, but it requires a very practiced touch to keep your stitches from becoming too tight or too loose.
To ensure your hoop is set up correctly, place your fabric over the inner ring, press the outer ring down over it, and tighten the screw. Gently pull the fabric edges until the surface is as tight as a drum skin. Check that the grid lines of the Aida cloth remain perfectly straight; if the squares look distorted or curved, loosen the screw and adjust the fabric to prevent a warped final design.
Helpful but Optional Accessories to Skip for Now
As you explore the world of needlework, you will encounter dozens of specialized accessories. While items like thread conditioners, custom needle minders, and dedicated embroidery scissors are convenient, they are not necessary for your first few projects.
Instead of buying expensive embroidery scissors, you can use any small, sharp pair of household scissors, such as clean manicure scissors, to snip your threads. Rather than purchasing plastic thread organizers or plastic bobbins, you can store your active threads in standard resealable plastic bags to keep them clean and dust-free.
Thread conditioners, which coat the floss to reduce friction and tangling, are only truly helpful when working with metallic or highly textured specialty threads. Standard cotton floss behaves perfectly well on its own if handled correctly.
You should only consider upgrading to these specialized tools once you decide to take on larger, multi-colored projects that require months of work. For small starter designs, keeping your toolkit minimal prevents clutter and keeps your initial investment low.
How to Prepare Your Fabric and Thread Before Stitching
Proper preparation before you make your first stitch will save you from frustration later. Start by cutting your fabric to the correct size, ensuring you leave at least two to three inches of extra margin on all sides of your pattern area for framing and hoop clearance.
To prevent the cut edges of your Aida cloth from unraveling as you handle it, secure the borders. You can wrap masking tape or painter’s tape around the raw edges, or sew a quick whip stitch along the perimeter using standard sewing thread.
Next, locate the exact center of your fabric. Fold the fabric in half horizontally, then fold it in half vertically, and gently crease the center point. Marking this center point with a water-soluble fabric pen or a simple safety pin ensures your design will be perfectly centered on the fabric.
When preparing your thread, cut a length of embroidery floss about 18 inches long. Cutting pieces longer than this increases the risk of tangling, fraying, and knotting as you pull the thread through the fabric. Gently pull out the individual strands you need one by one, letting the remaining strands hang straight to prevent twisting.
Frequently Asked Questions (FAQ)
Can I use regular sewing thread instead of embroidery floss?
Regular sewing thread is not a suitable substitute for embroidery floss in cross-stitch. Sewing thread is much thinner, has a tighter twist, and lacks the soft, matte sheen of stranded cotton. If you attempt to use it on Aida fabric, it will not provide enough coverage, leaving the fabric holes highly visible and resulting in a sparse, uneven design.
Do I need to wash my fabric before I start stitching?
For standard cotton Aida cloth, pre-washing is generally not recommended because it removes the starch that gives the fabric its helpful stiffness. However, if you are using hand-dyed fabrics or natural linen that might shrink, or if you plan to stitch an item that will be laundered frequently like a garment, pre-washing is necessary to prevent the fabric from warping or the colors from bleeding later.
Community discussion
Share your experience or ask a question. Comments are reviewed before publication.