
Starting your soap-making journey in Singapore is an exciting and rewarding creative outlet, but your choice of mold directly impacts your success. For beginners, the best silicone soap molds are those that offer a balance of flexibility, structural integrity, and simple geometric shapes. These features ensure that your first batches release cleanly without tearing, warping, or requiring complex lining materials. In Singapore’s warm, humid climate, choosing the right mold also helps manage curing times and storage space in compact homes. By understanding what to look for in a mold, you can avoid common pitfalls and set yourself up for a smooth, enjoyable crafting experience.
Why Silicone is the Preferred Material for Beginners
Silicone has revolutionized home soap making, especially for those just starting out. Unlike rigid plastic molds, which often require freezing or forceful tapping to release the cured soap, silicone is highly flexible. This flexibility allows you to peel the mold away from the soap block gently, minimizing the risk of denting or breaking the corners of your finished bars.
Wooden molds are another traditional option, but they require precise lining with parchment paper or silicone liners to prevent the soap from sticking to the wood. A standalone silicone mold eliminates this preparation step entirely, saving time and reducing the initial learning curve.
Products mentioned in this guide
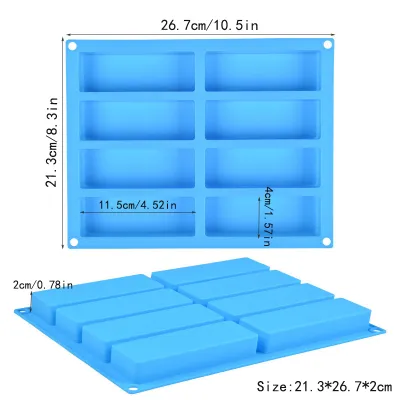
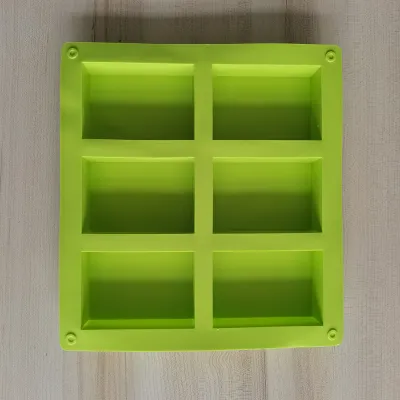
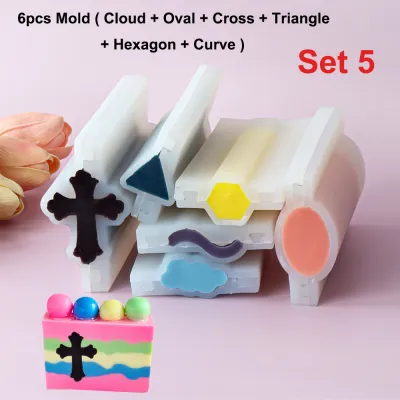
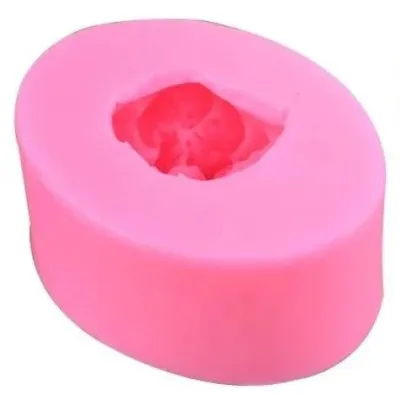
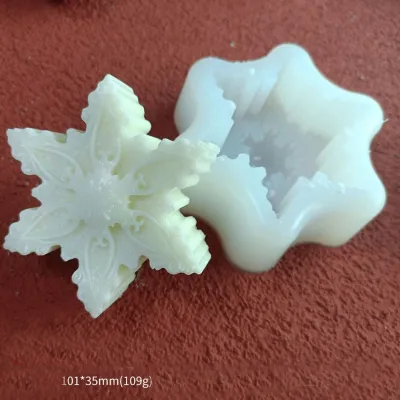
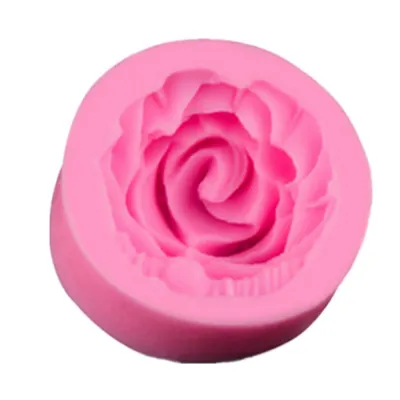
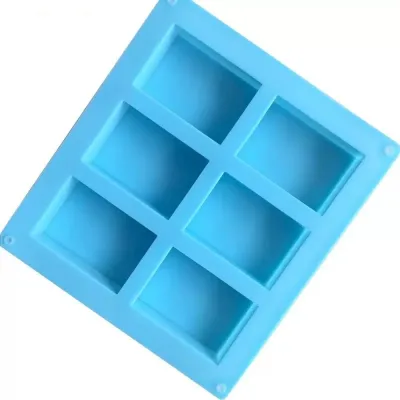
Prices are valid at publication and may change. Please refer to the product page for the latest price.
Furthermore, silicone is highly resistant to the chemical reactions involved in soap making. When making cold process soap, you work with sodium hydroxide (lye), which is highly alkaline. Unlike metals such as aluminum, which react dangerously with lye, or glass, which can shatter due to thermal shock during the saponification process, silicone remains completely inert and safe to use.
When selecting a silicone mold, it is crucial to look for food-grade or skin-safe material labels on the packaging. High-quality silicone is chemically stable and will not leach unwanted chemicals into your soap batter.
Additionally, the thickness and firmness of the silicone walls are critical factors. Thin, flimsy silicone may seem easier to peel, but it will bow outward under the weight of heavy soap batter, resulting in distorted, bulging bars that are difficult to cut evenly.
Essential Features to Evaluate Before Buying
Before purchasing a silicone mold, you must evaluate its structural support. For larger loaf molds, which hold a significant volume of heavy soap batter, a rigid outer rim or a wooden support box is highly recommended. Without this external support, the flexible silicone walls will inevitably bow outward under the hydrostatic pressure of the liquid soap, leaving you with a loaf that is wider in the middle than at the ends.

To test the quality of the silicone itself, you can perform a simple physical check if buying in person. High-quality silicone should feel substantial and return to its original shape immediately after being bent or stretched. If you pinch and twist a section of the mold and the color turns white, this often indicates the presence of cheap plastic fillers, which can degrade over time when exposed to essential oils and lye.
You must also verify the cavity depth and volume before finalizing your purchase. Most product listings or packaging labels will state the total volume in milliliters or fluid ounces, as well as the dimensions of individual cavities. Knowing these measurements allows you to calculate your recipe yields accurately, preventing you from mixing too much or too little soap batter. This verification step is essential for avoiding ingredient waste, especially when working with expensive specialty oils or fragrance blends.
Additionally, consider the texture of the inner walls. A high-gloss inner finish will yield soap bars with a shiny, smooth surface, while a matte finish will produce a satin or textured look. For beginners, a smooth, high-gloss finish is often preferred as it is easier to clean and release.
Choosing the Right Cavity Size and Shape for First Batches
For your very first batches of soap, simple geometric shapes are highly recommended. Rectangular, square, or round cavities are much easier to work with than intricate 3D designs, floral patterns, or highly detailed animal shapes. Intricate molds tend to trap air bubbles in their deep crevices, and the delicate details can easily tear off when you attempt to unmold the soap before it is fully hardened.
Starting with smaller, multi-cavity tray molds is an excellent strategy for beginners. These molds typically produce individual bars of soap ranging from 70 to 100 grams each. Because the soap is divided into smaller portions, the heat generated during the saponification process dissipates more quickly, reducing the risk of overheating. Furthermore, smaller volumes cure faster, allowing you to unmold and inspect your work sooner, which provides immediate feedback on your recipe and technique.
To ensure your recipe matches your mold perfectly, you can easily measure the cavity volume using water. Place your empty mold on a digital kitchen scale, tare the scale to zero, and fill one cavity with water to the desired height. The weight of the water in grams corresponds almost exactly to the volume in milliliters. Since soap batter has a density very close to water, you can use this measurement to scale your lye, water, and oil calculations precisely, ensuring a perfect fill every time.
Using individual cavity molds also eliminates the need for a soap cutter, which is another tool you would otherwise need to purchase. This keeps your initial investment low while you decide if soap making is a hobby you wish to pursue long-term.
Sourcing Molds in Singapore: Channels and Verification
Sourcing silicone soap molds in Singapore involves choosing between local physical craft stores and online marketplaces. Local physical stores, often located in central areas or specialized craft districts, allow you to physically inspect the thickness and flexibility of the silicone before buying. While prices in physical stores may be slightly higher, ranging from S$10 to S$30 depending on the size, you avoid shipping delays and can start your project immediately.
Online marketplaces and regional e-commerce platforms offer a much wider variety of shapes and sizes, often at lower base prices. However, you must factor in potential shipping fees and delivery times, which can range from a few days to several weeks if the item is shipped from overseas.
When shopping online, it is vital to read product listings carefully to verify material claims and dimensions. Look for detailed specifications regarding temperature resistance and material composition. Pay close attention to customer reviews and seller ratings; look for photos uploaded by other buyers to verify if the mold matches the description and holds its shape well when filled.
Additionally, check the shipping origin of the seller. If you are ordering from an overseas seller on a regional online marketplace, ensure that the estimated delivery window aligns with your project timeline, and check if there are local return policies in case the mold arrives damaged or warped. Be mindful of any local import taxes or goods and services tax (GST) that may apply to your online purchases, as these can affect the overall cost.
Building Your Conditional Shortlist
To help you choose the right mold, consider this decision framework based on your specific soap-making method and goals.
If you are a cold process soap maker, your primary need is a sturdy, straight-edged loaf mold, preferably one that comes with a wooden support box. Cold process soap requires a longer curing time inside the mold, and a straight-edged loaf allows you to cut uniform bars using a soap slicer. The wooden box also provides excellent insulation, which helps the soap undergo a complete gel phase, resulting in more vibrant colors and a smoother texture.
If you are a melt-and-pour beginner, you should look for multi-cavity, fun-shaped tray molds. Melt-and-pour soap cools and hardens quickly, and because it does not undergo a chemical saponification process in the mold, you do not need heavy insulation. Multi-cavity molds with decorative patterns allow you to create beautiful, ready-to-use gift soaps in a matter of hours without the need for cutting or curing.
If you have limited space in your home, such as a typical Singapore HDB flat, prioritize stackable or compact tray designs. Look for molds that can be nested inside one another when empty, or flat silicone trays that can be stored vertically in a cupboard. This prevents your craft supplies from cluttering your living space while keeping your molds flat and protected from dust.
By matching your mold selection to your specific soap-making method and storage constraints, you can ensure a more organized and successful crafting experience.
Cleaning and Storing Silicone Molds
Proper maintenance is essential to preserve the integrity of your silicone molds and prevent residue buildup over time. After unmolding your soap, wash the mold with warm water and a mild dish soap. Avoid using abrasive sponges, steel wool, or harsh chemical cleaners, as these can scratch the smooth inner surface of the silicone, leading to a dull finish on your future soap bars.
If you encounter stubborn, cured soap residue in the corners of the mold, do not attempt to scrape it out with sharp tools or fingernails, which can easily puncture or tear the silicone. Instead, soak the mold in warm, soapy water for about thirty minutes to soften the residue, then gently wipe it away with a soft microfiber cloth or a silicone sponge.
In Singapore’s humid climate, it is crucial to ensure your molds are completely dry before storing them. Any trapped moisture can encourage the growth of mold or mildew, which can ruin your next batch of soap. After washing, shake off excess water and let the molds air dry completely on a clean towel.
When storing your molds, keep them flat on a level surface to prevent warping. Avoid stacking heavy objects on top of them, as prolonged pressure can permanently deform the flexible silicone. Store your molds in a cool, dry place away from direct sunlight, as UV rays can degrade the material over time, making it brittle and prone to tearing.
Frequently Asked Questions (FAQ)
Do I need to grease or line a silicone soap mold?
High-quality silicone soap molds generally do not require any lining or greasing, as the naturally non-stick surface allows for easy release. However, if you are using a highly textured mold with intricate details, or a recipe with a very high super-fat content, a very light spray of mineral oil or a dusting of cornstarch can help ensure a clean release without tearing the delicate patterns.
Can I put silicone soap molds in the oven or freezer?
Yes, silicone can safely withstand freezer temperatures, and placing your filled mold in the freezer for 30 to 60 minutes can help harden the soap, making it much easier to unmold without leaving residue behind. However, you should avoid using craft-grade silicone molds in high-heat oven environments unless they are explicitly rated and labeled for baking by the manufacturer, as some craft molds contain fillers that cannot tolerate high temperatures.
How do I fix a silicone mold that has lost its shape?
If a silicone mold has become slightly warped or deformed due to improper storage, you can often restore its shape by placing it on a flat, level surface and applying gentle, even weight across the warped area for a few days. If the structural integrity of the silicone is severely compromised, or if the mold has developed cracks that leak liquid soap batter, it is best to discard the mold to prevent messy spills and wasted ingredients.
Community discussion
Share your experience or ask a question. Comments are reviewed before publication.