
Selecting the right tools for architectural drafting is a precise process where the quality of your physical output directly impacts the clarity of your design. When evaluating Visiomax drawing tools for professional or student-level architectural work, success depends on matching the specific technical demands of your drafting stage with the physical capabilities of each instrument. By systematically analyzing line weight consistency, ink behavior, lead performance, and surface compatibility, you can assemble a reliable toolkit that supports both initial conceptual layouts and highly detailed final presentations.
Rather than relying on universal brand assumptions, selecting the ideal tools requires a practical understanding of how different instruments interact with specialized drafting media. Whether you are working on tracing paper, vellum, or heavy bristol board, verifying the physical specifications of your pens, pencils, and markers on your chosen surface is the most reliable way to ensure clean, professional results. This guide establishes a clear framework for evaluating Visiomax drawing tools, helping you make informed decisions based on observable performance criteria and standard drafting requirements.
Core Requirements for Architectural Drafting
Architectural drafting demands an exceptional level of precision because technical drawings serve as the primary communication medium between designers, engineers, and builders. Every line on a floor plan, elevation, or cross-section carries specific structural meaning, which is communicated primarily through line weight hierarchy. A wall cut-through requires a bold, authoritative line, while dimension lines and material hatches must remain thin and unobtrusive. If a drawing tool cannot maintain a perfectly consistent line width from the beginning of a stroke to the end, the legibility of the entire drawing is compromised.
Ink properties are equally critical when selecting tools for technical drawing. During a typical drafting workflow, your hands, rulers, T-squares, and set squares constantly slide across the paper surface. If the ink does not dry almost instantly upon contact with the medium, it will smudge, leaving unsightly streaks that ruin hours of meticulous work. Furthermore, architectural drawings often undergo multi-layered workflows where tracing paper or vellum is overlaid on top of an inked sheet. The ink must be highly resistant to bleeding and completely waterproof to prevent feathering or running if adhesive tapes or light moisture come into contact with the drawing.
Ergonomics and physical balance play a vital role in the quality of your line work during long, demanding drafting sessions. A tool that is too heavy or poorly balanced can cause hand fatigue, leading to micro-tremors that disrupt straight lines and precise curves. Look for drawing instruments that feature textured or rubberized grip zones to prevent slipping, especially in warm studio environments. The weight distribution should ideally be centered or slightly forward-biased, allowing the tool to glide naturally across the drafting surface under its own weight without requiring excessive downward hand pressure.
Matching Visiomax Tool Types to Drafting Stages
An organized architectural drawing is rarely produced in a single pass; instead, it progresses through a series of structured phases. Each phase requires a distinct set of physical characteristics from your drawing instruments. By understanding how different tool categories align with these specific stages, you can transition smoothly from loose, creative brainstorming to rigid, technical execution without compromising the integrity of your medium.
In the preliminary layout phase, the primary goal is to establish spatial relationships, grid lines, and basic geometries using easily erasable guidelines. As the design solidifies, you transition to the inking phase, where permanent, high-contrast lines define the permanent structural elements of the drawing. Finally, the rendering and presentation phase introduces depth, texture, and shadow to help clients visualize the spatial qualities of the design. Mapping your tools to these specific steps ensures that each instrument is used within its optimal performance envelope.
Technical Pens and Fineliners for Inking
When selecting Visiomax technical pens and fineliners for final inking, the first specification to verify is the nib size. Standard architectural drawings rely on a strict hierarchy of line weights, typically ranging from ultra-fine 0.1mm lines for detailed hatching and material indications, to 0.3mm or 0.5mm lines for secondary elements like furniture and doors, up to 0.7mm or 0.8mm lines for major structural cuts. You should verify that the selected pen set offers a clear range of distinct, standardized tip sizes that correspond directly to these drafting conventions.
The physical durability of the nib is another critical factor, especially when working on abrasive drafting media. Drafting film and high-rag vellum can act like fine sandpaper, wearing down plastic fiber tips over time and causing them to widen or become misshapen. When evaluating fineliners, observe how the tip holds up during initial test strokes on your specific paper type. The ink flow must remain perfectly consistent under normal drawing speeds; look for pens that do not skip when drawn quickly along a metal ruler, and check that the ink does not pool or blob when the pen pauses momentarily at a corner.
For long-term utility, consider the consumable structure of the pens. Some technical drawing pens feature refillable ink reservoirs or replaceable cartridges, which can be highly economical for high-volume drafting work. If you choose disposable fineliners, verify their average lifespan and keep a consistent supply of your most frequently used line weights on hand. Always check the packaging to confirm that the ink is labeled as pigment-based, lightfast, and water-resistant, as these properties prevent the drawing from fading over time or bleeding when exposed to rendering markers.
Mechanical Pencils for Layout and Sketching
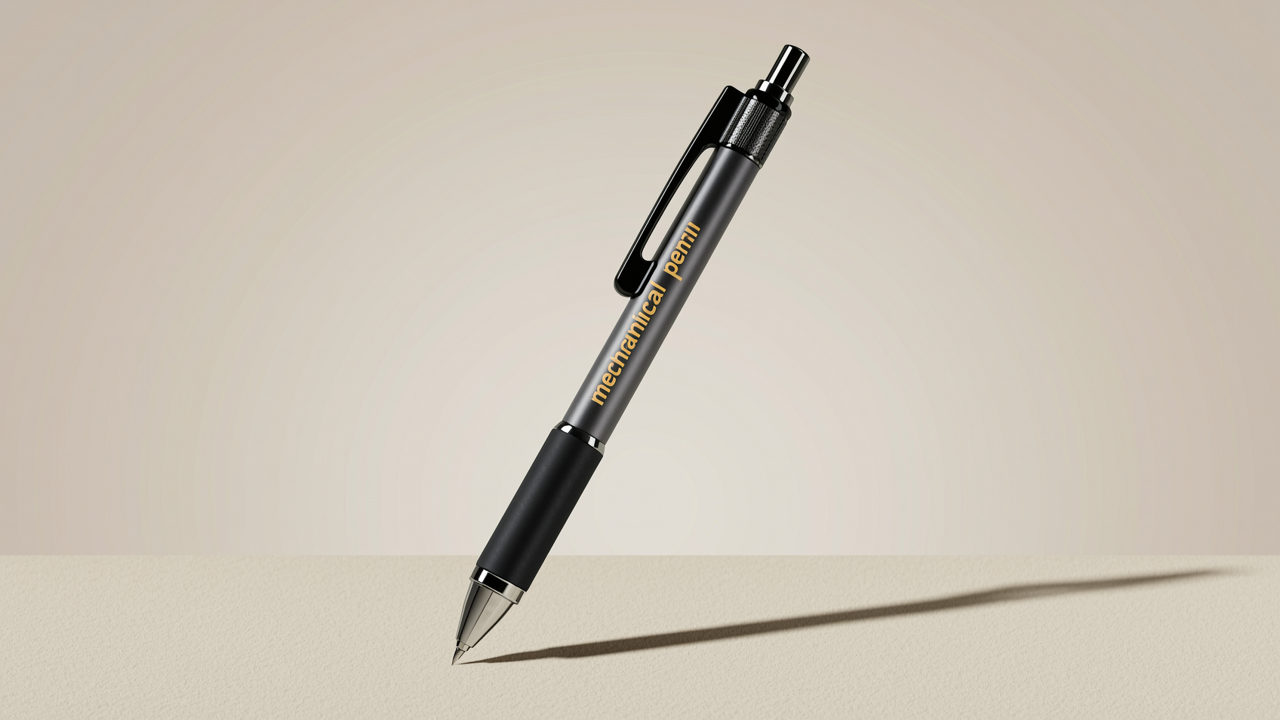
For the initial layout and geometric construction phases, mechanical pencils are indispensable due to their ability to maintain a constant line width without the need for constant sharpening. When choosing a mechanical pencil, match the lead diameter to your specific task. A 0.3mm lead is ideal for ultra-fine layout lines and precise guide grids that can be easily erased or drawn over. A 0.5mm lead serves as an excellent all-purpose tool for general drafting and lettering, while a 0.7mm or 0.9mm lead is better suited for quick conceptual sketching and bold border lines.
Lead hardness is another variable that directly affects your drafting workflow. Harder leads, such as 2H, 4H, or 6H, are preferred for technical layouts because they produce very light, crisp lines that do not smudge easily under drafting instruments. However, they require a light touch to avoid scoring or indenting the paper surface. Softer leads, like HB or B, are excellent for freehand sketching, shading, and dark lettering, but they require more frequent advancement and are highly prone to smudging if your hands or rulers slide over them. Ensure you select a lead grade that balances visibility with erasability on your chosen paper.
To protect both the delicate lead and your drafting surface, evaluate the mechanical pencil’s internal construction. Look for models that feature a fixed, cylindrical lead sleeve—typically 4mm in length—which allows the pencil to slide smoothly against thick plastic rulers and set squares without the body of the pencil obstructing your view of the line. Built-in lead cushioning mechanisms are highly beneficial, as they absorb excess vertical pressure and prevent the lead from snapping during intense drafting sessions. Additionally, verify that the pencil features a reliable clutch mechanism that holds the lead firmly in place without slipping backward under pressure.
Markers and Accessories for Rendering
Architectural rendering requires tools that can apply smooth, consistent color washes and gradients to represent materials like glass, concrete, wood, and steel. When selecting Visiomax markers for this stage, pay close attention to the nib configuration. Dual-tip markers featuring a broad chisel nib on one end and a fine bullet or flexible brush nib on the other offer the greatest versatility. The chisel nib allows you to quickly fill large areas of elevations or site plans with flat, even color, while the fine tip is essential for detailing window frames, landscaping elements, and shadows.
Ink formulation is a critical consideration when layering colors. Alcohol-based markers are highly favored in architectural rendering because they dry almost instantly and allow for seamless blending without warping the paper. However, they can easily bleed through thin layout or tracing papers. If you are working on lightweight media, you must verify the bleed-through behavior of the markers on a test sheet first. For heavy presentation boards or specialized marker paper, check how the ink layers; high-quality rendering markers should allow you to build up values and shadows gradually by applying multiple coats of the same color.
Color selection should focus on a professional architectural palette rather than highly saturated primary colors. Prioritize a comprehensive range of cool, warm, and neutral grays, as these are essential for rendering shadows, concrete surfaces, and metallic structures. Earth tones, muted greens, and soft blues are also highly useful for representing timber, brick, vegetation, and water elements. Before finalizing your rendering, create a physical color chart on your actual drafting paper to verify how the colors dry, as the final shade can vary significantly depending on the absorption rate of the medium.
Compatibility and Consumable Checks Before Purchase
Before purchasing any drawing tools, it is essential to perform a comprehensive compatibility check between your instruments and your intended drafting surfaces. Different papers react uniquely to various ink and graphite formulations. For example, highly absorbent papers like standard cartridge paper will draw ink quickly from a fineliner, potentially causing lines to feather or appear wider than the specified nib size. Conversely, non-porous surfaces like drafting film or high-grade tracing paper require specialized inks that dry via evaporation rather than absorption; using standard water-based fineliners on these surfaces can result in wet ink that smudges hours after application.
To ensure uninterrupted workflow, verify the local availability of replacement consumables before committing to a specific tool system. In Singapore, check with authorized stationery retailers or official online marketplaces to confirm that replacement leads in your preferred hardness grades (such as 2H or 4H) and standard lead diameters are readily in stock. If you are using refillable technical pens, ensure that compatible ink cartridges or bottled drawing inks are easily accessible. Having a reliable local source for these consumables prevents project delays when a critical tool runs out of ink or lead mid-design.
Proper maintenance and storage are vital to preserving the performance and extending the lifespan of your drafting tools. Technical pens and fineliners should always be capped tightly immediately after use; even a few minutes of exposure to air can cause ink to dry and clog the delicate capillary channels inside the nib. Depending on the manufacturer’s instructions, markers should generally be stored horizontally to ensure that ink remains evenly distributed between both tips, preventing one end from drying out prematurely. Keep your mechanical pencils retracted when not in use to protect the metal lead sleeve from bending if dropped.
Finally, always prioritize the manufacturer’s specific care guidelines and product instructions. If you observe unusual tool behavior—such as a pen skipping repeatedly, a marker bleeding excessively, or a mechanical pencil clutch failing to hold the lead—stop using the tool immediately on your active drawing. Test the instrument on a scrap piece of the same medium to isolate the issue, and consult the product manual or contact the manufacturer to resolve the conflict before risking damage to your final architectural presentation.
Frequently Asked Questions (FAQ)
How do I prevent Visiomax technical pens from clogging?
To prevent technical pens from clogging, always snap or screw the cap on tightly immediately after you finish drawing a line. Even brief exposure to air can cause the highly pigmented ink to dry inside the fine capillary channel of the nib. Store your pens in accordance with the manufacturer’s instructions, which typically recommend horizontal storage for fineliners to maintain even ink distribution, or vertical storage with the nib pointing upward for refillable technical pens to prevent ink from settling in the tip. If a pen does become partially clogged, you can perform a basic cleaning by gently wiping the tip with a lint-free cloth dampened with distilled water. For refillable models, perform a systematic flush of the nib assembly using warm water or a specialized technical pen cleaning solution as recommended in the product manual.
Can Visiomax drafting tools be used on digital drawing tablets?
Traditional Visiomax drafting tools, including technical pens, fineliners, and mechanical pencils, must never be used directly on digital drawing tablets or touchscreens. These traditional instruments rely on physical friction, ink flow, or graphite deposition to function, and using them on a glass or plastic screen can cause permanent scratches, clog ports with graphite dust, or leave permanent ink stains that void your digital hardware warranties. Digital drawing tablets require specialized active or passive styluses designed specifically to interact with the tablet’s digitizer sensor. Always check your digital device’s user manual for compatible stylus models, and reserve your traditional drafting tools exclusively for physical media such as paper, vellum, and drafting film.
What should I do if a Visiomax mechanical pencil lead keeps breaking?
If your mechanical pencil lead breaks repeatedly during drafting, first evaluate your lead extension length. The lead should only extend beyond the metal sleeve by approximately one to two clicks (less than one millimeter); extending it further deprives the thin graphite of structural support, causing it to snap under normal drawing pressure. Next, check if your lead hardness grade matches your drafting style and paper texture. If you tend to apply heavy downward pressure, transition from a brittle hard lead (like 2H or 4H) to a slightly softer, more resilient grade (like HB), or switch to a thicker lead diameter such as 0.7mm. Finally, inspect the pencil’s tip and internal brass clutch mechanism for accumulated graphite dust or tiny broken lead fragments. You can clear these by unscrewing the tip, depressing the eraser button to open the clutch, and gently feeding a thin cleaning pin or a spare piece of lead backward through the sleeve to clear any obstructions.
Community discussion
Share your experience or ask a question. Comments are reviewed before publication.