
Using a simple torch light at home is one of the most effective ways to help your child revise the light and shadow topics for the PSLE Science syllabus. Instead of relying solely on textbooks and worksheets, hands-on experiments allow primary school students to observe physical phenomena directly. This makes abstract concepts like light travel, reflection, and shadow behavior much easier to grasp. By guiding your child through these practical activities, you can help them build a strong foundation for both multiple-choice and open-ended exam questions.
Preparing Your Home Setup for Light Experiments
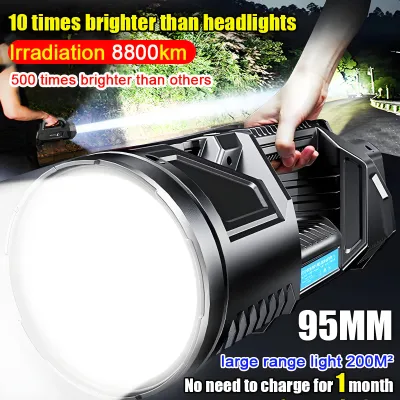
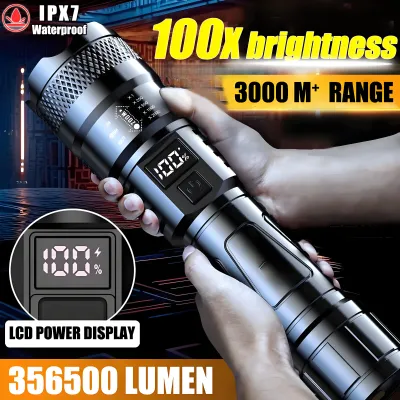
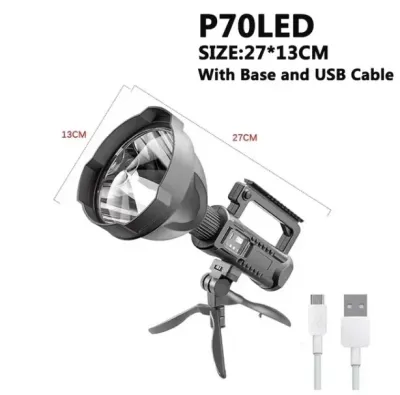
To conduct clear and effective light experiments, you need a controlled environment and the right tools. Start by selecting a suitable torch light. An LED torch light with an adjustable focus or a narrow, concentrated beam is highly recommended. You can easily find a basic, reliable model for under S$10 at local stationery shops or online marketplaces. Avoid heavily diffused lights or wide-angle lanterns, as they scatter light too broadly, resulting in blurry shadow edges that make precise observations difficult.
Next, gather household items to act as obstacles, screens, and reflective surfaces. You will need opaque objects like plastic toys or wooden blocks, a roll of masking tape, and a few sheets of thick white drawing paper to serve as your screen. For reflection experiments, prepare a small hand mirror and a sheet of aluminum foil.
Products mentioned in this guide


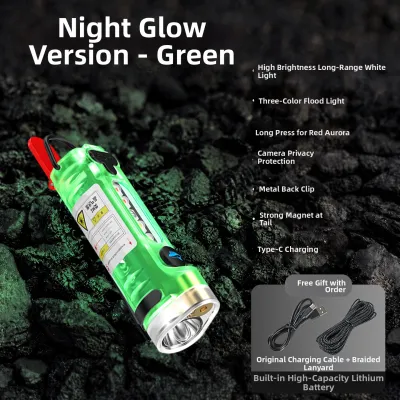
Prices are valid at publication and may change. Please refer to the product page for the latest price.
Finally, prepare the room. Choose a room that can be easily darkened, such as a bedroom with blackout curtains or a study during the evening. Minimizing ambient light ensures that the torch light beam is highly visible and that the shadows cast on your paper screen have sharp, distinct borders.
Demonstrating Shadow Formation and Size Changes
Shadow formation is a core topic in the PSLE Science syllabus, often tested through questions that require students to predict or explain changes in shadow size. To demonstrate this, tape a sheet of thick white drawing paper onto a flat wall to act as your screen. Place a small, opaque object, such as a plastic toy, on a flat table or stand a short distance in front of the screen.

Hold your torch light at a fixed height, pointing it directly at the object so that a clear shadow is cast onto the drawing paper. Have your child mark the boundaries of the shadow on the paper using a pencil. This setup visually reinforces the fundamental concept that light travels in straight lines and cannot pass through opaque objects, resulting in a shadow where the light is blocked.
Now, explore how changing distances affects the shadow size. Keep the distance between the object and the screen constant, and slowly move the torch light closer to the object. Your child will observe that the shadow on the screen grows larger. Next, move the torch light further away from the object, and observe how the shadow shrinks.
To complete the demonstration, keep the torch light and the screen in fixed positions, and move the object itself. Moving the object closer to the light source increases the shadow size, while moving it closer to the screen decreases the shadow size. Encourage your child to state these relationships as general rules, which they can practice writing down in the standard “as the distance between the light source and the object increases, the size of the shadow decreases” format commonly required in PSLE open-ended questions.
Testing Transparent, Translucent, and Opaque Materials
The PSLE Science syllabus requires students to classify materials based on their ability to allow light to pass through them. You can easily demonstrate these properties by shining your torch light through various household items. Gather a piece of clear plastic wrap, a sheet of baking paper or tracing paper, and a piece of thick cardboard.
Hold each material one by one between the torch light and your white paper screen. When you shine the light through the clear plastic wrap, your child will observe a bright, clear patch of light on the screen with no visible shadow. This demonstrates that the material is transparent, allowing almost all light to pass through it.
Next, test the baking paper. The light on the screen will appear much dimmer, and a faint, blurry shadow may form. This indicates that the material is translucent, allowing only some light to pass through. Finally, test the cardboard. No light will reach the screen, and a dark, distinct shadow will appear, proving that cardboard is opaque and allows no light to pass through.
To reinforce this learning, have your child create a simple classification table on a sheet of drawing paper. They can test other items around the house, such as glass cups, colored plastic folders, and ceramic mugs, and categorize them based on their observations. This hands-on classification helps them remember the definitions of transparent, translucent, and opaque far better than rote memorization.
Exploring Light Reflection with Everyday Objects
Understanding how light reflects off different surfaces is crucial for answering PSLE questions about visibility and reflection. To demonstrate this, shine your torch light at an angle onto a flat, smooth hand mirror. Hold a sheet of drawing paper nearby to catch the reflected light. Your child will see a clear, bright spot of light on the paper, demonstrating regular reflection where light bounces off a smooth surface in a single, predictable direction.
Next, replace the mirror with a rough, matte surface, such as a piece of wood or a crumpled sheet of aluminum foil. When you shine the torch light onto this surface, the reflected light on the paper screen will appear scattered and dim. This demonstrates irregular or diffuse reflection, where light bounces off a rough surface in many different directions.
Use this experiment to explain how we see non-luminous objects—objects that do not produce their own light. Explain to your child that we can only see the wooden block or the toy because light from the torch light reflects off its surface and enters our eyes. You can verify this by turning off the torch light completely; without a light source to reflect off the object, the object becomes invisible in the dark.
Verifying Understanding with PSLE-Style Questions
Once the experiments are complete, it is important to bridge the gap between hands-on observations and exam-style answers. Ask your child “what if” questions to test their understanding. For example, ask them to predict what would happen to the shadow on the screen if you replaced the opaque wooden block with a translucent sheet of colored plastic. They should be able to explain that the shadow would become lighter or less distinct because some light can now pass through the object.
Next, have your child practice drawing ray diagrams, which are frequently tested in the PSLE. Provide them with a clean sheet of drawing paper, a sharp pencil, and a clear plastic ruler. Instruct them to draw straight lines representing light rays traveling from the torch light to the object and the screen.
Ensure they follow key exam rules: light rays must always be drawn as perfectly straight lines using a ruler, and they must include arrows pointing in the direction the light is traveling. Watch out for common mistakes, such as drawing curved lines or pointing the arrows back toward the light source, and correct these misconceptions immediately to prevent loss of marks during the actual exam. To ensure clean diagrams, verify that the pencil or marker does not smudge on the paper by testing a small corner first, and choose drawing paper with a thickness of 135gsm or higher to prevent ink bleed-through.
Frequently Asked Questions (FAQ)
Can I use a smartphone flashlight instead of a dedicated torch light?
While a smartphone flashlight can work in a pinch, a dedicated torch light is highly recommended for these experiments. Smartphone flashlights typically use wide-angle LEDs designed to flood a room with diffused light. This diffusion causes shadow edges to appear blurry and indistinct, making it difficult to measure shadow sizes accurately. A dedicated torch light with a focused beam or adjustable lens provides a much sharper shadow, which is essential for demonstrating precise shadow boundaries.
What should I do if my child struggles to draw the light rays?
If your child struggles to visualize and draw light rays, start with very simple setups. Have them place a physical ruler directly along the path of the light from the torch light to the object to show that the path is a straight line. Remind them that in PSLE diagrams, every light ray must be drawn with a ruler and must feature an arrowhead indicating the direction of travel. You can also verify that the drawing paper you use is thick enough (such as 135gsm or higher) so that any marker lines drawn for practice do not bleed through and clutter the diagram.
Community discussion
Share your experience or ask a question. Comments are reviewed before publication.