
Quick Answer: Matching the Adjuster to Your Skill and Garment
Finding the perfect fit for your trousers doesn’t always require a trip to a professional tailor, but choosing the wrong pant adjuster can permanently ruin your favorite clothing. Your decision between no-sew adjustable waist buttons and sew-in pant sliders comes down to two primary variables: your willingness to sew and the thickness of the garment’s waistband fabric.
No-sew adjustable waist buttons are the ultimate shortcut for those with zero sewing skills or equipment. They are ideally suited for medium-to-heavy, tightly woven fabrics such as denim jeans, heavy cotton twill, or canvas work pants. Because these adjusters rely on a physical tack or clamp that pierces the fabric, the material must be robust enough to withstand localized mechanical pressure without tearing.
Conversely, sew-in pant sliders (often referred to as side adjusters) are the premier choice if you possess basic hand-sewing or machine-stitching skills and want to alter fine fabrics, suit trousers, or dress pants. These hardware pieces require a dedicated fabric strap or waistband extension to slide through a metal loop, allowing you to preserve the integrity of the textile while achieving a clean, bespoke, and tailored aesthetic.
Products mentioned in this guide
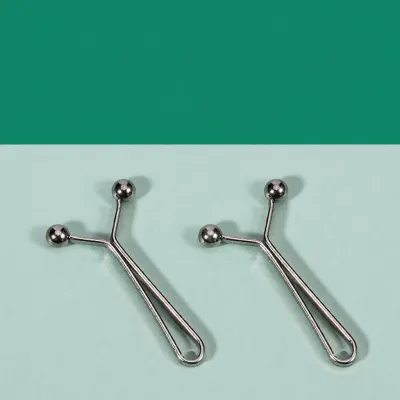
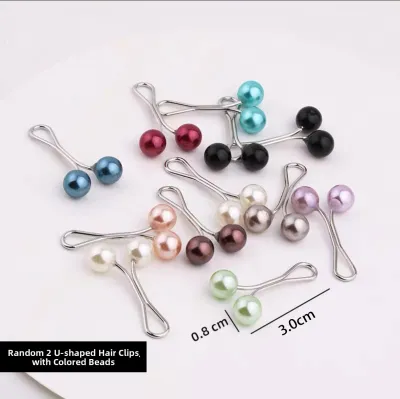
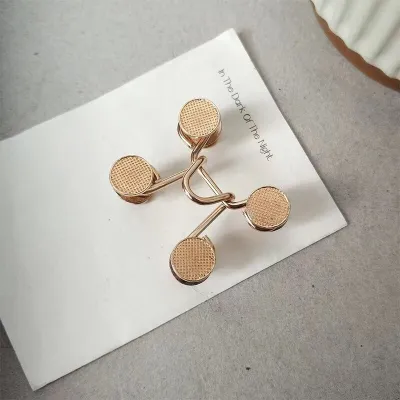
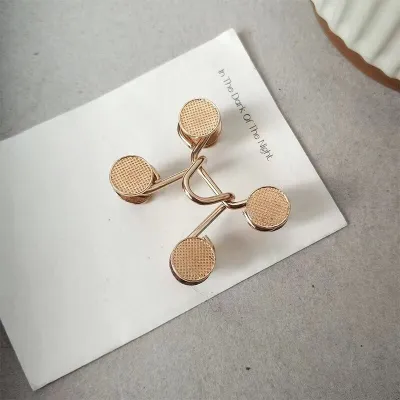
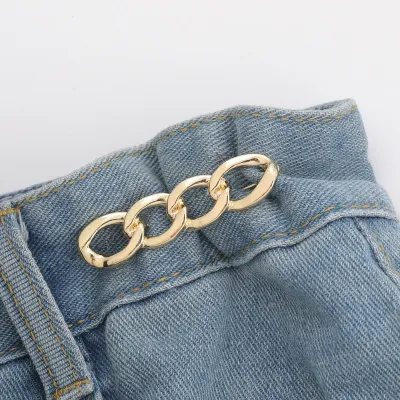
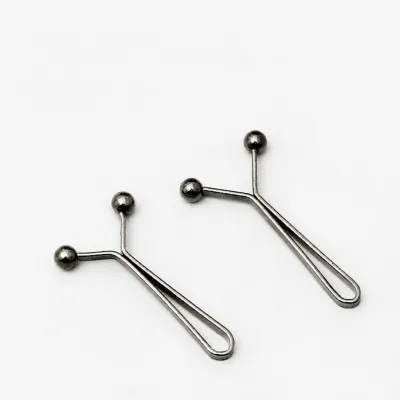
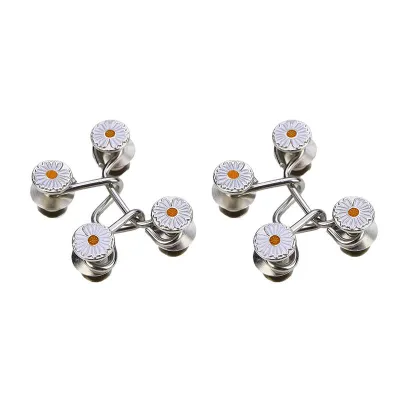
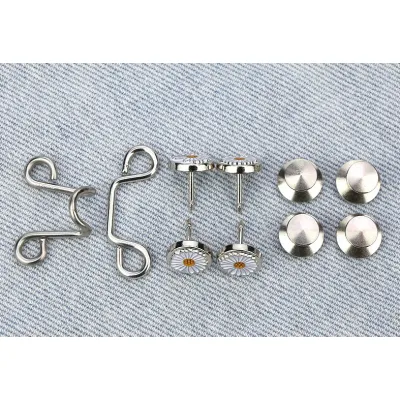
Prices are valid at publication and may change. Please refer to the product page for the latest price.
It is critical to recognize that neither option is a universal, one-size-fits-all solution. Selecting the incorrect type of adjuster can result in unsightly puckering, permanent fabric damage, or sudden structural failure under tension when you sit down or bend over.
Understanding the Mechanisms: How Each Pant Adjuster Grips the Waistband
To make an informed purchasing decision, it is essential to understand the physics of how these two hardware options interact with your clothing. Each style manages the tension of a tightened waistband in a fundamentally different manner, which directly influences which garments they can safely alter.

No-Sew Adjustable Waist Buttons
No-sew adjustable buttons function using a mechanical clamping or pinning system that mimics the design of a standard rivet found on denim jackets. The most common designs feature a two-part assembly: a decorative front button with an integrated pin or screw, and a separate backing piece (such as a screw-back, nail-in tack, or spring-loaded clamp) that secures the pin from the inside of the waistband.
To install this style, you push the sharp pin directly through the waistband fabric at the desired location and snap or screw the backing piece onto the protruding tip. Once secured, this new button acts as a secondary anchor point; you pull the original buttonhole over to meet it, which folds and cinches the excess waistband fabric flat against your hip.
This mechanical arrangement relies entirely on concentrated friction and localized puncture to hold the fabric in place. Because the entire pulling force of the waistband is concentrated on a single tiny hole where the pin pierces the fabric, the surrounding threads must be incredibly strong and tightly woven to prevent the pin from ripping through the weave under tension.
Sew-In Pant Sliders
Sew-in pant sliders utilize a sliding bar, ladder lock, or double D-ring mechanism that works in tandem with an adjustable fabric strap. The hardware itself is typically a small metal or plastic buckle consisting of two or three parallel bars. The fabric strap is threaded through these bars, creating adjustable friction that allows you to tighten or loosen the waistband smoothly by pulling the tail of the strap.
Unlike the localized puncture of a no-sew button, a sew-in slider is anchored to the side seams or the rear waistband of the trousers using heavy-duty sewing thread. The installer stitches the buckle base securely onto the fabric, often reinforcing the attachment point with multiple passes of thread or a small fabric patch on the inside of the waistband.
This method relies on the structural integrity of the stitching and the overall weave of the fabric to distribute tension. Because the pulling force is spread across a wide line of multiple stitches rather than a single puncture point, the stress is dissipated safely across a larger surface area, preventing fabric distortion or tearing.
Key Differences: Installation, Fabric Compatibility, and Aesthetics
Evaluating these two options requires looking closely at the practical realities of putting them on your clothes, how they interact with different textiles, and the final look they project.
Installation and Sewing Skill Required
The most immediate difference lies in the tools and skills required to get the job done. No-sew adjustable buttons require absolutely no needle-and-thread work, making them highly appealing for quick fixes. However, they do require a degree of physical force and precision with manual tools; depending on the specific model, you may need a small screwdriver, a pair of pliers, or even a hammer to secure the backing tack.
A major drawback of the no-sew method is its lack of reversibility. Once a metal tack or screw is driven through the waistband, it separates the fabric yarns, and removing or relocating the button often leaves a highly visible, permanent hole or frayed spot in the material. If you miscalculate the placement even by a few millimeters, correcting the mistake can leave your pants permanently scarred.
Sew-in sliders require basic to intermediate hand-sewing or machine-sewing skills. To install them properly, you must be comfortable measuring symmetrical placements on both sides of the hips, pinning the hardware and fabric straps in place, and hand-stitching through multiple dense layers of waistband fabric. If you use a sewing machine, it must be capable of handling heavy-duty needles (such as size 90/14 or 100/16) and thick threads without skipping stitches.
The time investment also varies significantly between the two. A no-sew button can be installed in under two minutes, making it an excellent option for last-minute adjustments before heading out. A proper sew-in slider installation is a deliberate project that requires measuring, cutting coordinating fabric straps, pinning, and executing strong, neat stitches—a process that typically takes thirty minutes to an hour of focused work.
Fabric Compatibility and Garment Type
Choosing the wrong adjuster for your fabric type can ruin the drape of your trousers or, worse, cause irreversible structural damage. No-sew buttons are highly specialized for heavy, rugged textiles such as denim, duck canvas, heavy cotton twill, and thick corduroy. These fabrics feature dense, tightly twisted yarns that can support the concentrated pressure of a metal pin without the fibers shifting apart or tearing under the stress of daily wear.
You should strictly avoid using no-sew buttons on lightweight, delicate, or loosely woven fabrics, including fine tropical wool, silk blends, linen, and lightweight synthetic dress pants. In Singapore’s warm climate, these breathable fabrics are incredibly popular, but their delicate structure cannot support a heavy metal clamp. The single puncture point of a no-sew button will quickly stretch into a gaping hole, and the heavy hardware will cause the lightweight fabric to sag and pucker ungracefully.
Sew-in sliders are exceptionally versatile and safe for almost any fabric weight, from heavy wool overcoats to lightweight linen trousers. Because the slider is stitched down, the tension is distributed evenly across a wide line of sewing thread. This makes them the ideal choice for formal wear, tailored suit trousers, and delicate fabrics where preserving the weave is paramount.
Before committing to either option, always check the internal structure of your waistband. Many dress pants feature a stiff internal layer called interfacing, which is designed to keep the waistband flat. Sew-in sliders work beautifully with interfaced waistbands as the stiffener helps support the stitches; however, trying to force a thick no-sew screw-back through heavy interfacing can bend the hardware or ruin the waistband’s clean profile.
Aesthetics and Long-Term Durability
The visual impact of each adjuster dictates the dress codes and settings where they are appropriate. No-sew buttons leave a highly visible metal button on the exterior of your waistband, often positioned awkwardly next to your original button or off to the side. This creates a distinctly casual, utilitarian, or industrial look that blends in perfectly with streetwear, workwear, and relaxed denim, but looks completely out of place in a professional or formal environment.
From a durability standpoint, no-sew buttons are prone to localized wear. Because the entire tension of the waistband is concentrated on a single puncture point, the fabric surrounding the pin will slowly fatigue over time from repeated movement, sitting, and washing. If the backing screw or clamp is not tightened perfectly, it can also work itself loose in the washing machine, potentially falling off or catching on other garments.
Sew-in sliders offer a timeless, sophisticated aesthetic that mimics the look of bespoke, custom-tailored trousers. Typically positioned discreetly on the side seams of the waistband, they allow you to wear your trousers comfortably without a belt, presenting a clean, uninterrupted line across your waist. This makes them the standard choice for modern business wear, formal suits, and smart-casual trousers.
The longevity of a sew-in slider depends entirely on the quality of your materials and the strength of your stitching. When installed using high-quality polyester upholstery thread and dense, secure lockstitches, a sew-in slider can easily last the lifetime of the garment. Furthermore, because the tension is distributed safely, the fabric itself is protected from wear, and the adjustment mechanism remains smooth and reliable through hundreds of wash cycles.
At a Glance: No-Sew Buttons vs Sew-In Sliders
To help you quickly evaluate your options, the table below summarizes the key differences between no-sew adjustable buttons and sew-in pant sliders across their most critical decision-making attributes.
| Feature | No-Sew Adjustable Buttons | Sew-In Pant Sliders |
|---|---|---|
| Sewing Skill Required | None (Tool-based installation) | Basic to Intermediate (Hand or machine sewing) |
| Ideal Fabric Weight | Medium to Heavy (Denim, canvas, twill) | Lightweight to Heavy (Wool, linen, suitings) |
| Installation Tools | Screwdriver, pliers, or hammer | Needle, heavy thread, pins, scissors |
| Reversibility | Low (Leaves permanent puncture holes) | High (Stitches can be unpicked safely) |
| Aesthetic Profile | Casual, visible metal hardware | Elegant, discreet, tailored side-buckle |
| Best Garment Types | Jeans, overalls, utility work pants | Suit trousers, formal dress pants, linen slacks |
As shown in the comparison, your choice is largely dictated by the garment’s style and fabric. While no-sew buttons offer unmatched speed and convenience for casual denim, sew-in sliders provide the structural safety and elegant finish required for tailored garments.
The Decision Framework: Which Adjuster Should You Buy?
When standing in the haberdashery aisle or browsing online marketplaces in Singapore, navigating the options requires a structured approach. Use this decision framework to select the correct hardware for your specific wardrobe needs.
Choose No-Sew Buttons if:
- You are altering heavy denim jeans, denim skirts, or rugged canvas workwear.
- You do not own a sewing kit, sewing machine, or have any interest in learning how to stitch.
- You need an immediate, five-minute fix for a loose waistband before an event.
- The garment is highly casual, and you do not mind having visible, metal hardware on the exterior of the waistband.
- You are comfortable with the fact that installing the button will leave a permanent puncture mark in the fabric.
Choose Sew-In Sliders if:
- You are altering formal suit trousers, lightweight dress pants, or delicate linen slacks.
- You want a clean, sophisticated, belt-free aesthetic that looks professional in corporate or formal settings.
- You possess basic hand-sewing skills, or you plan to take the hardware to a professional tailor to have it installed.
- You want to preserve the fabric's value and structure by distributing the waistband tension safely across a line of stitching.
- You want a fully reversible alteration that can be easily unpicked and removed in the future without leaving damage.
Neither May Fit if:
- The waistband of your garment is heavily elasticized, as the constant stretching and contracting will prevent no-sew clamps from gripping and will cause sew-in sliders to pucker and bunch awkwardly.
- The trousers are made of extremely thin, sheer, or delicate synthetic materials (like lightweight activewear polyester) that lack the structural body to support either heavy stitching or a metal clamp. In these specific scenarios, it is highly recommended to consult a professional tailor for a complete waistband reconstruction or a custom elastic insertion.
Verify First if:
- You are altering a rented suit, a borrowed garment, or a highly valuable vintage piece. In these cases, you must completely avoid non-reversible methods like no-sew buttons. Always opt for temporary, easily reversible hand-stitching or consult a professional alteration service to avoid costly damage fees.
Pre-Alteration Checklist: Verifying Your Garment and Tools
Before you puncture your fabric or cut into any sewing threads, run through this essential pre-alteration checklist to ensure a successful, damage-free installation.
- Check Waistband Thickness: Ensure the waistband fabric is substantial enough to support your chosen hardware. For no-sew buttons, the fabric must be thick enough to fill the gap between the button face and the backing tack so it does not wobble. For sew-in sliders, ensure you have enough fabric layers to anchor your stitches without them showing through to the very front of the pants.
- Inspect Internal Interfacing: Feel along the inside of the waistband. If there is a very stiff, plastic-like interfacing material inside, be aware that forcing a no-sew pin through it may bend the pin or crack the internal stiffener. If sewing, ensure you have a sharp, heavy-duty needle (like a size 100/16 denim needle) that can pierce this layer without breaking.
- Verify Belt Loop and Pocket Placement: Hold the trousers up to your waist and mark where the new adjuster will sit. Ensure that a no-sew button or a sew-in slider strap will not block your access to pockets, interfere with existing belt loops, or sit directly over your hip bone, which can cause painful rubbing when you sit down.
- Test Hardware on Scrap Fabric: Always perform a test run. If you are using no-sew buttons, try installing one on a piece of scrap denim or an old, discarded pair of jeans first to feel how much pressure is required. If you are sewing sliders, practice stitching through four layers of scrap fabric to calibrate your thread tension and ensure your needle is strong enough.
Frequently Asked Questions (FAQ)
Can I use no-sew buttons on fine suit trousers?
No, you should strongly avoid using no-sew buttons on fine suit trousers. Suit trousers are typically crafted from delicate materials like fine merino wool, cashmere blends, or lightweight synthetic fibers. The sharp pin and heavy clamping force of a no-sew button will sever the delicate yarns of these fabrics, creating a permanent hole that will quickly fray and tear under the tension of daily wear. For formal trousers, always choose sew-in sliders or take the garment to a professional tailor for a seamless, stitch-based alteration.
Do sew-in sliders require a sewing machine?
No, sew-in sliders do not require a sewing machine and can be successfully installed entirely by hand. While a sewing machine can make the process faster, hand-sewing actually allows for greater precision when navigating thick waistband seams and delicate fabrics. To ensure the installation is durable, make sure to use a heavy-duty hand-sewing needle (such as a milliners or chenille needle), strong polyester upholstery thread, and execute tight, double-reinforced backstitches to distribute the tension securely.
Community discussion
Share your experience or ask a question. Comments are reviewed before publication.