
Selecting the right topcoat finish is the final, defining step of your Gundam model build. This single choice determines how light interacts with your model, how realistic the plastic looks, and how well your custom paint, decals, and panel lines are protected over time. By matching your topcoat to your specific aesthetic goals, you can elevate a standard out-of-the-box build into a striking, professional-looking display piece.
To choose the correct finish, evaluate your desired visual outcome and the specific mecha style of your model:
- Choose Matte if you want a realistic, military, or weathered look. This flat finish diffuses light, hides minor surface imperfections, and removes the toy-like sheen of bare plastic.
- Choose Semi-Gloss if you prefer a balanced, factory-fresh appearance. It provides a subtle, clean sheen that mimics painted industrial metal without high glare, making it highly versatile for standard builds.
- Choose Gloss if you are aiming for a pristine, show-car finish, protecting metallic or pearlescent paints, or preparing the model's surface for smooth panel lining and decal application.
Visual and Practical Differences Between Topcoat Finishes
Before applying any spray to your completed model, it is essential to understand how these three finishes behave under light and during handling. The differences go far beyond simple aesthetics; each finish alters the physical texture of the model, which directly impacts how you handle, clean, and detail your Gunpla.
Products mentioned in this guide
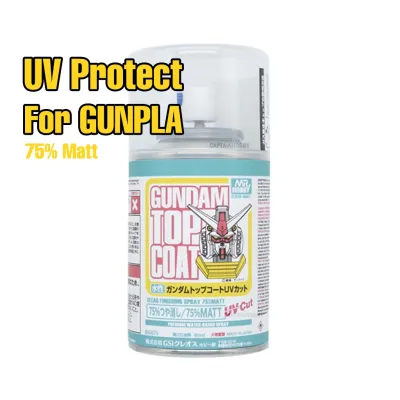
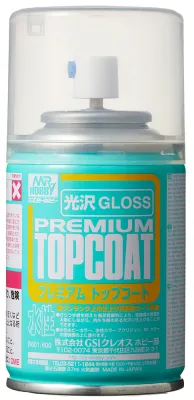
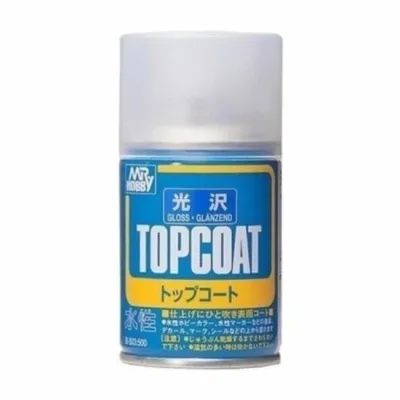
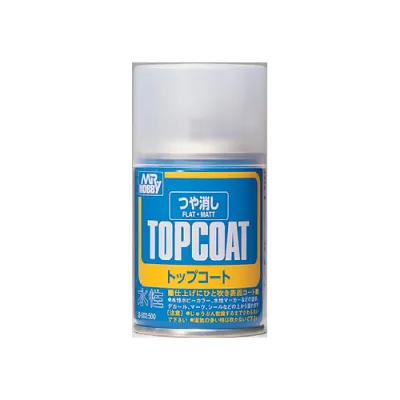
Prices are valid at publication and may change. Please refer to the product page for the latest price.
Matte Finish (Flat/Non-Reflective)
A matte topcoat, often labeled as flat, works by creating a microscopically rough surface that scatters light in all directions. This lack of reflection eliminates the natural glare of molded polystyrene, instantly giving the model a heavier, more authentic scale-model appearance. It is the ultimate tool for making plastic look like heavy, painted armor plating.
Practically, the microscopic texture of a matte finish is excellent for hiding minor surface flaws, such as light sanding marks, minor nub stress marks, and small cement lines. However, this same textured surface makes the model highly susceptible to absorbing oils from your fingers. Handling a matte-coated model with bare hands can leave permanent, dark smudges over time. Additionally, applying slide decals or panel line washes directly onto a matte surface is highly discouraged, as the rough texture traps ink and causes decals to “silver” or trap air underneath.
This finish is best suited for military-style mobile suits, such as the Zaku II, Ground Type Gundams, or any build featuring heavy weathering, mud, or rust effects. It is also highly effective for coating the inner frame to give it a dry, mechanical look.
Semi-Gloss Finish (Satin/Mid-Sheen)
Semi-gloss, sometimes referred to as satin, offers a balanced middle ground between flat matte and high-shine gloss. It allows a moderate amount of light to reflect off the surface, creating soft highlights along the edges of the armor without producing harsh, distracting glare. This finish closely mimics the appearance of real-world military aircraft or newly manufactured machinery.
From a practical standpoint, semi-gloss is highly forgiving. It provides a smoother surface than matte, making it significantly easier to wipe clean of dust and fingerprint oils. While it does not hide surface scratches as effectively as a matte coat, it does not highlight them as aggressively as a full gloss coat either. Decals and panel lines can be applied over semi-gloss with moderate success, though care must still be taken to ensure clean lines.
This finish is ideal for standard, clean out-of-the-box builds where you want to preserve the original colors of the plastic while removing the cheap, toy-like reflection. It is also the preferred choice for civilian vehicles, support ships, and mecha that require a clean, well-maintained appearance.
Gloss Finish (High-Shine/Reflective)
A gloss topcoat creates a perfectly flat, glass-like surface that maximizes light reflection. This finish makes underlying colors appear deeper, richer, and highly saturated. If you have used metallic, candy, or pearlescent paints, a gloss topcoat is mandatory to preserve and enhance the reflective flakes within the paint; a matte coat would otherwise dull these specialized pigments into a flat gray.
On a practical level, gloss is the smoothest finish available. This ultra-smooth surface is highly resistant to fingerprint oils and is incredibly easy to dust. More importantly, a gloss coat is the ideal base layer for detailing. Panel line washes flow effortlessly through panel lines via capillary action on a gloss surface, and water-slide decals adhere perfectly without trapping air bubbles. The primary drawback is that gloss highlights every single surface imperfection, meaning any remaining nub marks, scratches, or uneven paint layers will be magnified.
This finish is best for showpiece models, custom metallic builds, and mecha with a futuristic, high-tech aesthetic. It is also widely used as an intermediate protective layer before panel lining and decaling, even if the builder plans to apply a matte finish as the final step.
How to Match the Topcoat to Your Gundam Build Style
Aligning your topcoat choice with the lore and design philosophy of your Gundam model creates a more cohesive and convincing final display. The Gundam universe features a wide variety of mecha designs, ranging from gritty, mass-produced ground units to sleek, god-like prototype mobile suits.

For “Real Robot” aesthetics—such as those found in Mobile Suit Gundam: The 08th MS Team or Gundam 0083: Stardust Memory—matte and semi-gloss finishes are highly appropriate. These designs emphasize military realism, where mobile suits are treated as heavy industrial weapons exposed to rain, dirt, and engine exhaust. A flat matte finish grounds these models in reality, making them look like genuine combat vehicles. Conversely, “Super Robot” designs or highly advanced prototypes—such as the Strike Freedom, Unicorn Gundam, or Qan[T]—benefit from semi-gloss or high-gloss finishes. These suits are often depicted as pristine, high-tech marvels that operate in space or clean environments, where a glossy, polished sheen highlights their futuristic design.
Advanced builders often employ mixed-finish techniques on a single model to create visual depth and contrast. Instead of spraying the entire assembled model with one finish, you can disassemble the kit into sub-assemblies. For example, you can spray the weapons, thrusters, and inner frame with a flat matte coat to emphasize heavy, non-reflective metal, while coating the outer armor plates in a clean semi-gloss. This contrast between different textures makes the model look far more complex and realistic than a uniform single-finish coat.
Additionally, consider how the topcoat interacts with your underlying paint. Matte coats tend to slightly desaturate colors, giving them a pastel or weathered appearance, which is excellent for desert or forest camouflage. Gloss coats deepen dark colors, making dark blues, blacks, and deep reds look incredibly rich. Always verify how your specific paint brand reacts to different topcoats by conducting a quick test on spare plastic before committing to your main build.
Application Tips and Compatibility Checks
Achieving a flawless topcoat finish requires careful preparation and an understanding of chemical compatibility. A rushed application can ruin weeks of building and painting, leading to cracked paint, silvered decals, or a cloudy finish.
Surface Preparation
Before spraying, ensure your model is completely clean. Dust, plastic shavings from sanding, and oils from your hands will prevent the topcoat from adhering properly and can get permanently trapped under the clear layer. Wash your model parts in warm, soapy water if necessary, and let them dry completely. Ensure that any underlying paint, panel lining, or decals are fully cured; rushing this step can cause the topcoat to react with wet paint, leading to bubbling or running.
Compatibility Verification
Always check the chemical base of your topcoat and your underlying paint layers. The general rule of thumb for paint safety is to apply weaker paints over stronger ones, not vice versa.
- Lacquer topcoats are highly durable but chemically aggressive; they can easily melt underlying acrylic or enamel paints if applied too heavily.
- Acrylic topcoats are milder and generally safe to use over most paint types, making them an excellent choice for beginners.
- Enamel topcoats are slow-drying and are typically used for specific detailing, but they should be checked carefully for compatibility with your base coats.
Always read the product labels to verify the resin base and propellant type before spraying.
Environmental Conditions
Environmental factors play a massive role in how a topcoat cures, especially for matte finishes. In regions with high ambient humidity, such as Singapore, spraying outdoors or near open windows can lead to a common issue known as “frosting” or “blushing.” This occurs when the moisture in the air gets trapped within the drying topcoat, turning the clear finish into a cloudy, white mess. To prevent this, avoid spraying on rainy days or during high-humidity hours. If possible, spray in a well-ventilated, climate-controlled indoor space, or wait for a dry, clear day. Always refer to the manufacturer’s instructions for specific temperature and humidity limits.
Testing
Never let your Gundam model be the test subject for a new can of spray. Always test your topcoat on a plastic spoon, a piece of runner plastic, or a spare part first. This allows you to verify the spray distance, check for any adverse chemical reactions with your paint, and see exactly how the final finish will look once fully cured.
Quick Comparison Matrix
| Finish Type | Light Reflection | Surface Texture Feel | Fingerprint Resistance | Ideal Build Style | Decal Application Suitability |
|---|---|---|---|---|---|
| Matte | None (Diffused) | Slightly rough / textured | Low (Absorbs skin oils) | Weathered, military, inner frames | Poor (Requires gloss base first) |
| Semi-Gloss | Moderate (Soft sheen) | Smooth / satin | Medium | Clean, factory-fresh, standard builds | Moderate |
| Gloss | High (Reflective) | Ultra-smooth / glass-like | High (Easy to clean) | Metallic, candy coats, showpieces | Excellent (Best surface for decals) |
Frequently Asked Questions (FAQ)
Can I apply a matte topcoat over a gloss base?
Yes, layering a matte topcoat over a gloss base is a highly recommended and standard technique among experienced modelers. Because gloss provides the smoothest possible surface, builders will often apply a gloss topcoat first to facilitate smooth panel lining and perfect decal adhesion. Once the decals and panel lines are dry and cured, a final layer of matte topcoat is applied over the entire model. This seals the decals, protects the paint, and delivers the desired flat, realistic finish without any of the silvering or bubbling that occurs when applying decals directly to a matte surface. Always ensure the gloss layer is fully cured before applying the matte layer.
How do I fix a frosted or cloudy matte topcoat?
Frosting is typically caused by high humidity trapping moisture in the paint, or by spraying from too far away, causing the paint particles to dry in the air before hitting the model. If your model develops a cloudy or white haze, do not panic. First, let the model dry completely. In many cases, you can resolve mild frosting by applying a very light, warm coat of gloss topcoat over the frosted areas. The solvents in the gloss coat can re-liquefy the top layer of the frosted matte coat, allowing the trapped moisture to escape and restoring clarity. Once clear, you can reapply a matte coat under better environmental conditions. For severe frosting, you may need to gently sand the affected area with ultra-fine sandpaper before reapplying the topcoat.
Community discussion
Share your experience or ask a question. Comments are reviewed before publication.