
Choosing between a manual and an automatic needle threader depends on your sewing frequency, physical dexterity, and the specific needles you use. Manual threaders are highly portable, budget-friendly, and compatible with a wide range of needle sizes, making them ideal for occasional hand sewing or travel kits. Automatic needle threaders, whether mechanical desktop units or motorized devices, offer a hands-free or low-effort solution that dramatically reduces eye strain and accommodates users with limited hand mobility, though they require strict adherence to needle and thread size compatibility.
While both tools serve the same ultimate purpose—getting thread through the tiny eye of a needle—their mechanisms, learning curves, and physical demands differ significantly. Understanding these differences allows you to select a tool that integrates seamlessly into your sewing routine without causing frustration or damaging your materials.
Key Decision Factors: Frequency, Dexterity, and Budget
Your sewing frequency and project volume dictate how much time you spend preparing your materials. If you sew daily, work on large quilting projects, or frequently switch thread colors, the time spent threading adds up quickly. An automatic threader streamlines this process, allowing you to maintain your creative flow and focus on your stitches. For occasional repairs, sewing on a button once a month, or quick mending tasks, a simple manual tool is more than sufficient and requires no setup.
Products mentioned in this guide
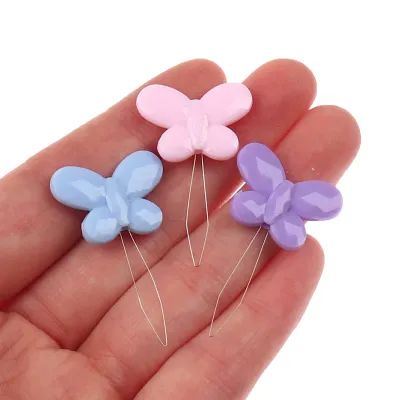
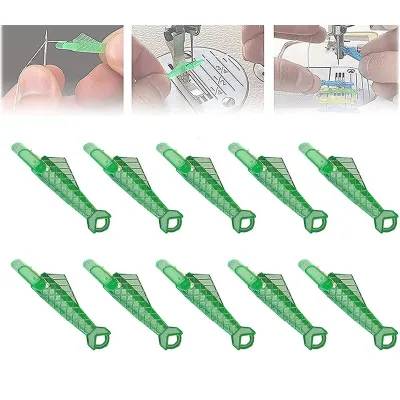
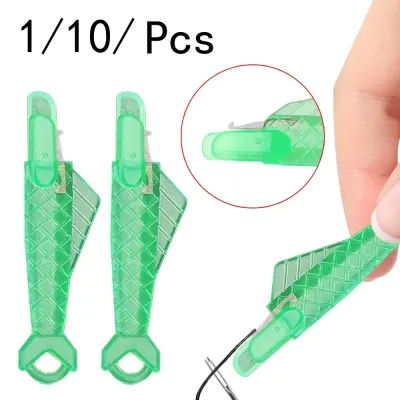
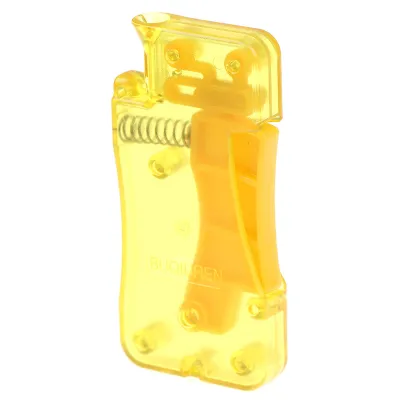
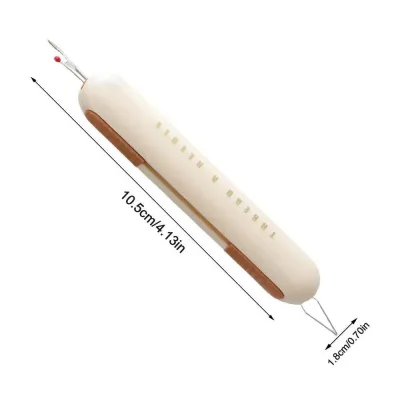
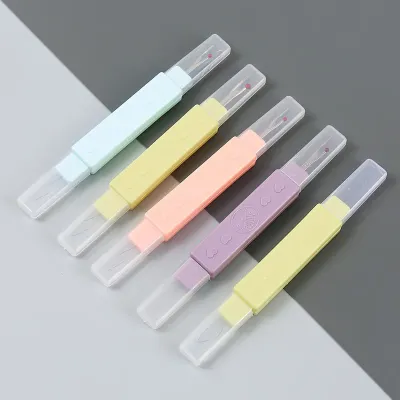
Prices are valid at publication and may change. Please refer to the product page for the latest price.
Physical requirements, including fine motor skills, vision limitations, and hand stability, play a critical role in your choice. Threading a needle requires aligning a microscopic thread with a tiny eye, a task that can be incredibly frustrating for those with low vision or hand tremors. Manual wire loop threaders still require some hand-eye coordination to insert the wire through the eye and then pass the thread through the loop. Automatic threaders often use alignment slots or motorized mechanisms, requiring far less precision from the user and reducing physical strain.
Portability and storage needs vary significantly between the two types. Manual threaders are paper-thin or small plastic tabs that fit into any sewing basket, pocket, or travel pouch without taking up measurable space. Automatic threaders, especially desktop or motorized models, are bulkier, require stable flat surfaces, and may need protective storage to prevent damage to their internal alignment pins. If you frequently attend sewing classes or travel with your projects, a compact manual option is highly practical.
Overall budget constraints are another practical consideration. Manual threaders are incredibly inexpensive, often sold in multi-packs for a few dollars, making them easy to replace if lost or damaged. Automatic threaders represent a higher upfront investment, though they offer long-term value in time saved and reduced frustration. For those who sew regularly, the cost of an automatic device is easily justified by the physical comfort it provides.
Manual vs. Automatic Needle Threaders at a Glance
| Feature | Manual Needle Threaders | Automatic Needle Threaders |
|---|---|---|
| Power Source | None (Fully manual) | None (Mechanical lever) or Batteries/USB (Motorized) |
| Setup Requirements | None | Needle alignment and size matching |
| Portability | Excellent (Fits in any pocket or kit) | Limited (Bulky or desktop-bound) |
| Maintenance | None (Disposable when bent) | Pin alignment checks, battery replacement |
| Ideal User | Occasional sewers, travel, varied needle sizes | Frequent sewers, low dexterity, standard needle sizes |
Performance depends heavily on matching the tool to your physical capabilities and project types. A manual threader offers universal utility but relies entirely on your manual precision. An automatic threader removes the need for precision but introduces mechanical constraints that require careful handling to avoid damaging the device.

Automatic models require specific needle and thread compatibility checks before use. If a needle is too thick or too thin for the automatic slot, the internal threading pin can bend or snap, rendering the device unusable. Users must match the needle size to the manufacturer’s recommended range to ensure smooth operation.
Which Needle Threader Should You Choose?
Choose a manual threader if you sew occasionally, need a travel-friendly tool, or have a strict budget. They are also the best choice if you work with a vast range of needle types, from tiny beadwork needles to thick embroidery or darning needles, as the flexible wire loop can adapt to various eye shapes. Because they cost very little, you can keep several manual threaders scattered across different sewing kits, ensuring you always have one nearby.
Choose an automatic threader if you sew frequently, experience dexterity or vision challenges, or use a compatible sewing machine with a dedicated automatic threading accessory. They are excellent for standard hand-sewing needles and standard sewing threads. The mechanical assistance ensures that the thread passes through the eye on the first attempt, saving time and preventing the thread from fraying during repeated manual attempts.
Neither may fit if you primarily use specialty needles, heavy-duty upholstery needles, or extremely thick threads outside standard limits. These materials often exceed the physical capacity of both delicate wire loops and rigid automatic pins. For heavy-duty projects, specialized heavy-gauge manual hooks or self-threading needles are often more appropriate.
Verify first if your specific needle sizes and thread weights are explicitly supported by the product labels. Attempting to force an incompatible needle into an automatic threader can permanently damage the internal mechanism, while forcing thick thread through a delicate manual wire loop will simply break the wire.
How to Verify Compatibility and Quality Before Buying
Check manufacturer specifications for maximum thread thickness, material types, and compatible needle eye sizes. Some automatic threaders specify they only work with round-eye needles, while others accommodate oval eyes. Knowing the exact specifications of your preferred needles ensures you do not purchase an incompatible tool.
Verify power requirements, battery types, or USB compatibility for motorized models. Consider the availability and cost of replacement batteries in your local market, or opt for a USB-rechargeable model to avoid ongoing battery costs. For mechanical automatic threaders, ensure the lever mechanism operates smoothly without catching.
Inspect build materials, warranty terms, and return policies when purchasing from online marketplaces. Look for sturdy plastic housings, reinforced wire attachments on manual models, and clear customer support options for mechanical devices. Since automatic threaders have moving parts, a robust return policy ensures protection against manufacturing defects or early mechanical failure.
Frequently Asked Questions (FAQ)
Can I use any thread with an automatic needle threader?
No, you must check the manufacturer specifications for compatible thread weights. Avoid specialty, metallic, or highly textured threads (like woolly nylon or boucle) unless they are explicitly approved, as these can snag on the delicate threading mechanism or clog the alignment channel. Standard cotton, polyester, and silk sewing threads are generally safe for most automatic models.
How do I fix a bent wire on a manual needle threader?
Bent wires on classic coin-style or plastic-handled manual threaders are usually unfixable. Attempting to bend the fine wire back into shape weakens the metal, risking breakage inside the needle eye during your next project. It is safer and more efficient to replace the tool entirely, which is why manual threaders are commonly sold in multi-packs.
Community discussion
Share your experience or ask a question. Comments are reviewed before publication.