
An LED drawing board, often called a light pad, is an exceptionally versatile tool that helps children practice tracing, drawing, and crafting by illuminating paper from below. Selecting the right model requires balancing visual comfort, physical dimensions, and practical power needs. This guide breaks down the essential specifications and safety checks to help you choose a board that matches your child’s age, skill level, and creative habits. By understanding how these devices function and how different features impact usability, you can make an informed decision that supports your child’s artistic development while keeping their eyes and workspace safe.
When shopping for an LED drawing board, it is easy to get overwhelmed by the variety of technical specifications listed online. However, focusing on a few core elements—such as the physical size of the board, the type of brightness controls, the power source, and the overall durability of the materials—will simplify the selection process. A well-chosen light pad not only makes tracing easier but also encourages fine motor skill development, spatial awareness, and confidence in young artists.
Choosing the Right Size for Your Child's Age and Desk Space
Selecting the physical dimensions of an LED drawing board requires evaluating your child’s current motor skills, the types of projects they enjoy, and the physical space available in your home. Standard paper sizes like A4 and A3 are the most common formats available, and each serves a distinct developmental stage and use case.
Products mentioned in this guide
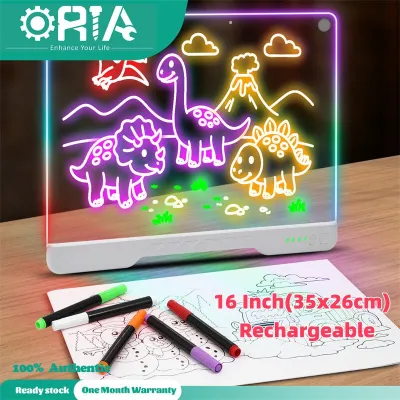
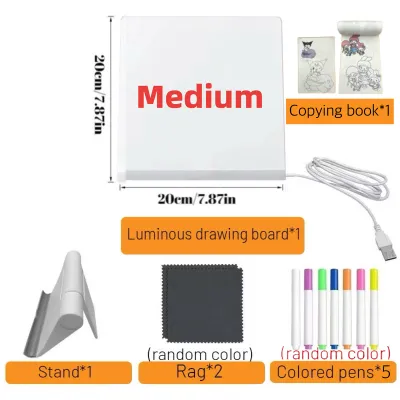
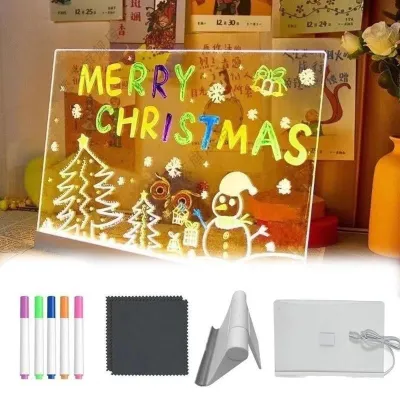
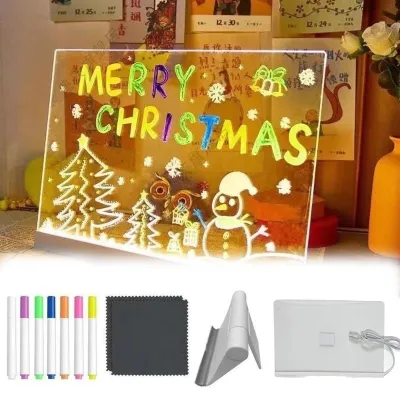
![[SG STOCK] Reusable LED Drawing Board DIY Luminous Acrylic Message Memo Note Pad Night Light Kids Writing Gift发光画板](https://img.lazcdn.com/g/p/b6ca5dd62620b3d0f99601d72aee6499.jpg_400x400q80.jpg_.webp)
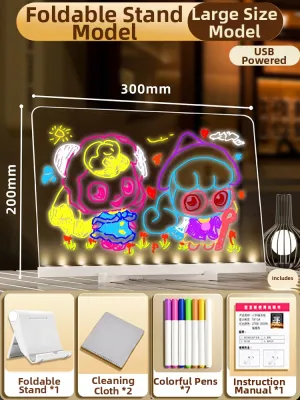
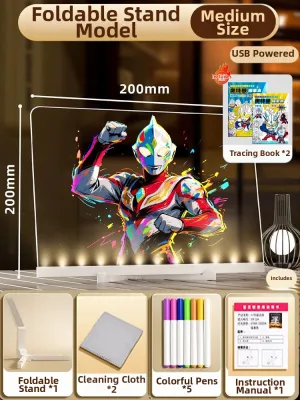
Prices are valid at publication and may change. Please refer to the product page for the latest price.
A4 is the standard size for most school worksheets and drawing paper. It is highly portable and fits easily on standard study desks without cluttering the workspace. For younger children, typically between the ages of four and seven, an A4 board is usually the ideal choice. Their motor skills are still developing, and they generally work on smaller, simpler drawings. A compact board is also much easier for small hands to carry, store, and position comfortably.
A3 boards offer a much larger surface area, which is highly beneficial for older children who are working on detailed art projects, school geography maps, or multi-panel comic strips. However, an A3 board requires a significantly larger flat surface. In many homes where study desks or dining tables serve multiple purposes, a bulky board can quickly become cumbersome. Before purchasing, measure the designated workspace to ensure there is enough room left for pencil cases, rulers, and the child’s elbows.
Another critical factor is the distinction between the total outer dimensions of the board and the active illumination area. Manufacturers often advertise a board by standard paper sizes, but this might refer to the outer plastic frame rather than the lit screen. Always check the product specifications for the active area or illuminated area measurements. If the active area is smaller than standard drawing paper, the edges of the paper will overhang, which can make tracing near the borders difficult and frustrating for a child.
Assessing Brightness Controls and Eye Comfort Features
Protecting a child’s developing eyes is a primary concern when introducing any illuminated device. LED drawing boards use backlighting to project light through layers of paper, meaning your child will be looking directly at the light source for extended periods. To prevent eye strain and fatigue, look for boards that feature flicker-free technology. Low-quality light pads can have a subtle, high-frequency flicker that is invisible to the naked eye but can cause headaches and visual discomfort over time.

Brightness adjustability is another essential feature. Some models offer simple three-level brightness buttons, while others feature stepless dimming, which allows you to adjust the light intensity smoothly by holding down the power button. For younger children, a simple three-level switch is often easier to operate independently. Older children, however, may prefer the precise control of stepless dimming, which lets them fine-tune the light to match their exact working conditions.
The required brightness level depends heavily on the thickness of the paper and the ambient lighting in the room. Standard printer paper or specialized tracing paper requires very little light to show details clearly. In contrast, thicker media like drawing paper, cardstock, or watercolor paper requires a much stronger light source to penetrate the fibers. Ensure the board you select has a maximum brightness setting capable of illuminating thicker sheets, while also offering a low minimum setting that is gentle on the eyes when drawing in a dimly lit room.
Even light distribution is equally important. High-quality boards use advanced light guide plates to distribute the LED light evenly across the entire surface. Cheaper alternatives often suffer from hotspots, which are areas directly over the LED bulbs that are excessively bright, and dark edges. This unevenness forces the child’s eyes to constantly adjust to different light levels, leading to rapid eye fatigue. Look for product descriptions that explicitly mention even light distribution or edge-lit technology.
Comparing Power Sources for Home and Travel Use
Matching the power source of the LED drawing board to your family’s lifestyle and usage environments ensures the device remains practical and frequently used. The two primary options are USB-powered models and those with built-in rechargeable batteries.
USB-powered boards are highly common and offer excellent reliability. They typically connect via a USB cable to a standard wall adapter, a computer, or a portable power bank. Because they do not contain a heavy internal battery, these boards are incredibly thin and lightweight, making them easy to store flat in a drawer. The main advantage of a plug-in model is continuous power; your child can draw for hours without worrying about the battery dying mid-project.
Rechargeable battery-powered models offer unmatched portability. They allow your child to use the drawing board anywhere—on the living room sofa, in the car during long drives, or even outdoors. This cord-free operation also eliminates the safety hazard of dangling cords that younger children might accidentally trip over or pull, dragging the board off the table. However, built-in batteries add noticeable weight to the device and require regular charging.
When evaluating power options, pay close attention to the cable length and the connector type. Many modern boards use a USB-C connection, which is highly durable and reversible, making it much easier for children to plug in without damaging the port. Older or budget models may still use Micro-USB, which can be fragile and prone to breaking if forced in upside down. Ensure the included cable is long enough to comfortably reach from the study desk to the nearest wall outlet if you choose a plug-in model.
Evaluating Surface Materials and Build Durability
Children’s art tools can be tough on equipment. From heavy-handed pencil pressure to accidental drops, an LED drawing board must be built to withstand daily wear and tear. The two primary surface materials used are acrylic and tempered glass.
Acrylic is the most popular choice for children’s models because it is lightweight, highly impact-resistant, and virtually shatterproof. While acrylic can scratch more easily than glass, it is significantly safer for younger users who might accidentally drop the board on a hard tiled floor. Tempered glass surfaces offer superior scratch resistance and a premium, smooth feel, but they are heavier and carry a small risk of cracking or shattering if dropped from a height. For most family households, a high-quality, thick acrylic board strikes the best balance between safety and durability.
Stability during use is another practical consideration. Look for boards equipped with anti-slip silicone or rubber feet on the underside. These small pads keep the board firmly in place on smooth wooden, laminate, or glass study tables, preventing it from sliding around while your child is trying to trace precise lines. Additionally, inspect the physical design of the board’s edges and corners. Ensure the corners are rounded and the plastic seams are completely smooth to prevent any scratches or snags on delicate skin or clothing.
The texture of the drawing surface also plays a role in the overall experience. While the surface must be smooth enough to allow paper to lie perfectly flat, it should not be so slick that drawing tools slide uncontrollably. When using wet mediums like markers or ink pens, the drying speed and bleed resistance will depend on the specific paper weight and fiber composition rather than the board itself. To prevent ink from bleeding through the paper and staining the acrylic surface, perform a quick trial on a scrap piece of paper first, and consider placing a protective plastic sheet under the drawing if using heavy-bleed markers.
Building Your Shortlist: A Pre-Purchase Verification Checklist
Before finalizing your purchase on an online marketplace, it is essential to run through a quick verification checklist to ensure the product is safe, reliable, and worth the investment.
First, verify the manufacturer’s recommended age range. While light pads are generally safe, some models are designed specifically for older students and may have delicate glass surfaces or complex controls that are unsuitable for younger children. Look for standard electrical safety certifications on the product packaging or listing to ensure the internal wiring and LEDs are safe for prolonged use.
Next, review the seller’s warranty terms and return policies. Because LED drawing boards are electronic devices, they can occasionally suffer from manufacturing defects such as dead LEDs, flickering lights, or faulty power buttons. A reliable seller should offer at least a basic return window or a limited warranty to cover these issues.
Compare the value of bundled accessories against purchasing a standalone board. Many models come packaged with extra items like tracing paper, clips to hold the paper in place, a carrying sleeve, or specialized drawing tools. While these bundles can be convenient, sometimes the included accessories are of lower quality. It is often more cost-effective to buy a high-quality standalone board and pair it with your child’s favorite drawing paper and stationery.
Finally, spend a few minutes reading user feedback, focusing specifically on long-term durability and heat generation. A well-designed LED board should remain cool to the touch even after an hour of continuous use. If multiple reviews mention that the board gets uncomfortably warm, it is best to avoid that model, as excessive heat can be uncomfortable for a child’s hands and may indicate poor internal thermal management. Also, look for comments regarding the durability of the power port, as this is often the first component to wear out with frequent plugging and unplugging.
Frequently Asked Questions (FAQ)
Can I use regular printer paper on an LED drawing board?
Yes, standard printer paper, typically between 70 to 80 gsm, works exceptionally well with most LED drawing boards. The light easily penetrates this thickness, allowing clear visibility of the template underneath. If your child is using thicker paper, such as 120 gsm drawing paper or watercolor paper, you will need to increase the board’s brightness to its maximum setting. For very thick cardstock, dedicated translucent tracing paper is recommended as a middle layer to transfer the design first.
How do I clean the drawing surface safely?
To clean the surface safely, always turn off and unplug the LED drawing board first. Use a dry or slightly damp microfiber cloth to gently wipe away dust, fingerprints, and pencil smudges. Avoid using harsh chemical solvents, glass cleaners containing ammonia, or abrasive scrubbing pads, as these can scratch the acrylic surface or degrade the anti-glare coating. Ensure no moisture seeps into the USB port or the seams along the edges of the board, and let it dry completely before plugging it back in.
Community discussion
Share your experience or ask a question. Comments are reviewed before publication.