
To start painting leather successfully, beginners should buy a complete leather paint starter set that bundles preparation, painting, and finishing supplies rather than purchasing individual bottles. Sourcing these components separately often leads to compatibility issues or missed steps, resulting in cracked or peeling paint. A true beginner-friendly kit must contain a leather preparer (deglazer), flexible leather acrylic paints, synthetic brushes, and a protective topcoat (finisher). When shopping for leather paint leather crafters and shoe customisers must look for kits specifically formulated with flexible acrylic polymers that bend with the material.
Investing in a dedicated starter kit ensures that every chemical layer—from the initial prep solvent to the final protective sealer—is chemically compatible. This compatibility prevents the paint from bubbling, sliding, or failing to cure. By understanding the essential components of these kits, you can confidently select a set that matches your specific project, budget, and material requirements.
What Makes a Complete Leather Paint Starter Set?
To understand why a dedicated starter set is necessary, you must first understand the chemistry of the paint. Regular craft acrylic paint dries into a rigid, plastic-like sheet. When applied to a flexible surface like leather, regular acrylic will quickly crack and peel as the material bends. Specialized leather paint contains acrylic polymers blended with plasticizers. These additives allow the dried paint film to stretch, flex, and bend up to 100% of its original shape without losing adhesion or breaking its bond with the leather fibers.
Products mentioned in this guide
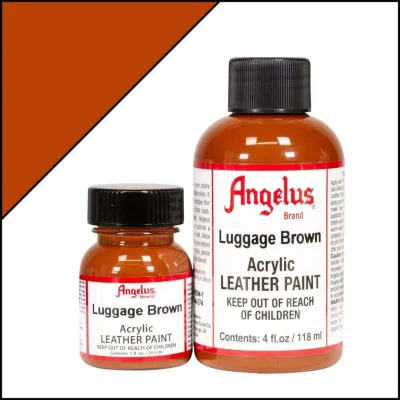
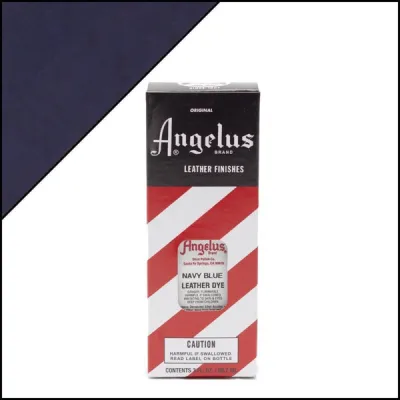
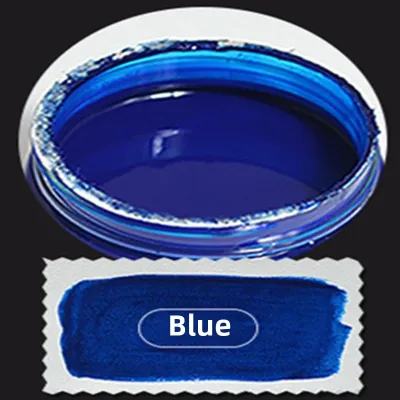
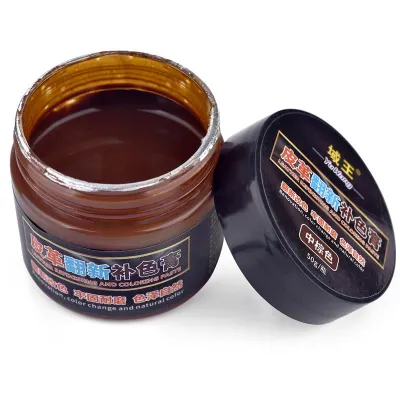
![Fiebings Leather Pro Dye For Dyeing of Vegetable Tanned Leather Bags Sofas Shoes [FREE WOOL DAUBER]](https://img.lazcdn.com/g/p/b05b0076237db242f8ccce3f60aadbe4.jpg_400x400q80.jpg_.webp)
Prices are valid at publication and may change. Please refer to the product page for the latest price.
A truly comprehensive starter set must include several non-negotiable items to guide you through the preparation, painting, and finishing stages. A basic kit that only includes paint pots is not a true starter set, as it leaves out the critical chemical steps required for paint adhesion and durability. When evaluating product descriptions on e-commerce platforms or in local art shops, ensure the kit contains the following four components:
- Leather Preparer or Deglazer: This is typically a solvent-based liquid (often containing acetone) designed to strip away the factory-applied protective topcoat, wax, and oils from the leather surface. Without this step, the paint cannot bond with the actual leather fibers.
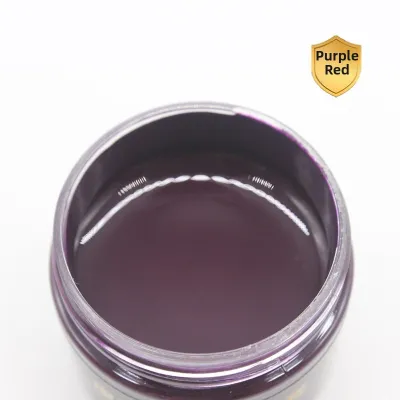
- Base Leather Paints: Highly pigmented, water-based acrylic paints. A starter set should offer at least the primary colors (red, blue, yellow) along with black and white, allowing you to mix almost any shade you need. These are typically sold in small plastic bottles, with standard starter volumes ranging from 1 fluid ounce (approx. 29.5 ml) to 2 fluid ounces (approx. 59 ml) per bottle.
- Acrylic Finisher or Sealer: A protective topcoat applied over the dried paint. It seals the paint layer, provides water resistance, and shields the design from scuffs and scratches. Finishers are available in various sheen levels, including matte, satin, semi-gloss, and high-gloss.
- Applicators: A selection of synthetic-bristle brushes in different sizes (such as flat brushes for broad strokes and fine-detail brushes like #0 or #00 for precise lines). Synthetic bristles are preferred because they hold their shape under the weight of acrylic paint and do not shed fibers as easily as natural hair brushes.
Because preparers and finishers contain active chemical solvents and polymer sealers, safety is a primary consideration. Always work in a well-ventilated room, wear protective nitrile gloves when handling solvents, and keep these products out of reach of children and pets.
Before starting your project, remember that smoothness, bleed resistance, drying speed, and water resistance depend entirely on the exact material combination of your paint and your leather item. Always perform a simple trial: paint a small swatch on a scrap piece of leather or a hidden area, let it dry completely, and run a damp cotton swab over it to verify its water resistance and check for color bleeding.
Types of Starter Sets to Consider Based on Your Project
Not all leather painting projects are the same, and starter kits are often tailored to specific applications. Choosing a set designed for your exact project type ensures you receive the right paint viscosity, brush styles, and finishing chemicals.

Custom Sneaker and Shoe Painting Kits
Customising footwear is one of the most popular entry points for beginners. Sneaker painting kits are specifically engineered to handle the high-stress, high-friction environment that shoes endure. These kits focus on extreme paint flexibility, as shoes crease constantly during walking.
When choosing a shoe kit, look for sets that include adhesion promoters or specialized primers designed for synthetic leather, vinyl, and rubber midsoles. Because sneakers often feature distinct panels, these kits frequently bundle high-quality masking tape to help you paint clean, sharp lines. They also include stiff-bristle brushes that can work paint into textured synthetic surfaces or fabric mesh.
The finisher included in a sneaker kit is highly durable, water-resistant, and scuff-proof. This heavy-duty topcoat protects your design from puddle splashes, dirt, and physical impact. A matte or satin finisher is standard in these kits, as it mimics the original factory finish of modern leather sneakers.
Leather Bag and Accessory Restoration Kits
Restoring or changing the color of a leather handbag, wallet, or jacket requires a different approach than painting shoes. These projects involve larger surfaces that must remain soft, supple, and completely non-tacky to the touch.
Starter sets designed for bag restoration prioritize a sophisticated color palette. Instead of bright primary colors, these kits usually offer neutral, earth, and pastel tones, such as tan, dark brown, navy, beige, and burgundy. They also include detailed color-mixing guides to help you match the exact original shade of your designer item.
To achieve a smooth, streak-free finish on large panels, these kits often replace stiff brushes with soft applicators, such as high-density cosmetic sponges or wool daubers. Some advanced restoration kits also include airbrush-ready thinners, which reduce the paint’s viscosity so it can be sprayed evenly without clogging. The included sealers are formulated to dry to a flexible, completely non-sticky finish, ensuring the bag will not stick to your clothing or transfer color when carried in warm environments.
General Craft and Small Item Coloring Sets
If you want to paint small leather crafts like keychains, cardholders, watch straps, or book covers, a general craft set is your best option. These kits are highly compact and budget-friendly, typically priced between S$30 and S$50 in Singapore.
General craft sets focus on variety rather than volume. They often feature a wide array of small, 0.5-ounce (approx. 15 ml) paint pots in metallic, neon, or classic colors. They include fine-detail brushes that are perfect for edge painting and intricate geometric patterns.
Because small craft items do not experience the heavy friction of shoes or the constant flexing of large bags, these kits may omit heavy-duty, solvent-based industrial deglazers. Instead, they might include milder preparation wipes or recommend using standard rubbing alcohol. These compact sets are an excellent, low-risk way to practice your brush control, paint thinning, and blending techniques before investing in more expensive, specialized restoration kits.
Key Features to Check Before Buying in Singapore
When purchasing a leather paint starter set in Singapore, you must evaluate how the local climate, material availability, and environmental conditions will affect your painting process.
Singapore’s high relative humidity, which regularly exceeds 80%, directly impacts how water-based leather paints dry. Water-based acrylics dry through evaporation. In a highly humid environment, this evaporation process slows down significantly. If the paint dries too slowly, it can remain tacky, trap moisture, or even develop mold before it fully cures. To counter this, look for starter sets that specify a fast-drying formula, or plan to set up a dedicated indoor curing environment. Working in an air-conditioned room or using a household dehumidifier will help the paint layers dry evenly and bond correctly.
Material compatibility is another crucial factor to verify before buying. Genuine full-grain leather, synthetic leather (such as polyurethane or PU), and modern vegan leathers (like apple, cactus, or pineapple leather) have completely different surface tensions and chemical compositions. A starter kit designed purely for genuine leather may slide off or peel away from synthetic PU leather if you do not use a specialized plastic primer. Read the kit’s label carefully to ensure it is rated for the exact material of your item.
Additionally, consider the paint’s UV resistance. Singapore’s intense tropical sunlight can rapidly fade painted designs on items worn outdoors, such as shoes and bags. Check the manufacturer’s specifications for UV stability, and ensure the kit includes a high-quality acrylic finisher that filters out UV rays to preserve your colors over time.
Finally, establish a realistic budget based on local retail prices. While basic craft paint sets can be found for around S$30, premium, comprehensive sneaker or restoration kits containing professional-grade deglazers, multiple paint bottles, and specialized finishers generally range from S$60 to S$120. If a kit is priced unusually low, double-check the product description to ensure it actually includes the preparer and finisher, as purchasing these chemicals separately later will often cost more than buying a complete set upfront.
Common Beginner Mistakes to Avoid When Using Your Kit
Using a high-quality starter set does not guarantee a perfect result if you use improper techniques. Avoiding these common pitfalls will ensure your painted leather items remain vibrant and durable for years.
- Skipping the Deglazing Step: This is the single most common cause of paint failure. Brand-new and vintage leather items alike are coated with protective factory finishes, oils, and waxes. If you paint directly over this coating, the paint will adhere to the wax rather than the leather, causing it to peel off in large sheets. Always scrub the surface thoroughly with the kit's preparer or deglazer until the shine is gone and the surface feels slightly matte.
- Applying Thick Paint Layers: It is tempting to apply a single thick coat of paint to achieve instant color coverage. However, thick layers trap wet paint underneath a dried top skin. This prevents the paint from curing, leads to a sticky finish, and causes the paint to crack as soon as the leather bends. Instead, apply three to five paper-thin coats, allowing each layer to dry completely before applying the next. Your first coat should look streaky and semi-transparent.
- Using Non-Leather Sealers: Never substitute the kit's dedicated leather finisher with standard craft sealers, varnishes, or hairspray. These household products are rigid and will crack instantly under physical stress. They can also react chemically with leather paint in humid weather, turning your project into a sticky, dust-attracting mess. Only use the flexible acrylic finisher included in your set.
- Neglecting the Hidden-Area Test: Before applying any chemical to a highly visible part of your item, perform a spot test on an interior seam, under a strap, or inside a pocket. Some strong deglazers can melt delicate synthetic leathers, while certain leather dyes may bleed through light-colored paint. Testing first allows you to adjust your preparation method or paint thickness safely.
Frequently Asked Questions (FAQ)
Can I use regular acrylic paint instead of a leather paint set?
No, you should not use regular acrylic paint on leather items that will be worn or flexed. Regular acrylic paint lacks the specific plasticizers and flexible binders found in leather paint. While regular acrylic may look acceptable immediately after application, it dries into a rigid, brittle layer. As soon as the leather bends, creases, or experiences temperature changes, the rigid paint film will crack, flake, and peel off. Leather-specific paints are formulated to stretch and bend with the natural movement of the material, ensuring a durable and long-lasting bond.
Do I really need a leather preparer and deglazer?
Yes, a leather preparer and deglazer is absolutely necessary when working on factory-finished genuine leather. Factory leather has a protective topcoat that repels moisture, dirt, and paint. The deglazer strips away this barrier, opening up the leather pores so the paint can form a mechanical bond with the fibers. However, if you are working on synthetic leather (such as PU or PVC), strong acetone-based deglazers can actually melt or warp the plastic surface. For synthetic materials, it is safer to clean the surface thoroughly with isopropyl alcohol (rubbing alcohol) instead of a heavy chemical solvent.
How long does leather paint take to dry and cure in a humid climate?
In Singapore’s humid climate, there is a major difference between touch-dry time and full cure time. Between thin coats of paint, it typically takes 15 to 30 minutes for the paint to become dry to the touch. You can speed this up by using a hair dryer on a cool or low-heat setting. However, the paint is not fully cured when it is dry to the touch. Full curing—the process where the acrylic polymers completely cross-link and harden—takes 24 to 72 hours. During this curing period, keep your painted item in a cool, dry, air-conditioned room or near a dehumidifier, and avoid wearing or flexing the item until the curing process is entirely complete.
Community discussion
Share your experience or ask a question. Comments are reviewed before publication.