
Protecting important documents from moisture, wear, and tears requires choosing the right laminator pouch. To achieve a flawless, bubble-free seal, you must select a pouch that matches your paper size, fits your laminator’s physical entry slot, and falls within the machine’s supported thickness limits.
In Singapore’s humid climate, unlaminated paper can easily warp, absorb moisture, or yellow over time. Using a high-quality laminator pouch acts as a protective barrier, preserving certificates, teaching materials, and office documents. However, buying the wrong size or thickness can lead to jammed machines, ruined documents, or incomplete seals. This guide breaks down exactly how to match your documents with the correct pouch specifications.
Understanding Laminator Pouch Sizes
Laminator pouches are designed to be slightly larger than the standard paper sizes they are meant to protect. For example, a standard A4 laminator pouch does not measure exactly 210 x 297 millimetres; instead, it is manufactured with a few extra millimetres of clearance on all sides. This extra space is crucial because it creates the “border” or “lip” where the top and bottom plastic sheets melt together to form an airtight, waterproof seal.
Products mentioned in this guide
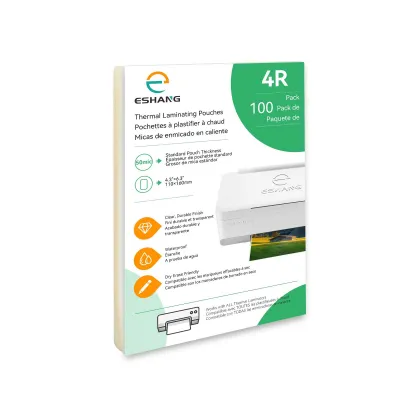
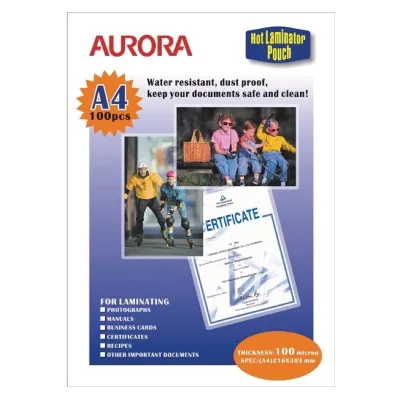
![[SG] Ibico | Suremark A3/A4 Laminating Pouch [Evergreen Stationery]](https://img.lazcdn.com/g/p/3c4abd86f31e0dd55cb4285fc75b2546.jpg_400x400q80.jpg_.webp)
![[✅SG Ready Stock]Laminating Pouch A4 Size Laminate Sheet 100PCS 100 Micron Laminating Film For Laminator Machine 塑封膜](https://img.lazcdn.com/g/p/5eab1e51f937d7b4cdedf365601ba1f2.jpg_400x400q80.jpg_.webp)
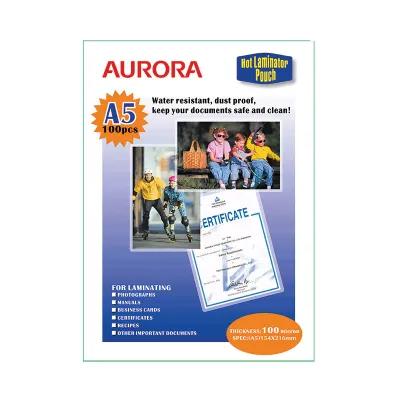
Prices are valid at publication and may change. Please refer to the product page for the latest price.
If you attempt to laminate a document that is the exact same size as the outer dimensions of the pouch, the paper will prevent the edges from fusing. This leaves the edges open, allowing moisture, dirt, and oils from your hands to seep in and ruin the paper. Always ensure your paper document is at least 2 to 3 millimetres smaller than the inner boundaries of the pouch on all sides.
Before purchasing, you must check your laminator’s maximum entry width. Laminator models are typically classified by the largest document size they can accept, such as A4 or A3 machines. An A4 laminator has an entry slot designed to fit A4 pouches (approximately 220 to 230 millimetres wide) and cannot physically accept an A3 pouch. Conversely, an A3 laminator can easily accommodate smaller formats like A4, A5, and ID card pouches, making it a more versatile option if you handle various document dimensions.
Decoding Pouch Thickness: Microns vs. Mils
Pouch thickness plays a vital role in determining how rigid, durable, and heavy the finished document will feel. Thickness is measured in two different units: microns (metric) and mils (imperial). In Singapore and most international markets, microns (often abbreviated as µm) is the standard measurement, while mils is commonly used in the United States. One mil is equivalent to 25.4 microns.

When reading product packaging, it is important to know that the stated thickness almost always refers to a single side of the pouch. For instance, a pouch labeled “100 microns” actually consists of two sheets of 100-micron plastic, resulting in a total laminated thickness of 200 microns once sealed around your document.
Choosing the correct thickness depends on how the document will be handled and the limits of your laminating machine:
- Light Duty (75 to 100 Microns / 3 to 4 Mil): This thickness offers a flexible, lightweight layer of protection. It is best suited for documents that are handled infrequently or stored in folders, such as classroom handouts, temporary notices, or archived records. Because these pouches are thin, they heat up quickly and work well with basic, low-wattage home laminators.
- Medium Duty (125 to 150 Microns / 5 to 6 Mil): Providing a semi-rigid feel, this is the standard choice for general office and school use. It offers excellent protection against bending and moisture, making it ideal for certificates, classroom posters, and frequently referenced documents. Most mid-range laminators handle this thickness with ease.
- Heavy Duty (175 to 250+ Microns / 7 to 10+ Mil): This range yields a highly rigid, unbending plastic finish that is completely waterproof and highly durable. It is the go-to specification for items subject to constant handling or harsh environments, such as restaurant menus, outdoor signs, ID cards, and luggage tags.
Before buying heavy-duty pouches, you must verify your laminator’s maximum supported thickness. Many compact or budget home laminators can only process pouches up to 100 or 125 microns. Attempting to feed a 250-micron pouch through a basic machine will result in a failed seal, a severe paper jam, or permanent damage to the heating elements and motor.
Matching Pouch Specs to Your Document Type
To get the best results, you should pair the specific purpose of your document with the right combination of pouch size, thickness, and surface finish.
| Document Type | Recommended Size | Recommended Thickness | Recommended Finish |
|---|---|---|---|
| Photographs & Artwork | A4, A5, or 4R | 100 to 125 Microns | Glossy (enhances colours) or Matte (reduces reflections) |
| Restaurant Menus & Signs | A4 or A3 | 175 to 250 Microns | Glossy (easy to wipe clean) |
| ID Cards & Luggage Tags | Credit Card Size | 175 to 250 Microns | Glossy (with pre-rounded corners) |
| Classroom Worksheets | A4 | 100 to 125 Microns | Matte (allows writing with dry-erase markers) |
Because different paper weights and ink types react differently to heat, always perform a trial run with a scrap piece of the same paper and ink before laminating irreplaceable original artwork. This helps you verify that the ink does not bleed or discolour under high temperatures.
The choice between a glossy and matte finish is more than just aesthetic. Glossy pouches are the standard option; they make colours appear more vibrant and saturated, which is perfect for photos and colourful posters. However, they reflect overhead lights easily, creating glare. Matte pouches have a non-reflective finish that reduces glare, making text easier to read under bright office lighting. Additionally, matte surfaces allow you to write on them with dry-erase markers and wipe them clean, which is highly useful for reusable educational worksheets and checklists.
Essential Pre-Purchase Checks for Your Laminator
To avoid wasting money on incompatible supplies, perform these three essential checks before purchasing your laminator pouches.
First, locate your laminator’s user manual or check the rating plate on the bottom of the machine. Look specifically for the “Maximum Document Width” and “Maximum Pouch Thickness.” Ensure the pouches you buy do not exceed these two values.
Second, confirm the laminating technology your machine uses. Most standard office pouches are thermal, meaning they require heat to activate the adhesive. If you have a cold-only laminator, or if you are laminating heat-sensitive items like thermal fax paper, ultrasound photos, or certain types of digital prints, you must buy pressure-sensitive cold laminator pouches. Running a thermal pouch through a cold machine will result in zero adhesion, while running heat-sensitive paper through a hot thermal laminator can turn the entire page black.
Third, consider any special formatting needs. If you plan to organize your laminated sheets in a binder, look for pre-punched laminating pouches that feature a reinforced strip with holes outside the sealed area. This saves you the trouble of punching holes through tough, laminated plastic, which can ruin the seal if done incorrectly.
Frequently Asked Questions (FAQ)
Can I trim the laminated document after sealing?
You should avoid trimming the sealed plastic border after laminating because doing so breaks the airtight seal. When you cut through the fused plastic edge, you expose the paper core inside. Over time, moisture, humidity, and oils from handling will enter the exposed edges, causing the plastic layers to peel apart and ruin the document. If you need a custom-sized laminated item, trim the paper to your desired size first, place it inside a slightly larger pouch, and then laminate it to ensure a continuous, protective seal around the entire perimeter.
What happens if I use a pouch that is too thick for my machine?
Using a pouch that exceeds your laminator’s maximum thickness rating can cause serious mechanical and operational issues. Because budget laminators have smaller heating elements, they cannot transfer enough heat through thick plastic. This results in an incomplete seal, leaving the pouch looking cloudy, milky, or completely unbonded. More seriously, the extra thickness can cause the pouch to wrap around the internal rollers, leading to severe jams that are difficult to clear and potentially burning out the motor or damaging the delicate heating elements.
Community discussion
Share your experience or ask a question. Comments are reviewed before publication.