
Achieving the perfect drape, stitch definition, and fit in a knitted project relies on a harmonious partnership between your yarn and your knitting needle. If the needle is too large, the stitches will look loose and structural integrity is lost; if it is too small, the fabric becomes stiff and difficult to work. Understanding how to navigate different sizing systems and match your tools to your yarn weight is the foundation of successful knitting.
By learning to read yarn labels, utilizing physical measurement tools, and adjusting your needle size to account for personal tension, you can consistently produce beautiful, professional-looking fabric. This guide breaks down the technical aspects of needle sizing and provides a practical framework for matching your tools to any project.
Understanding Knitting Needle Sizing Systems
Knitting needles are manufactured and sold around the world using three primary sizing standards: metric, US, and UK (or Imperial). The metric system, which measures the actual needle diameter in millimeters (mm), is the most accurate and universal baseline. Because metric sizes directly correspond to physical dimensions, they eliminate the ambiguity often found in regional sizing charts.
Products mentioned in this guide
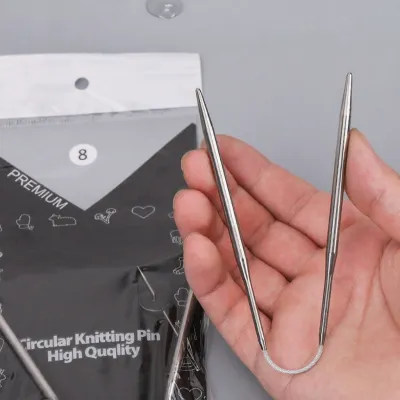
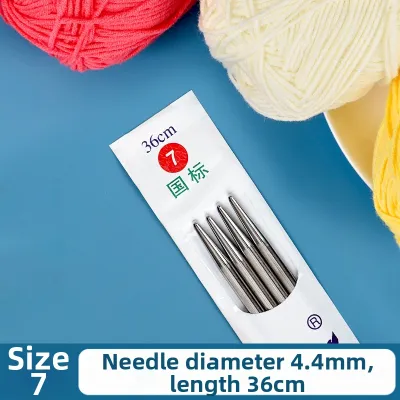
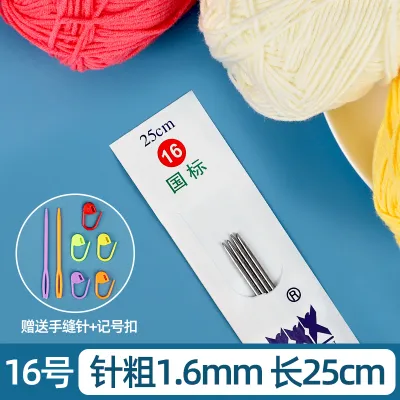
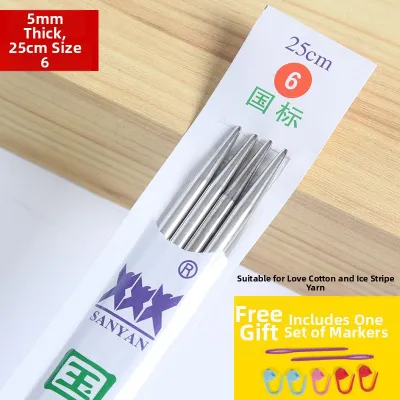
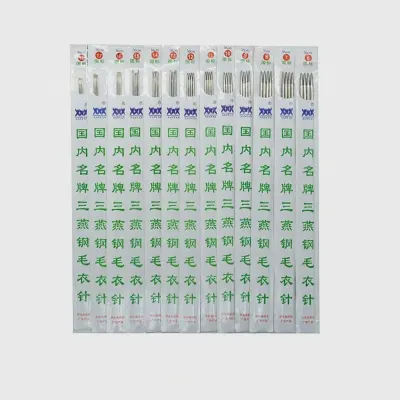
Prices are valid at publication and may change. Please refer to the product page for the latest price.
In contrast, the US and UK systems use arbitrary numbers that can easily confuse beginners. The US system uses numbers where a higher value indicates a thicker needle (for example, a US 2 is 2.75 mm, while a US 10 is 6.0 mm). The traditional UK system operates in reverse: smaller numbers represent thicker needles, meaning a UK 14 is a thin 2.0 mm needle, while a UK 0 is a thick 9.0 mm needle.
Because of these conflicting scales and potential manufacturing variations between brands, relying solely on the printed label on a needle package can lead to tension errors. A vintage needle or a worn tool might have its size markings completely rubbed off.
To prevent sizing mistakes, keep a physical needle gauge tool in your knitting kit. This tool features a series of precisely calibrated holes; you simply insert the needle shaft into the holes until you find the perfect fit where the needle slides through without forcing, yet has no wiggle room. This physical verification ensures you know the exact millimeter diameter of any needle before you begin casting on.
How to Match Needle Size to Yarn Weight
To achieve a balanced fabric that is neither too stiff nor too loose, you must pair your needle diameter with the thickness of your yarn. Yarn weights are standardized into categories ranging from delicate lace to jumbo. The table below outlines the general correlation between these yarn categories and their recommended metric needle sizes:

| Yarn Weight Category | Typical Yarn Type | Recommended Metric Needle Size |
|---|---|---|
| 0: Lace | Fingering, Crochet Thread | 1.5 mm to 2.25 mm |
| 1: Super Fine | Fingering, Sock Yarn | 2.25 mm to 3.25 mm |
| 2: Fine | Sport, Baby Weight | 3.25 mm to 3.75 mm |
| 3: Light | DK (Double Knitting), Light Worsted | 3.75 mm to 4.5 mm |
| 4: Medium | Worsted, Aran | 4.5 mm to 5.5 mm |
| 5: Bulky | Chunky, Craft, Rug Yarn | 5.5 mm to 8.0 mm |
| 6: Super Bulky | Super Chunky, Roving | 8.0 mm to 12.0 mm |
| 7: Jumbo | Ultra Thick Roving | 12.75 mm and above |
When purchasing a new skein of yarn, the easiest way to identify the correct needle size is to read the standard yarn band label. Manufacturers print a small square icon on the packaging that displays a recommended needle size alongside an expected gauge (the number of stitches and rows that should fit within a 10×10 cm square).
Always treat the manufacturer’s label recommendation as a baseline starting point rather than an absolute rule. This recommendation is calculated for standard stockinette stitch, but your specific project goals may require you to deviate from it.
For instance, if you are knitting a dense, structured item like a winter sweater, a warm hat, or a stuffed toy, you may want to use a slightly smaller needle to keep the stitches tight and wind-resistant. Conversely, if you are crafting a breezy, open lace shawl, using a needle that is significantly larger than the recommended size will help create a light, drapey fabric with beautiful stitch definition.
The Role of Needle Size in Tension and Gauge
In knitting, “gauge” or “tension” refers to the precise number of stitches and rows per measured square of knitted fabric. Achieving the correct gauge is critical because even a minor deviation can cause a finished garment to turn out far too small or completely oversized, while also altering the amount of yarn required to finish the project.
Using a knitting needle that is too large for your yarn results in a loose, flimsy fabric. The stitches will look sloppy, the fabric will lack structural integrity, and you run the risk of running out of yarn early because each oversized loop consumes more material.
On the other hand, using a needle that is too small produces a tight, stiff fabric that lacks natural drape and movement. This tight fabric is physically difficult to knit, causing the yarn to split and leading to significant hand fatigue as you struggle to insert the needle tip into the compressed stitches.
Your personal knitting style also plays a major role in tension. Some knitters naturally wrap their yarn tightly, while others maintain a very relaxed, loose grip. Because of these individual physical habits, you will often need to adjust your needle size away from the pattern or yarn label recommendation to achieve the correct gauge specified by your project instructions.
Adjusting Your Needle Size to Fix Gauge Issues
Before launching into any major project, you should always knit a test swatch to evaluate your tension. Cast on several more stitches than the pattern’s gauge specifies, knit a square of at least 12×12 cm in the designated stitch pattern, and then wash and block the swatch exactly as you plan to care for the finished item. Washing allows the fibers to relax, bloom, or shrink, which can dramatically alter your final stitch count.
Once the blocked swatch is dry, lay it flat and use a ruler to count the number of stitches across a 10 cm area. If you count more stitches than the pattern requires, your fabric is too tight; you need to size up your knitting needle to loosen the tension. If you count fewer stitches than required, your fabric is too loose; you must size down your needle to tighten the stitches.
Be mindful of the practical limits of these adjustments. If you find yourself needing to change your needle size by more than two full metric sizes to match the pattern gauge, the yarn and the pattern are likely incompatible. Forcing an extreme needle size change will alter the physical characteristics of the fabric, making it either unpleasantly stiff or excessively holey, in which case you should select a different yarn.
When making your final needle selection, always prioritize matching the stitch (horizontal) gauge over the row (vertical) gauge. Most garment patterns allow you to easily adjust the length of a piece by simply knitting more or fewer rows, but the horizontal fit of the garment is entirely dictated by your stitch gauge.
Frequently Asked Questions (FAQ)
Does the material of the knitting needle affect tension?
Yes, the surface friction of the needle material directly influences how smoothly your yarn glides and how tightly you wrap your stitches. Slippery materials like polished stainless steel, nickel-plated brass, or aluminum allow the yarn to slide quickly, which can help naturally tight knitters loosen their tension and speed up their work. High-grip materials like bamboo, wood, or matte plastics hold the yarn more securely, making them ideal for loose knitters who need more control, or for slippery fibers like silk and rayon.
What if my knitting needle size is not listed on the yarn label?
If you are working with a mystery yarn that lacks a label, you can estimate its weight category by comparing its physical thickness to known yarn samples or by measuring its wraps per inch (WPI). Once you have estimated the yarn weight, refer to a standard sizing chart to select a mid-range needle size for that category. Knit a small test swatch with that needle to observe how the fabric behaves; if the resulting drape is too stiff, switch to a larger needle, and if the fabric is too loose, switch to a smaller one.
Community discussion
Share your experience or ask a question. Comments are reviewed before publication.