
The choice between iron-on and sew-on repair patches depends primarily on your fabric’s heat tolerance, the item’s expected wear and tear, and your comfort with basic needlework. Iron-on patches offer a quick, tool-minimal solution for heat-safe fabrics in low-stress areas, while sew-on patches provide superior durability for heat-sensitive materials, high-friction zones, and heavy-duty gear. Evaluating your specific garment’s care label and the repair location will determine which application method ensures a lasting fix.
When a favorite pair of jeans develops a tear or a canvas backpack begins to fray, finding the right repair patch can save the item from the bin. The decision between an iron-on patch and a sew-on patch is more than just a matter of convenience; it directly affects how long the repair will last and how the fabric will behave afterward. Choosing the wrong method can lead to peeling edges, ruined fabrics, or stiff, uncomfortable spots on your clothing.
Understanding the strengths and limitations of each patch type ensures that your repair looks intentional and stands up to daily use. By matching the application method to your specific fabric and lifestyle needs, you can achieve a professional-looking finish that extends the life of your textiles.
Products mentioned in this guide
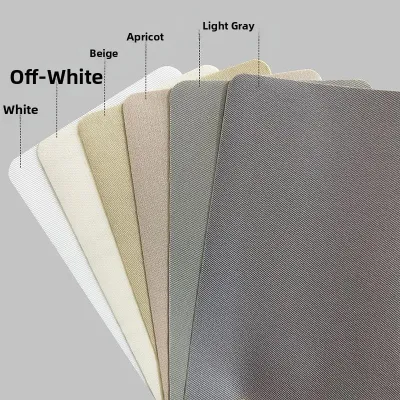
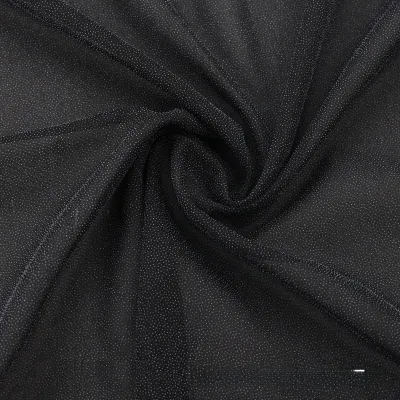
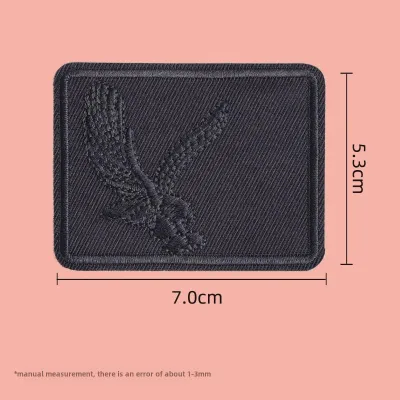
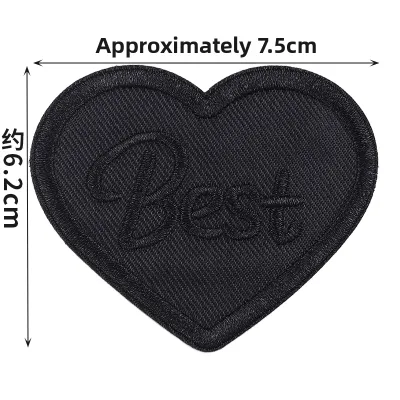
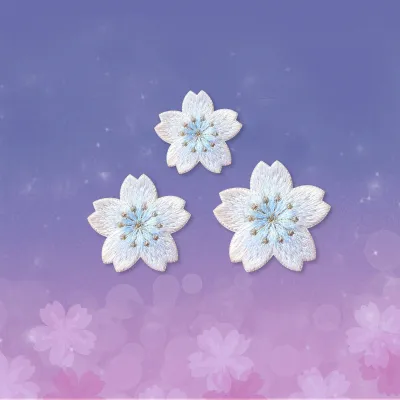
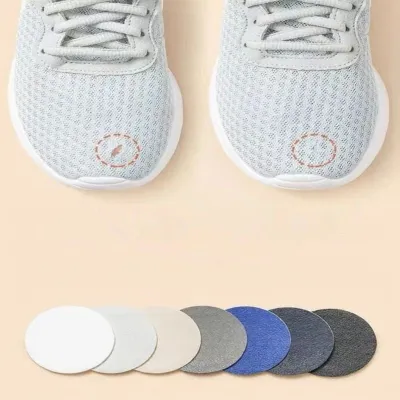
Prices are valid at publication and may change. Please refer to the product page for the latest price.
Fabric Compatibility: Matching the Patch to Your Material
Before purchasing any repair patch, your first step should always be checking the garment’s care label to determine its heat tolerance. Iron-on patches require high, sustained heat to melt the adhesive backing and fuse it with the underlying fibers. This process works beautifully on sturdy, natural fibers like cotton, linen, and heavy denim, which can easily withstand the high temperatures of a household iron.
However, synthetic materials such as nylon, polyester, rayon, and delicate silks are highly sensitive to heat. Applying a hot iron directly to these fabrics can cause them to scorch, melt, or develop permanent shiny marks. Waterproof garments, windbreakers, and outdoor gear often feature specialized chemical coatings that will degrade under heat, making iron-on patches a risky choice for technical apparel.
The texture and thickness of your fabric also play a critical role in how well an adhesive bond will hold. Heavily textured materials, such as corduroy, ribbed knits, chunky wools, or embroidered fabrics, do not provide a flat surface for the iron-on glue. Because the adhesive cannot make full, uniform contact with the fibers, the patch is highly likely to lift and peel after a short period. For these uneven surfaces, sewing is the only reliable way to secure the patch.
Additionally, you must consider how the patch will affect the stretch and drape of the garment. Iron-on patches feature a layer of solid adhesive that becomes stiff once cooled, which can make lightweight or stretchy fabrics feel rigid and unnatural. If you are repairing a soft cotton t-shirt, activewear, or a flowing skirt, a sew-on patch will preserve the natural movement and flexibility of the fabric, whereas an iron-on patch may create an awkward, stiff bump.
Durability and Washability: What to Expect Over Time
The longevity of your repair depends heavily on how the item is used and laundered. Iron-on adhesives are susceptible to gradual degradation over time, especially when exposed to heat and moisture. Washing your garments in hot water or drying them in a high-heat tumble dryer can soften the glue, causing the edges of the patch to curl and lift away from the fabric.

To prevent premature peeling, always verify the patch manufacturer’s specific washing instructions, as some adhesives require cold-water cycles and line drying to maintain their bond. If you prefer a low-maintenance garment that can be tossed into any laundry cycle without a second thought, a sew-on patch is the superior option. Stitched repairs are completely unaffected by water temperature, detergents, or dryer heat.
Mechanical stress from daily movement is another major factor in patch durability. High-friction areas, such as the knees of trousers, the elbows of jackets, or the seat of jeans, undergo constant stretching, bending, and rubbing. The shear forces in these zones will quickly break down the bond of an iron-on adhesive, leading to failure. For these high-stress areas, a sew-on patch provides the mechanical strength needed to keep the fabric held firmly together.
Edge fraying is another common issue that can compromise both the appearance and structural integrity of your repair. Over time, the cut edges of a patch can begin to unravel, particularly if the patch is made from a woven fabric. While some iron-on patches have sealed edges, many will still benefit from a perimeter stitch. Inspecting the quality of the patch’s border before application will help you decide if sewing is necessary to prevent long-term fraying.
Application Process: Tools, Time, and Skill Required
Applying an iron-on patch is a straightforward process that requires minimal tools and can be completed in just a few minutes. You will need a standard household iron, a flat and heat-resistant surface, and a thin pressing cloth—such as a clean cotton pillowcase or tea towel—to protect the patch and garment from direct heat. It is crucial to turn off the steam setting on your iron, as moisture can interfere with the adhesive’s ability to cure properly.
The key to a successful iron-on application is applying firm, even pressure and maintaining the correct temperature for the specified duration. You must press down firmly without moving the iron back and forth, as sliding the iron can shift the patch out of alignment while the glue is molten. Once the heating cycle is complete, the garment must sit undisturbed until it has cooled completely, allowing the adhesive to solidify and form a strong bond.
In contrast, applying a sew-on patch requires a basic hand-sewing kit, including hand-sewing needles, thread, scissors, and sewing pins to hold the patch in place. You must select a needle that matches the weight of your fabric; a fine needle is suitable for lightweight cotton, while a heavy-duty denim or leather needle is necessary for thicker materials. While hand-sewing does not require advanced skills, it does demand patience and a larger time investment to ensure neat, even stitches.
For those who want the best of both worlds, a hybrid approach offers an excellent solution. You can use an iron-on patch to quickly position and temporarily fuse the repair in place, eliminating the need for sewing pins. Once the adhesive has cooled and anchored the patch, you can sew around the perimeter to provide permanent mechanical reinforcement. This method is highly recommended for heavy-duty items like workwear and school bags.
Aesthetic and Finish: Blending the Repair with the Garment
The visual outcome of your repair is often just as important as its durability, and the two application methods offer very different aesthetic results. Sew-on patches allow for a high degree of customization and creativity through your choice of thread and stitching style. You can use a matching thread and a subtle whipstitch to make the repair blend seamlessly into the garment, or choose a contrasting color and a bold blanket stitch to turn the patch into a decorative feature.
Iron-on patches are designed to offer a clean, stitch-free look, but they come with their own aesthetic drawbacks. If the iron is too hot or held in place for too long, adhesive residue can squeeze out from under the edges, leaving a shiny, stiff ring around the patch. Furthermore, the intense heat of the iron can leave permanent shiny press marks on matte fabrics, which can ruin the appearance of delicate or dark-colored garments.
The thickness of the patch’s backing also influences how the finished repair will look and feel. Iron-on patches have a pre-applied layer of adhesive film on the back, which adds bulk and stiffness to the repaired area. If you are working with a lightweight or delicate fabric, this thick backing can cause the patch to stand out awkwardly, creating a harsh outline. Sew-on patches, which lack this adhesive layer, remain soft and pliable, allowing them to conform naturally to the shape of the garment.
Decision Framework: Which Repair Patch Should You Buy?
To make your final purchasing decision, you can use a simple, conditional checklist based on your specific project constraints.
Choose an iron-on patch if:
- The garment's care label confirms it can tolerate high heat (such as 100% cotton or denim).
- The tear or hole is located in a low-stress, low-friction area (such as the chest of a jacket or the side of a bag).
- You want a fast, convenient repair and have access to a reliable household iron but do not wish to sew.
- The patch will not be subjected to frequent hot-water washes or high-heat tumble drying.
Choose a sew-on patch if:
- The fabric is heat-sensitive, synthetic, or features a waterproof or technical coating.
- The repair is in a high-friction zone (such as knees, elbows, or the inner thighs of trousers) that requires maximum durability.
- You want to preserve the natural stretch, drape, and flexibility of a lightweight or knit fabric.
- You enjoy the look of visible, decorative stitching and want a repair that can withstand any laundry cycle.
Verify first if:
- The garment has a complex fabric blend; in this case, always default to the most heat-sensitive fiber in the blend when deciding on an application method.
- The patch packaging lacks clear heating instructions, which may require you to perform a small test on an inconspicuous area first.
- The fabric is extremely old, worn, or fragile, as the stress of either heat or needle punctures could cause further tearing.
Frequently Asked Questions (FAQ)
Can I wash an iron-on patch immediately after applying it?
No, you should not wash an iron-on patch immediately after application. The heat-activated adhesive requires time to cool, cure, and fully bond with the fibers of your garment. It is highly recommended to wait at least 24 to 48 hours before subjecting the repaired item to any washing or heavy movement. Washing the garment too soon, especially in warm or hot water, can disrupt the curing process and cause the adhesive bond to fail, leading to peeling edges.
What should I do if my iron-on patch starts peeling at the edges?
If the edges of your iron-on patch begin to lift, you can attempt to re-activate the adhesive using heat. Place a pressing cloth over the patch and press down firmly with a hot, dry iron for 15 to 20 seconds, focusing on the peeling areas. If the glue has become contaminated with lint, dirt, or fabric softener, re-heating may not work. In this case, the most reliable solution is to switch to a needle and thread, sewing around the peeling edges to secure the patch permanently.
Are there fabrics that cannot take either iron-on or sew-on patches?
Yes, extremely delicate or loosely structured fabrics are generally unsuitable for standard repair patches. Sheer silks, fine lace, and very loose knits can easily melt under the heat of an iron, and they may tear under the weight and tension of a sew-on patch. For these fragile materials, standard patches can cause more damage than the original tear. Instead, consider using lightweight fusible interfacing on the reverse side, or consult a professional tailor who specializes in delicate fabric restoration.
Community discussion
Share your experience or ask a question. Comments are reviewed before publication.