
Quick Answer: Iron-On or Sew-On?
Choosing between an iron-on and a sew-on patch depends on your fabric type, available tools, and how much wear the item will face. The core difference lies in how they attach: iron-on patches rely on a heat-activated chemical adhesive backing, while sew-on patches require physical thread stitching to secure the patch to the fabric fibers.
You should choose iron-on patches if you need a quick, convenient application on sturdy, heat-tolerant fabrics like cotton or denim, especially for items that will not undergo heavy daily friction or frequent hot washes. Conversely, sew-on patches are the ideal choice when you require maximum long-term durability, or when you are working with delicate, textured, or heat-sensitive materials that could melt or scorch under a hot iron. Understanding these fundamental differences ensures your custom designs remain securely attached without damaging your favorite garments.
Fabric Compatibility: What Works Best?
Before purchasing any patch, you must evaluate the composition of your base fabric. Applying the wrong attachment method can lead to ruined garments or patches that peel off after a single day.
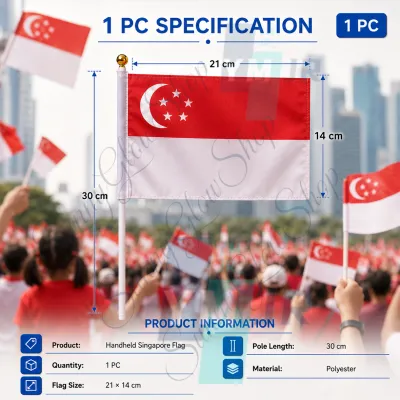
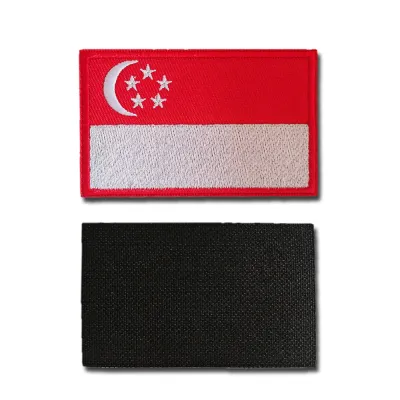
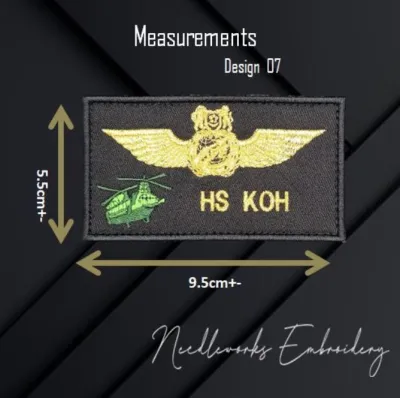
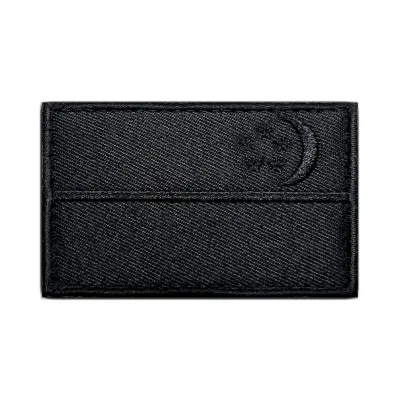
Products mentioned in this guide
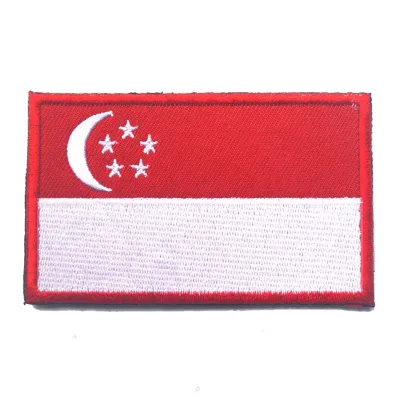
![[SINGAPORE FLAG PATCH] EMBROIDERY PATCHES STICK ON / IRON ON PATCHES FABRIC CLOTHES BADGE NDP MAJULAH CAP](https://img.lazcdn.com/g/p/ddfc7babdeb123b21ebcc85b73017da3.png_400x400q80.png_.webp)
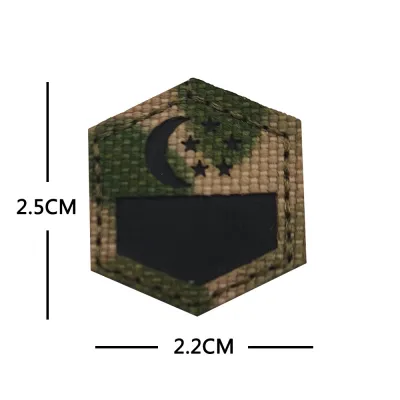
![[SG SELLER] MORALE VELCRO PATCHES EMBROIDERED RUBBER PVC MORALE PATCHES MANY STYLES AND DESIGNS TO CHOOSE FROM](https://img.lazcdn.com/g/p/71cbd2647188e8521220405787e2b211.jpg_400x400q80.jpg_.webp)
Prices are valid at publication and may change. Please refer to the product page for the latest price.

Sturdy, natural fibers are the most accommodating candidates for heat-activated adhesives. Heavy cotton, denim, and thick canvas can easily withstand the high temperatures required to melt patch adhesive. These materials have tight, stable weaves that allow the liquefied glue to grip the fibers securely, creating a reliable bond once cooled.
On the other hand, synthetic, delicate, or highly textured fabrics are generally incompatible with direct heat. Materials such as nylon, thin polyester, silk, rayon, and leather can easily melt, scorch, or discolor under a hot household iron.
Additionally, fabrics with specialized chemical coatings—such as waterproof rain jackets or windbreakers—often repel adhesives entirely, causing iron-on patches to lift. For these sensitive or treated materials, physical stitching is the only safe and effective method.
To prevent accidental damage, always read the care label inside your garment before starting. Look specifically for the fiber content and the ironing instructions, represented by an iron symbol with dots inside.
A single dot indicates a low temperature limit (typically around 110°C), two dots represent medium heat (around 150°C), and three dots signal high heat tolerance (around 200°C). If the label features an iron symbol with a cross through it, or specifies “do not iron,” you must avoid iron-on patches entirely and opt for a sew-on alternative.
Durability, Wear, and Washing
The longevity of your patch depends heavily on the physical demands placed on the garment and how you care for it over time. A sew-on patch offers excellent durability because it relies on physical thread loops that flex and move with the fabric.
This mechanical connection can withstand significant stretching, twisting, and heavy weight, making it the standard choice for activewear, backpacks, and work uniforms. Even if a single thread snags or breaks, the remaining stitches will continue to hold the patch in place.
In contrast, iron-on patches rely on a chemical bond that is inherently more rigid. Over time, regular friction, body heat, and physical stretching can cause the adhesive layer to crack or lift at the edges, particularly on high-movement areas like elbows, knees, or bag straps.
Once the adhesive bond begins to fail, the entire patch can quickly peel away, often leaving behind a sticky residue.
Washing and drying habits also play a critical role in maintaining patch integrity. The heat and moisture of a standard washing machine and dryer can gradually break down the glue on an iron-on patch.
To maximize the lifespan of an iron-on attachment, wash the garment inside out on a gentle cycle using cold water, and always hang it to air dry. High-temperature dryer cycles can reactivate the adhesive, causing the patch to shift or peel off.
Sew-on patches, while much more resilient to hot water and machine drying, still require occasional inspection. Periodically check the edges for loose threads or fraying, reinforcing any weak spots with a quick needle and thread to prevent snagging.
Application Process and Required Tools
The application process for each patch type requires a distinct set of tools and preparation steps. For an iron-on patch, you will need a reliable household iron, a flat and heat-safe surface (such as an ironing board), a clean pressing cloth (like a thin cotton towel) to protect the patch embroidery, and adequate ventilation.
The process involves preheating the garment, positioning the patch, covering it with the pressing cloth, and applying firm, even downward pressure with the iron for about 20 to 30 seconds. You must also iron the reverse side of the fabric to ensure the heat penetrates fully to melt the glue.
Securing a sew-on patch demands a different set of manual skills and basic sewing supplies. You will need a sewing needle appropriate for your fabric thickness, matching heavy-duty thread, a thimble, and pins or fabric chalk to temporarily mark and hold the patch in position.
While hand-sewing requires patience and basic stitching techniques—such as a running stitch or a whipstitch—it allows for precise placement and complete control over thread tension. Alternatively, you can use a sewing machine equipped with a heavy-duty needle to stitch around the border quickly.
For projects where you want both convenience and security, a hybrid application method is highly effective. If the manufacturer instructions and the fabric type permit, you can use a brief, low-heat iron application to melt the adhesive just enough to tack the patch in place.
This temporary bond eliminates the need for pins, keeping the patch centered while you sew around the perimeter to lock it down permanently. This combined approach prevents the patch from shifting during stitching and ensures it remains securely attached under extreme wear.
Decision Framework: Which Patch Type Should You Buy?
To make your final purchasing decision, evaluate your project against these practical checklists to determine which patch type aligns with your fabric and lifestyle needs.
Choose Iron-On If:
- You need a quick, convenient application that takes under five minutes without any sewing skills.
- The base garment is made of sturdy, heat-tolerant material such as denim jeans, cotton canvas bags, or heavy cotton t-shirts.
- The item will be washed infrequently, or you are willing to wash it in cold water and air dry it every time.
- The patch is intended for decorative, low-friction areas like the back of a jacket or a display banner.
Choose Sew-On If:
- The item is subjected to high wear, heavy friction, or carrying weight, such as school backpacks, work uniforms, or outdoor gear.
- The base fabric is delicate, synthetic, or heat-sensitive, including nylon jackets, polyester sportswear, silk, or leather.
- You want a permanent, fail-safe attachment that can withstand frequent hot machine washes and high-heat tumble drying.
- You enjoy the traditional, textured look of hand-stitched borders and want the flexibility to easily transfer the patch to another garment in the future.
Verify First If:
- The garment is made of a mixed fabric blend (e.g., a cotton-polyester mix); check the care label to ensure the polyester content is low enough to tolerate medium iron heat.
- The surface is highly textured, ribbed, or knitted, as adhesives cannot bond evenly to uneven surfaces and will require stitching.
- The fabric has been treated with specialized chemical coatings, such as water-repellent finishes, which will block adhesive absorption and require a sew-on approach.
Frequently Asked Questions (FAQ)
Can I sew over an iron-on patch for extra security?
Yes, sewing over an iron-on patch is an excellent way to guarantee it stays attached permanently. The iron-on adhesive acts as a temporary stabilizer, keeping the patch perfectly positioned so it does not shift while you sew. However, before you begin, ensure you use a thick, heavy-duty sewing needle (such as a denim or leather needle) because the combined thickness of the patch and the hardened glue backing can be difficult to pierce. Additionally, sew slowly, as the adhesive backing can sometimes leave a sticky residue on your needle; wiping the needle periodically with rubbing alcohol will keep your stitches smooth and prevent skipped loops.
How do I safely remove an iron-on patch without ruining the fabric?
To remove an iron-on patch safely, you must reactivate and soften the adhesive backing using controlled heat. Place a clean pressing cloth over the patch and press it with a hot iron for 15 to 20 seconds, or use a handheld hairdryer on its highest heat setting directed at the underside of the fabric. Once the glue warms up and becomes pliable, use a pair of tweezers to gently peel the patch away from the edges while it is still hot. Always test a small, hidden area of the garment first to ensure the heat will not damage the fibers, and consult the manufacturer’s guidelines for using adhesive removers to clean off any remaining sticky residue left on the fabric.
Are there specific considerations for patches in Singapore's humid climate?
Yes, Singapore’s tropical climate, characterized by high humidity and warm temperatures, can accelerate the degradation of chemical adhesives on iron-on patches. The constant moisture in the air, combined with frequent washing to manage perspiration, can cause the glue backing to soften, dry out, or lose its grip much faster than it would in cooler, drier environments. For everyday wear, school uniforms, and outdoor gear used in local conditions, relying solely on iron-on adhesive often leads to peeling edges within a few months. To ensure your patches withstand the local climate and frequent laundry cycles, it is highly recommended to use the sew-on method or a hybrid approach where you reinforce an iron-on patch with perimeter stitching.
Community discussion
Share your experience or ask a question. Comments are reviewed before publication.