
Quick Answer: Which Knit Patch Attachment Should You Choose?
Adding a knit patch to a garment is a practical way to repair a tear, reinforce a high-wear area, or personalize your wardrobe. However, choosing how to attach that patch—whether to iron it on or sew it on—can make the difference between a clean, long-lasting embellishment and a ruined piece of clothing. The most suitable method depends entirely on the fabric of your garment, how often you plan to wash it, and the amount of time you want to invest in the project.
For a quick fix on sturdy, heat-resistant fabrics like heavy cotton or denim, an iron-on knit patch offers a fast and convenient solution. Conversely, for delicate, stretchy, or heat-sensitive materials such as wool sweaters, synthetic blends, or lightweight t-shirts, sewing is the safer and more durable choice. Many crafters also opt for a hybrid approach, using a light iron-on application to temporarily hold the patch in place before permanently securing it with hand or machine stitching.
Fabric Compatibility: Matching the Patch to Your Material
Before you begin, you must evaluate the base fabric of your garment. Applying intense heat to an incompatible material can permanently scorch, melt, or discolor your clothing.
Products mentioned in this guide
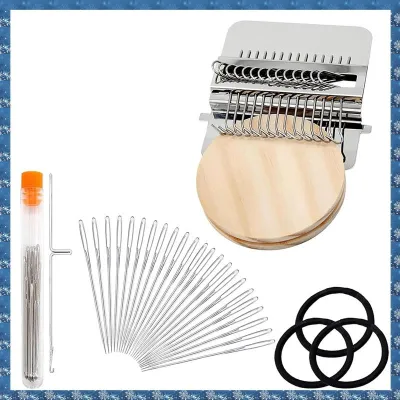
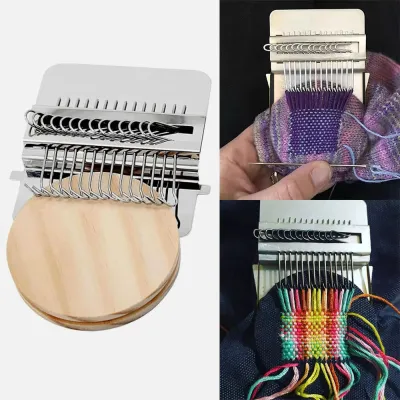
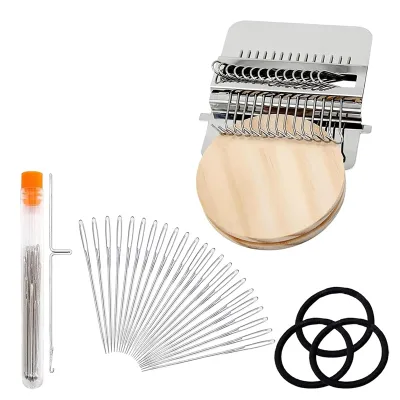
Prices are valid at publication and may change. Please refer to the product page for the latest price.

Heat Tolerance Checks
The primary risk of iron-on patches is the high temperature required to melt the adhesive backing. Sturdy natural fibers like cotton and linen can easily withstand these temperatures. However, synthetic fibers such as polyester, nylon, acrylic, and rayon are highly heat-sensitive. If you attempt to iron a patch onto a synthetic sports jersey or a fleece jacket, the fabric may melt or develop a shiny, scorched patch. Always check the garment’s care label first. If the label warns against ironing or specifies a low-heat setting, avoid iron-on adhesives entirely and opt for sewing.
Texture and Weave Considerations
For an iron-on adhesive to create a strong bond, it requires maximum surface contact with the base fabric. Smooth, tightly woven materials provide an ideal surface for the glue to grip. Highly textured, fuzzy, or open-weave fabrics—such as chunky cable-knit sweaters, ribbed knits, corduroy, or fleece—do not offer enough flat surface area. The adhesive will only cling to the topmost fibers, leading to premature peeling. For textured or loose knits, sewing is the only reliable way to anchor the patch securely through the entire structure of the fabric.
Stretch and Drape Factors
Knit fabrics are loved for their stretch, flexibility, and soft drape. When you apply an iron-on patch, the adhesive backing cools into a stiff, plastic-like layer. This rigid barrier restricts the natural stretch of the knitwear. If you place an iron-on patch on a stretchy t-shirt or a fine-knit cardigan, the surrounding fabric will stretch while the patched area remains stiff, causing unsightly puckering and distorting the garment’s shape. Sew-on patches, when applied with a flexible stitch, allow the patch and the garment to stretch and move together, preserving the original drape of your clothing.
Durability and Washability: Long-Term Wear and Care
How your garment is used and cared for will heavily influence how long the patch remains attached. In warm, humid climates like Singapore, where clothes are washed frequently to combat sweat and humidity, washability is a critical factor to consider.
Adhesive Lifespan
Iron-on adhesives are convenient, but they are not permanent. Over time, repeated exposure to water, laundry detergents, and the mechanical agitation of the washing machine will cause the glue to degrade. High-temperature washes and the intense heat of a clothes dryer are particularly damaging, as they can re-soften the adhesive, causing the edges of the patch to curl, peel, or lift. If you choose an iron-on patch for an item that requires frequent laundering, expect to re-apply heat or reinforce the edges eventually.
Thread Security
Sewing provides a mechanical bond that does not rely on chemical adhesives. By looping thread through both the patch and the base fabric, you distribute physical stress evenly along the entire perimeter. This makes sewing highly effective for high-friction areas such as elbows, knees, and cuffs, which undergo constant bending and stretching. A well-sewn patch can easily outlast the garment itself, remaining secure through hundreds of wash cycles without lifting.
Care Instructions
To maximize the lifespan of your patch, always align your washing habits with the weakest link in the garment-patch combination. For iron-on patches, wash the garment inside out in cold water on a gentle cycle, and line dry it instead of using a dryer. This minimizes heat exposure and friction. For sew-on patches, ensure the thread you use matches the care requirements of the garment; for example, use a durable polyester or cotton thread that can handle the same wash temperatures as the base fabric.
Application Process: Tools, Time, and Reversibility
The choice between ironing and sewing also comes down to the tools you have on hand, the time you are willing to spend, and whether you want the option to modify the garment later.
Iron-On Requirements
Applying an iron-on patch requires minimal sewing skill, making it highly accessible. You will need a household iron or a heat press, a flat and sturdy surface (like an ironing board), and a thin pressing cloth (such as a clean cotton tea towel) to protect the patch and garment from direct heat. The process involves positioning the patch, covering it with the cloth, and pressing down firmly with a hot iron for 15 to 30 seconds. The key to success is applying heavy, even downward pressure rather than sliding the iron back and forth, which can displace the patch.
Sew-On Requirements
Sewing a patch requires a bit more preparation and patience. You will need a hand-sewing needle, matching thread, scissors, and pins or fabric chalk to mark the placement. A basic hand-sewing kit, which costs only a few S$ at a local haberdashery, is all you need to get started. If you are sewing onto a knit fabric, using a ballpoint needle is highly recommended, as its rounded tip slides between the fabric yarns rather than piercing and breaking them. While hand-sewing a patch can take anywhere from 15 to 45 minutes depending on your skill level and the size of the patch, it requires no specialized heat equipment and can be done anywhere.
Reversibility and Residue
Consider whether you might want to remove or replace the patch in the future. Sew-on patches are completely reversible. If you decide to change the style or remove the patch, you can simply use a seam ripper to carefully snip the threads and lift the patch away, leaving the base fabric completely undamaged. Iron-on patches, however, leave behind a stubborn, hardened layer of adhesive residue. Attempting to peel off an iron-on patch often tears the fibers of the base fabric, and removing the leftover glue requires chemical solvents or scraping, which can easily ruin delicate garments.
Decision Framework: Finalizing Your Attachment Choice
To help you finalize your choice, use this straightforward decision framework before starting your project.
Choose Iron-On If:
- The base fabric is sturdy, non-stretchy, and heat-resistant (such as denim, canvas, or heavy cotton).
- The item will not be washed frequently (such as a backpack, heavy jacket, or decorative banner).
- You need a quick, convenient fix and do not have sewing tools or experience.
- The patch is going on a flat, low-friction area of the garment.
Choose Sew-On If:
- The garment is made of delicate, synthetic, or heat-sensitive fabric (such as wool, polyester, nylon, or acrylic).
- The fabric is stretchy or has a soft, flowing drape (such as t-shirts, sweaters, or lightweight knits).
- The patch is placed on a high-friction area that bends frequently (such as elbows, knees, or underarms).
- You want a permanent, highly durable bond that can withstand frequent machine washing.
- You want the option to cleanly remove or replace the patch in the future without leaving sticky residue.
Verify First If:
- Check the care label: Look for the iron symbol on your garment. A crossed-out iron means you must sew the patch.
- Perform a heat test: If you are unsure of the fabric's heat tolerance, press a hot iron onto a hidden inner seam for a few seconds to check for melting or discoloration.
- Inspect the patch backing: Ensure the patch actually has a heat-activated adhesive backing before attempting to iron it; some patches are sold as sew-on only and lack the shiny plastic backing.
Frequently Asked Questions (FAQ)
Can I iron on a patch and then sew it for extra security?
Yes, combining both methods is a practical hybrid approach. Ironing the patch first melts the adhesive, which acts as a temporary stabilizer to hold the patch perfectly in place without the need for pins. Once cooled, you can sew around the edges to ensure it never peels. However, be aware that sewing through hardened adhesive can sometimes gum up your sewing needle or cause thread breakage. To prevent this, sew slowly, use a slightly thicker needle, and clean your needle with rubbing alcohol if it becomes sticky.
Why is my iron-on knit patch peeling at the edges?
Peeling usually happens due to insufficient heat, inadequate pressure, or an incompatible fabric texture. If the iron was not hot enough or was not pressed down firmly for long enough, the adhesive will not melt completely into the fabric fibers. Textured fabrics like ribbed knits also prevent the glue from making full contact. To fix this, you can try re-pressing the edges with a hot iron and a pressing cloth. If the adhesive has degraded or the fabric is too textured, the most reliable solution is to hand-stitch the peeling edges down with a needle and thread.
Community discussion
Share your experience or ask a question. Comments are reviewed before publication.