
Choosing the right sticker for clothes depends on your fabric type, how long you need the design to last, and your comfort level with tools like irons or sewing needles. Whether you are customizing a school uniform, preparing a costume for a quick weekend event, or repairing a favorite pair of denim jeans, matching the application method to your garment ensures the sticker stays secure without damaging the underlying material.
Each of the three primary application methods—iron-on, adhesive, and sew-on—offers distinct advantages in terms of durability, ease of use, and flexibility. By understanding how these backings interact with different textiles and washing routines, you can confidently select the perfect option for your next creative project.
Understanding the Three Application Methods
Iron-on stickers feature a dry, heat-activated adhesive backing. When heat is applied using a household iron or a dedicated heat press, this solid adhesive layer melts and flows into the microscopic gaps between the fabric fibers. As the adhesive cools, it solidifies again, creating a strong mechanical bond that fuses the sticker directly to the garment.
Products mentioned in this guide
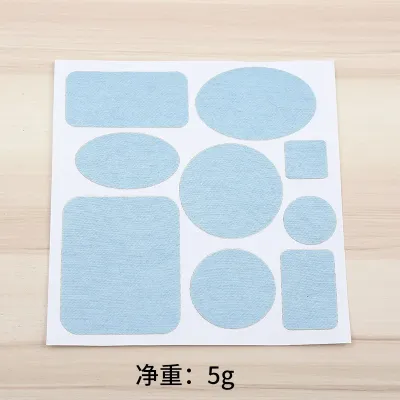
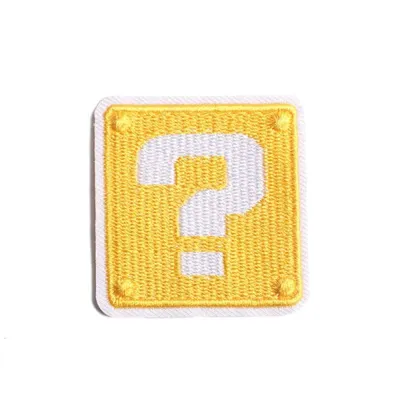
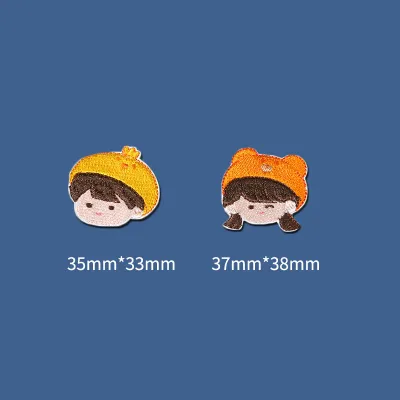
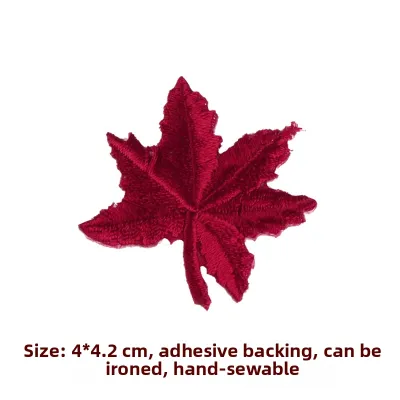
Prices are valid at publication and may change. Please refer to the product page for the latest price.
Adhesive stickers utilize a peel-and-stick backing coated with pressure-sensitive glue. This type of adhesive remains tacky at room temperature and requires no heat, water, or specialized tools to activate. Applying firm, even pressure with your hands or a flat tool is all that is required to establish an immediate, temporary bond with the fabric surface.
Sew-on stickers, often referred to as traditional fabric patches, do not rely on chemical adhesives to stay in place. Instead, they feature a clean, often reinforced border or edge designed to be pierced by a needle and thread. The physical thread loops through both the sticker and the garment fabric, anchoring the patch mechanically for maximum security.
Comparing Durability and Fabric Compatibility
Fabric composition is the most critical factor when choosing a sticker for clothes. Heat-sensitive synthetic materials, such as polyester, nylon, or delicate silk, can easily melt, scorch, or discolor under the high temperatures required for iron-on applications. For these delicate textiles, adhesive or sew-on options are much safer. Conversely, heavy, highly textured, or coarse fabrics like denim, canvas, and thick wool present a challenge for adhesives because the rough surface limits the contact area. Sew-on stickers excel on these heavy-duty materials, as the thread physically binds the thick layers together regardless of surface texture.

Washability is another major differentiator among the three types. To avoid premature peeling, always check the manufacturer instructions on both the garment care label and the sticker packaging. Iron-on stickers generally tolerate moderate washing but can degrade if exposed to high heat cycles or harsh detergents. Sew-on stickers offer the highest wash durability, easily surviving frequent hot washes and heavy-duty laundry cycles. Adhesive stickers, on the other hand, are highly susceptible to water and detergent, often lifting after a single wash.
Your project’s timeline should also guide your decision. Adhesive stickers are ideal for short-term events, such as single-day conventions, corporate exhibitions, or festive celebrations where you want to decorate a shirt temporarily and remove the sticker afterward. In warm, humid climates, pressure-sensitive adhesives may slide or lift more quickly due to moisture and perspiration, making them strictly temporary. For long-term daily wear, such as school uniforms, workwear, or frequently worn jackets, iron-on or sew-on methods are necessary to withstand daily movement and friction.
Evaluating Skill Level and Application Effort
The tools you have on hand will heavily influence your choice. Adhesive stickers require absolutely no tools, making them perfect for quick crafts, on-the-go applications, or children’s projects. Iron-on stickers require a reliable household iron or a heat press, along with a flat, heat-resistant surface and a protective sheet like parchment paper to shield the design. Sew-on stickers require at least a basic sewing needle and thread, though a sewing machine can speed up the process for larger projects.
Time investment and precision vary significantly across these methods. Applying an adhesive sticker takes only seconds, but you must align it carefully on the first try to avoid weakening the glue through repositioning. Iron-on applications require a few minutes of steady, even pressure and precise temperature control to prevent fabric puckering or incomplete bonding. Sewing demands the most time and patience, as you must manage fabric tension to prevent the garment from bunching up around the stitches, but it allows for highly precise placement.
If you make a mistake during application, the ease of correction depends on the method. Adhesive stickers can usually be peeled off and repositioned immediately, though this may slightly reduce their stickiness. Sew-on stickers are highly reversible; if you misalign the patch, you can simply snip the threads with a seam ripper and start over without damaging the fabric. Iron-on stickers are the least forgiving, as the melted glue bonds permanently with the fibers, making removal difficult and often leaving a permanent residue.
Decision Framework: Choosing the Right Sticker for Clothes
To simplify your choice, evaluate your project against these clear, condition-based guidelines:
Choose iron-on if you are working with heat-tolerant fabrics like cotton, linen, or sturdy cotton-synthetic blends. This method is ideal when you want a clean, low-profile, and relatively permanent bond without the visible stitching lines of a sew-on patch, provided you have access to a reliable iron.
Choose adhesive if you are decorating heat-sensitive synthetic materials, need a quick and temporary solution for an event, or do not have access to sewing tools or an iron. It is also the best choice for quick crafts where long-term washability is not a priority.
Choose sew-on if the garment is made of heavy, textured, or coated fabric, or if it will endure rugged physical use, frequent hot washing, and tumble drying. It is the gold standard for activewear, outdoor gear, and heavy denim jackets where adhesive failure is not an option.
Verify first if the garment care label explicitly prohibits ironing or warns against high heat, in which case you must avoid iron-on stickers entirely. Additionally, check if the fabric has a water-repellent, stain-resistant, or non-stick coating, as these treatments can prevent both heat-activated and pressure-sensitive glues from adhering properly.
Care and Maintenance After Application
To maximize the lifespan of your customized clothing, always wash decorated garments inside out. This simple step shields the sticker from direct friction against the washing machine drum and other clothes. Use cold water and a gentle cycle to preserve the adhesive bond, and line dry the garment instead of using a tumble dryer, as high dryer heat can reactivate and weaken iron-on glues.
Regularly inspect the edges of your stickers after washing. Look for early signs of lifting, peeling corners, or loose threads. Catching these issues early allows you to take corrective action, such as applying a quick stitch to a lifting iron-on corner, before the sticker detaches completely or gets lost in the wash.
If you notice the base fabric scorching, thinning, or tearing during application or washing, stop immediately. Do not attempt to reapply heat or force a failing adhesive onto damaged fibers. In these cases, consult the sticker manufacturer’s guidelines or take the garment to a professional tailor who can safely sew the patch in place without causing further wear.
Frequently Asked Questions (FAQ)
Can I combine methods, like ironing on a sticker and then sewing the edges?
Yes, combining methods is an excellent way to achieve maximum durability on high-stress garments like work uniforms or children’s play clothes. You can use the iron-on backing to secure the sticker perfectly in place without pins, and then sew around the perimeter to ensure it never peels. Before sewing, verify that the sticker’s backing is soft enough to be pierced by a needle; extremely thick or hard plastic backings can bend needles or gum them up with adhesive residue.
Do clothing stickers leave a residue if removed?
Yes, both adhesive and iron-on stickers can leave a sticky residue behind when removed. Pressure-sensitive adhesives from temporary stickers often leave a tacky film that can attract lint, while iron-on stickers leave melted glue deeply embedded in the fabric fibers. Always check the fabric type before using adhesive removers or solvents, as some chemicals can discolor or dissolve synthetic textiles.
Community discussion
Share your experience or ask a question. Comments are reviewed before publication.