
Wrapping wedding favours elegantly is a beautiful way to show appreciation to your guests, transforming a simple token of gratitude into a memorable keepsake. The secret to achieving a professional, high-end look lies in combining premium materials—such as heavy-weight textured paper and luxurious ribbons—with precise, disciplined folding techniques. By focusing on clean lines, hidden seams, and balanced proportions, you can elevate even the simplest favour box into a work of art that complements your wedding theme.
Essential Tools and Materials for Elegant Favour Wrapping
Selecting the right materials is the foundation of a flawless presentation. When choosing premium wrapping paper, look for a weight between 90 and 120 GSM (grams per square meter). Thinner papers tear easily and reveal the contents underneath, while excessively thick cardstock is difficult to crease cleanly. Opt for uncoated, textured papers like cotton rag, linen-embossed, or high-opacity matte finishes for a sophisticated tactile experience.
Match your ribbon to the scale of the favour box to maintain visual balance. For small boxes under 5 cm, a narrow ribbon of 6 mm to 10 mm works best, while larger boxes can easily accommodate 15 mm to 25 mm widths. Choose high-quality double-sided satin for a classic sheen, grosgrain for a modern ribbed texture, or hand-frayed silk ribbon for an organic, flowing drape.
Products mentioned in this guide
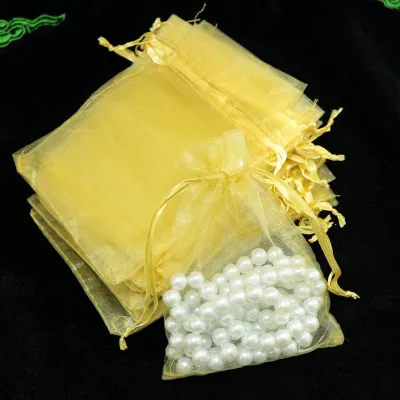
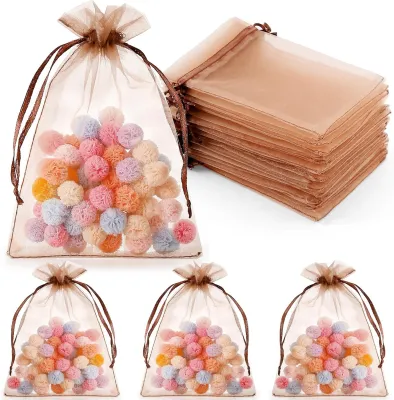
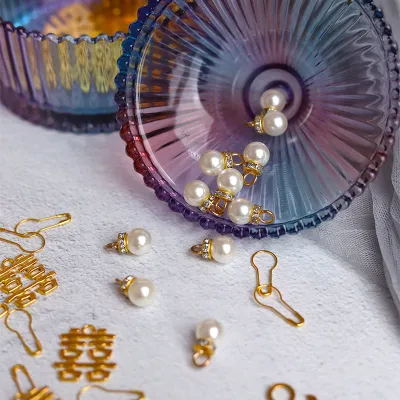
Prices are valid at publication and may change. Please refer to the product page for the latest price.
Having the correct tools on hand prevents frustration and ensures clean lines. A pair of sharp, dedicated paper scissors is essential to prevent jagged edges. A metal ruler ensures straight cuts, while a bone folder is the secret weapon for pressing crisp, professional creases without tearing the paper fibers. For securing the wrap, high-tack double-sided tape is indispensable as it hides completely within the folds.
Always prioritize safety when preparing your materials. Use utility knives or sharp scissors on a dedicated cutting mat, cutting away from your body at all times. Ensure your workspace is clean and dry, as moisture or oils from your hands can easily stain premium uncoated papers.
Step-by-Step Guide to Wrapping Standard Wedding Favours
Achieving a pristine finish on standard square or rectangular favour boxes requires careful measurement and precise folding. Start by placing the favour box on the reverse side of your wrapping paper. To find the correct width, wrap the paper around the box until it overlaps by about 2 cm, then make a small pencil mark. To find the length, ensure the paper extending past each open end of the box is slightly more than half the height of the box.

Use your metal ruler and a pencil to draw light guidelines on the reverse side of the paper before cutting. This ensures perfectly straight lines, which are crucial for aligning patterns or maintaining clean edges. Cut along the lines with smooth, continuous scissor strokes to avoid jagged edges.
Place the box face down on the center of the cut paper. Pull one side of the paper tightly over the bottom of the box and secure it with a small piece of double-sided tape. Fold the opposite edge of the paper over by 1 cm to create a clean, finished hem, then pull it taut over the first side and secure it with double-sided tape. This hidden hem technique conceals raw cut edges completely.
For the open ends, push the top flap of paper down against the side of the box, creating two neat diagonal wings on the sides. Use your bone folder to crease these wings sharply against the box edges. Fold the side wings inward, pressing them flat against the box. Finally, fold the bottom flap upward, applying double-sided tape to the inside edge of this bottom flap before pressing it firmly against the box to seal the end seamlessly. Repeat this process on the opposite side.
Adapting Techniques for Irregularly Shaped Items
Irregular items like round tins, hexagonal jars, or handmade soaps require a different approach to avoid awkward folds and bulky corners. Use high-quality tissue paper or crinkle-cut paper filler to wrap the item first. This creates a uniform shape, cushions delicate glass jars, and prevents sharp corners from puncturing the outer wrapping paper.
For cylindrical or spherical items, the gather-and-tie method works beautifully. Place the object in the center of a square sheet of paper. Gather all four corners of the paper upward, meeting at the top center of the item. Gently pleat the gathered paper as you bring it together, then secure the neck tightly with a thin wire or a rubber band before tying a decorative ribbon over it to create a flared pouch effect.
Alternatively, use the candy-wrap method for cylindrical items. Roll the paper around the cylinder, leaving generous overhangs on both ends. Pinch the paper tightly at both ends of the cylinder and twist them gently. Secure the twists with ribbon, leaving the ends flared out like a classic candy wrapper.
If you have uneven folds on an irregular item, wrap a wide band of contrasting paper or a thick ribbon around the middle of the package. This acts as a decorative belly band, instantly hiding any imperfections while adding visual depth.
Mastering Ribbon Tying and Finishing Touches
The ribbon is the crowning glory of your wedding favour, and tying it correctly elevates the entire presentation. To tie a classic bow, wrap the ribbon around the box, crossing it underneath and bringing the ends to the top. Tie a simple left-over-right knot, pulling it snug but not so tight that it crushes the box. Create a loop with one end, wrap the other end around the base of the loop, and push it through the opening to form the second loop. Pull both loops outward to tighten, then adjust them until they are symmetrical.
For a minimalist, modern aesthetic, opt for a flat knot. Cross the ribbon ends over each other, tie a standard square knot, and pull it tight so it lies completely flat against the box surface. Cut the tails short at a sharp angle to keep the look clean and contemporary.
To calculate the required ribbon length for a standard cross-wrap and bow, multiply the length of the box by four, add the width multiplied by four, and add 30 cm for the bow tails. Always cut ribbon tails at a clean 45-degree angle or a neat V-shape to prevent fraying and add a professional touch.
Elevate the presentation by tucking a small sprig of dried lavender, eucalyptus, or baby’s breath under the ribbon knot. Alternatively, slide a custom cardstock name tag onto the ribbon before tying the bow, or apply a personalized wax seal directly onto the ribbon intersection. Keep accents minimal to avoid cluttering the clean lines of the wrap.
Common Wrapping Mistakes and How to Avoid Them
Wrinkling and tearing usually happen when using paper that is too thin or when pulling the paper unevenly. Always work on a flat, hard surface and use a bone folder to guide your creases gently rather than forcing them with your fingernails. If the paper begins to tear, check that your scissors are sharp and that you are not applying excessive tension.
Visible tape and sticky residue ruin the clean look of premium paper. Always use high-quality double-sided tape instead of standard clear tape. If you make a mistake, do not rip the tape off quickly, as this will tear the paper fibers; instead, slowly peel it back at a 180-degree angle. In humid climates like Singapore, ensure your hands are completely dry, as humidity can weaken tape adhesion and cause the paper to warp.
If your ribbon slips around the box, place a small piece of double-sided tape on the bottom of the box before wrapping the ribbon over it to anchor it in place. Ensure your knots are tied flat and tight to prevent them from loosening during transport to the wedding venue.
Frequently Asked Questions (FAQ)
How much extra paper should I leave for folding small boxes? (FAQ)
For standard small boxes, the paper extending past the open ends should be slightly more than half the height of the box. For example, if your box is 4 cm high, leave about 2.5 cm of paper overhang on each side. If you are using thicker premium paper above 120 GSM, add an extra 2 to 3 mm to this allowance. Thicker paper occupies more physical space when folded, and failing to account for this thickness will result in gaps where the box surface shows through.
What is the best way to prevent ribbon from fraying at the ends? (FAQ)
The most effective method depends on the ribbon material. For synthetic ribbons such as polyester satin, grosgrain, or organza, heat sealing is highly effective. Carefully sweep the cut edge near a flame to melt the plastic fibers together. For natural ribbons like silk, cotton, or linen, heat will burn rather than melt the fibers. Instead, use sharp fabric shears to make a clean diagonal cut, then apply a very thin layer of clear fabric glue or clear nail polish along the edge to bind the threads securely.

Community discussion
Share your experience or ask a question. Comments are reviewed before publication.