
Using a small net bag is an elegant, breathable, and highly reusable way to present delicate items like jewelry, artisanal candies, or small stationery pieces. To achieve a polished finish, the secret lies in structural preparation, neat tensioning of the mesh, and concealing functional closures with thoughtful decorative accents. Whether you are preparing favors for a wedding, a corporate gathering, or a personal celebration in Singapore’s warm climate, net bags offer a lightweight, mold-resistant alternative to heavy paper boxes. A pack of ten small net bags typically costs under S$5 at local craft stores, making this an incredibly cost-effective wrapping solution that does not compromise on style.
By focusing on how the items sit within the mesh and choosing complementary textures for your ribbons and tags, you can transform a simple utility pouch into a bespoke gift presentation. This guide walks you through selecting the right materials, arranging the contents for maximum visual appeal, securing the bag neatly, and adding professional finishing touches.
Materials and Tools You Will Need
Before starting, gathering the correct supplies ensures a smooth workflow and a cohesive aesthetic. The foundation of this technique is the small net bag itself. When selecting your bag, pay close attention to the mesh size and material texture. A fine tulle or organza mesh offers a soft, semi-sheer look that partially veils the contents, while a coarser cotton or jute net provides a rustic, structured appearance. Consider the closure type as well; some bags come with pre-installed satin drawstrings, while others feature an open top that requires a separate tie. Always verify the dimensions of the bag against your gift items to ensure a comfortable fit without overstretching the fabric.
Products mentioned in this guide
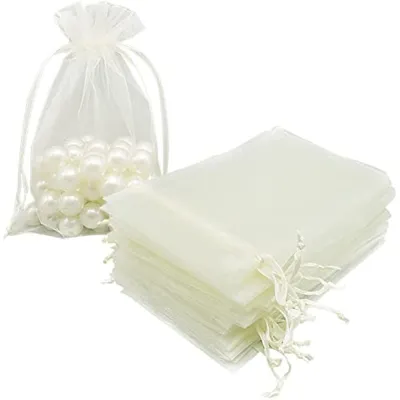
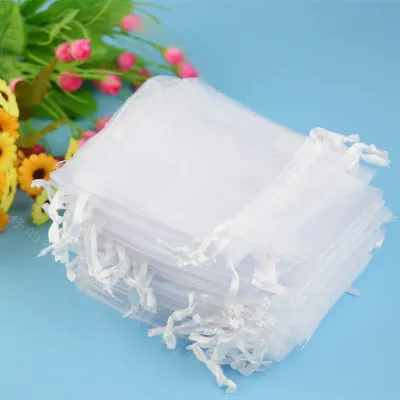
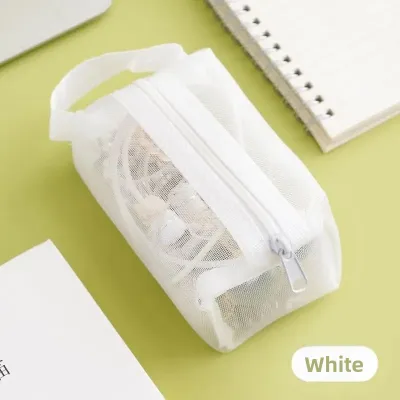
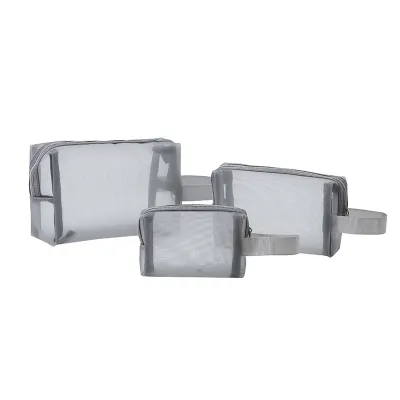
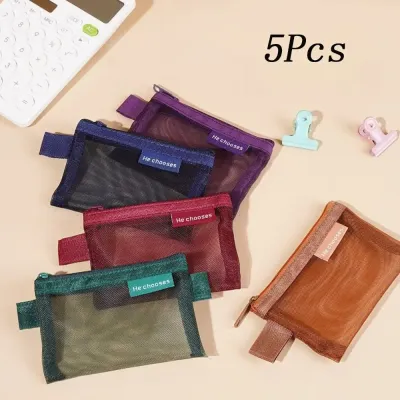
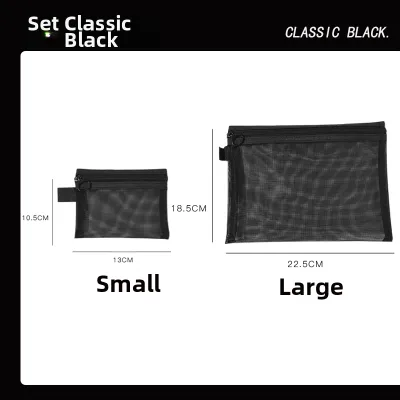
Prices are valid at publication and may change. Please refer to the product page for the latest price.
To elevate the presentation, select complementary ribbons, twine, or gift tags. Double-sided satin or velvet ribbons work beautifully against fine mesh for an elegant look, while natural jute twine or polished cotton cords suit a rustic theme. The width of the ribbon should scale with the bag; a narrow 3mm to 6mm ribbon is ideal for miniature pouches, whereas a wider 15mm ribbon helps create a dramatic bow on slightly larger bags.
Additionally, prepare your gift tags and any optional inner packaging materials. If you plan to write or stamp custom messages on cardstock gift tags, keep in mind that ink drying speed and bleed resistance depend entirely on the specific combination of the tag’s paper texture and the ink type. To prevent smudges, perform a quick test stamp on a scrap piece of the same cardstock to verify that the ink dries completely before attaching the tag to your bag. For delicate or highly reflective items, a few sheets of acid-free tissue paper or a secondary, solid-colored inner pouch can provide both protection and a clean background.
Step-by-Step Guide to Wrapping Small Items
Wrapping with a small net bag is a quick yet highly rewarding process when approached systematically. The entire workflow can be divided into three main phases: preparing and arranging the contents, securing the net fabric to establish a balanced shape, and applying decorative finishing touches. Following these phases sequentially ensures that your gifts look uniform, professional, and secure.

Preparing and Arranging the Contents
The first step to a polished presentation is ensuring the items are stable and visually appealing inside the bag before you close it. Start by grouping your items by size and weight. If you are gifting multiple small pieces, such as a collection of vintage postage stamps, decorative paperclips, and a small ink bottle, place the heaviest or most solid item at the bottom. This creates a firm base that prevents the bag from tipping over or bulging awkwardly when set down on a flat surface.
For fragile or highly delicate pieces like handmade jewelry or glass trinkets, direct contact with a coarse net can cause scratches or snags. To protect these items, wrap them lightly in a coordinating sheet of tissue paper or place them on a small cardstock insert. This extra layer cushions the items, keeps them from shifting, and provides a clean, solid backdrop that makes the colors of your gift pop through the sheer mesh.
Once the items are protected, position them so the most attractive side faces outward through the front of the mesh. If you are gifting a small jar of local jam or a custom-designed keychain, align the label or the main decorative face directly against the smoothest side of the bag. This immediate visual impact ensures the recipient can appreciate the beauty of the gift the moment they receive it.
Securing the Net Bag
Securing the bag properly is crucial for keeping the contents safe and creating a neat, balanced silhouette. Begin by gathering the top edges of the net fabric evenly. Pull the mesh upward from all sides, ensuring that the fabric does not twist or tangle around the neck of the pouch. Twisting the mesh too tightly can distort the shape of the bag, causing it to lean to one side or compress the items inside.
If your small net bag features built-in drawstrings, pull both cords slowly and simultaneously to close the opening. For open-top net bags, gather the neck tightly and secure it with a temporary wire twist tie or a simple thread knot. This temporary hold keeps the contents secure and frees up both of your hands, allowing you to focus on tying the decorative ribbon without the fabric slipping or spilling the contents.
Before finalizing the knot, adjust the gathered fabric at the base of the bag. Gently pull the bottom corners outward and press the base upward slightly to create a full, rounded “pouch” shape rather than a flat, compressed packet. This simple adjustment gives the package a professional, three-dimensional volume that looks intentional and premium.
Adding Finishing Touches
The finishing touches are what separate a basic wrapping job from a truly polished, boutique-style presentation. Start by tying your chosen ribbon, velvet cord, or twine directly over the gathered neck of the bag. Position the tie precisely over the drawstring knot or temporary wire tie to completely conceal the functional hardware. Tie a neat double knot first to secure the tension, then fashion a balanced bow.
Next, attach your personalized gift tag. Thread the tag’s string through one of the loops of your bow or slide it onto the ribbon before tying the final knot. To add a touch of natural beauty, you can tuck a small sprig of dried lavender, a tiny eucalyptus leaf, or a small dried flower behind the knot. These natural elements pair exceptionally well with the open texture of net fabric and add a subtle, pleasant aroma to the gift.
Finally, use sharp scissors to trim the ribbon ends. Cutting the ends at a clean 45-degree angle or a neat V-shape prevents the ribbon from fraying and gives it a tailored look. Finish by gently fluffing the gathered mesh fabric above the ribbon tie, spreading it outward to create a balanced, crown-like ruffle at the top of the bag.
Adapting the Technique for Different Gift Types
Different types of gifts require specific adjustments to protect the items and maintain a neat silhouette. For jewelry, such as delicate necklaces or drop earrings, the primary risk is the metal clasps or fine chains snagging on the net mesh. To prevent this, secure all clasps beforehand and pin earrings to a small cardstock backing. Slide the cardstock into a smooth inner liner, such as a satin pouch or a folded piece of tissue paper, before placing it inside the small net bag. This keeps the jewelry pristine and prevents tangling.
When wrapping candies or other small edibles, food safety and structural neatness are paramount. Ensure all food items are individually wrapped in food-safe cellophane or foil before they touch the net bag. Because candies often have irregular shapes, distribute them evenly within the bag to avoid creating lumpy, unbalanced sides. A well-distributed layer of candies helps the net bag maintain a smooth, rounded silhouette that looks abundant and inviting.
For small trinkets and stationery items, such as custom wax seals or decorative erasers, balancing the weight distribution is key. Because these items often have flat edges or sharp corners, they can easily stretch or tear delicate net fibers if allowed to slide around. Placing a small, stiff piece of cardstock at the bottom of the bag acts as a supportive floor, keeping the stationery items upright and protecting the net from sharp corners.
Common Mistakes to Avoid
To ensure a flawless presentation, avoid several common pitfalls during the wrapping process. The most frequent mistake is overstuffing the bag. Packing too many items into a small net bag distorts its natural shape, strains the delicate seams of the mesh, and makes it incredibly difficult to gather the top neck neatly. As a general rule, leave at least one-third of the bag’s total height empty at the top to allow for a clean, gathered closure.
Another common error is using a mesh size that is too large for the items you are gifting. If you are wrapping tiny objects like loose beads or small charms, they can easily slip through the openings of a coarse net bag during handling. Always test the size of your items against the mesh holes before committing to a specific bag style to prevent accidental losses.
Lastly, do not ignore sharp edges or protruding parts on your gift items. Metal corners, plastic packaging tabs, or sharp toy edges can easily catch on the net fibers, causing unsightly snags, runs, or complete tears in the fabric. Always smooth these edges by wrapping them in a layer of tissue paper, or orient the sharp points inward toward the center of the bag where they are cushioned by other items.
Frequently Asked Questions (FAQ)
Can I wash and reuse a small net bag after the gift is opened?
Yes, most small net bags made from nylon, polyester, organza, or cotton are highly reusable. To clean them, check the material label or hand-wash gently in lukewarm water with mild soap. Avoid wringing the mesh aggressively to prevent distorting the shape or damaging the seams. Rinse thoroughly, reshape the bag with your fingers, and lay it flat to air-dry. Avoid machine drying or direct high heat, which can melt synthetic fibers or shrink natural cotton mesh.
How do I keep very tiny items from falling through the mesh?
If you are gifting very small items like micro-beads or tiny charms, use a secondary inner barrier. Wrap the items securely in a small sheet of coordinating tissue paper, or place them inside a secondary, solid-fabric pouch made of satin or velvet before sliding them into the net bag. Alternatively, select a small net bag designed with an ultra-fine tulle or organza mesh, which features microscopic holes that keep small items secure while offering a sheer look.
What is the best way to hide an unappealing drawstring or plastic toggle?
To hide functional but unattractive drawstrings or plastic spring toggles, wrap a wider decorative ribbon, such as a 15mm grosgrain or satin ribbon, around the neck of the bag multiple times. Ensure the ribbon completely covers the hardware before tying it into a lush bow. Alternatively, you can pin a small decorative brooch, a vintage button, or a custom paper seal over the closure to mask the hardware while adding charm to your gift.
Community discussion
Share your experience or ask a question. Comments are reviewed before publication.