
Wrapping a goody bag neatly transforms a simple party favor into a highly anticipated gift. While standard gift bags are convenient, wrapping them in custom paper and securing them with a coordinated ribbon adds a bespoke, professional touch that shows your guests extra care. Whether you are preparing favors for a birthday party, a wedding, or a corporate gathering, mastering the art of the crisp fold and the perfect bow ensures your presentation remains flawless. By understanding how different paper weights interact with structural bag shapes, you can avoid common pitfalls like torn corners, visible tape lines, and loose ribbons.
Materials and Tools You Will Need
Achieving a clean, professional finish starts with selecting the right stationery and wrapping supplies. The foundation of any neat wrap is the paper itself. For wrapping structured goody bags, look for wrapping paper with a weight between 70 and 90 GSM (grams per square meter). Paper that is too thin, such as cheap lightweight newsprint, tears easily when pulled over sharp bag corners. Conversely, extremely thick kraft paper or heavy cardstock resists folding, resulting in bulky, rounded edges rather than crisp creases. You can test the flexibility of your paper by gently folding a small scrap; if it cracks or resists holding a crease, it may be too rigid for intricate bag corners.
The ribbon you select should complement both the scale of the goody bag and the weight of the paper. For small to medium bags, a ribbon width of 1 to 1.5 centimeters provides an elegant balance without overpowering the package. Satin ribbons offer a smooth, glossy finish that catches the light beautifully, while grosgrain ribbons provide a ribbed texture that holds knots securely. If you are wrapping heavier goody bags, a wider, structured ribbon like organza or wire-edged ribbon can help maintain the bag’s shape. Always ensure the ribbon material matches the formality of the event, opting for matte cotton for rustic themes and satin for formal occasions.
Products mentioned in this guide
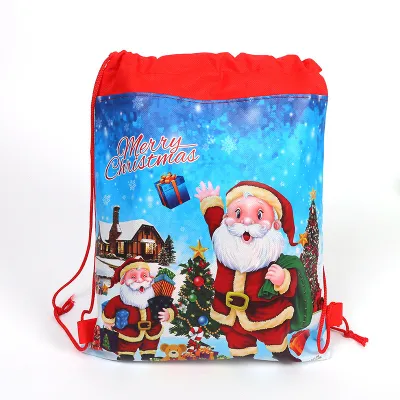
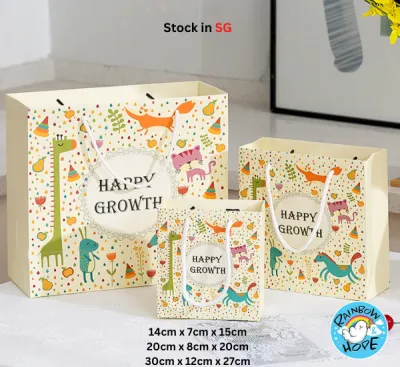
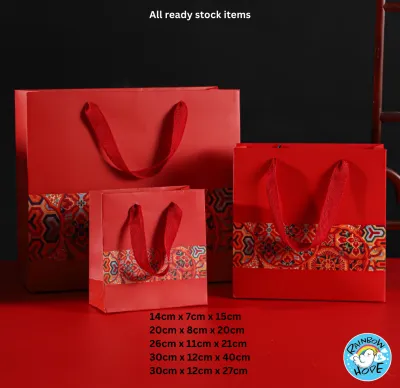
![[SG] BIG SIZE Pokemon Face gift goodie bag High Quality Thick birthday party childrens day present cute paperbag Pikachu Charizard Squirtle](https://img.lazcdn.com/g/ff/kf/Sd327f917f3dd4c969f37c1aed4855a41q.jpg_400x400q80.jpg_.webp)
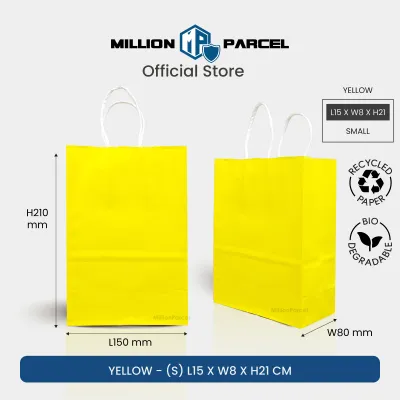
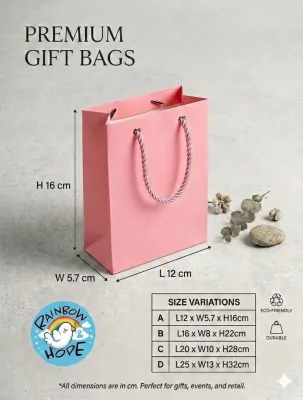

Prices are valid at publication and may change. Please refer to the product page for the latest price.
To execute the wrap with precision, gather a set of dedicated tools. A pair of sharp, long-blade scissors is essential for making clean, continuous cuts without jagged edges. Double-sided tape is the secret weapon of professional wrappers, as it hides adhesive lines completely inside the folds. Finally, a bone folder or a sturdy plastic ruler is indispensable for pressing down folds and creating sharp, professional creases along every edge of the bag. Using a bone folder prevents your fingers from transferring natural oils to the paper, keeping the surface pristine.
Preparing the Goody Bag and Wrapping Paper
Before cutting your paper, you must prepare the workspace and the goody bag itself to ensure an accurate fit. Clear a large, flat table and wipe it down to remove any dust or debris that could get trapped under the tape or scratch the paper. If you are wrapping empty bags to be filled later, flatten them completely on this clean, hard surface. For pre-filled bags, arrange the contents so the weight is distributed evenly and the sides of the bag do not bulge outward. If the goody bag contains heavy items, consider cutting a small piece of thick cardboard and placing it at the bottom of the bag to reinforce its structure before wrapping.

Accurate measurement is critical to avoid wasting paper or creating bulky, overlapping layers. To measure the required width of the wrapping paper, wrap the paper around the perimeter of the goody bag. Allow the paper to overlap by approximately 3 to 5 centimeters along the main seam; this provides enough surface area for the double-sided tape to grip securely. To determine the height, measure the height of the bag and add the depth of the bag’s base to both the top and bottom measurements. This ensures the paper fully covers the ends without leaving exposed gaps.
Once you have determined the correct dimensions, mark the cutting lines lightly on the reverse side of the paper using a pencil and a ruler. To guarantee perfectly straight edges, use a utility knife or a craft knife guided by a metal ruler on a cutting mat. If you are using scissors, glide the blades smoothly through the paper in long, steady strokes rather than short, choppy snips. Straight, clean edges make aligning the seams significantly easier during the wrapping process and prevent unsightly paper overhangs.
Step-by-Step Guide to Wrapping the Bag
With your paper cut to size, place it design-side down on your work surface and position the goody bag face-down in the center. Pull one side of the paper over the back of the bag, aligning it parallel to the bag’s vertical edge. Apply a strip of double-sided tape along the inner edge of the opposite side of the paper. Pull this second side tightly over the bag, ensuring consistent tension across the front surface, and press it down onto the first side to seal the central seam. This creates a smooth, snug sleeve around the body of the bag.
Next, focus on folding the bottom of the bag using the classic box-fold method. Push the short sides of the paper inward toward the center of the bag’s base, creating two neat, triangular flaps on the left and right. Use your bone folder or ruler to crease these side flaps sharply against the base. Fold the top flap down over the base, pressing the crease flat, and apply a strip of double-sided tape along its edge. Fold the bottom flap up over the top flap, pulling it tight to eliminate any slack, and press it firmly to secure the seal.
For the top of the goody bag, you can choose between a flat fold or an elegant stand-up collar. To create a flat fold, repeat the same box-fold method used for the bottom, trimming any excess paper if the folds overlap too heavily. If you prefer a stand-up collar, fold the top opening of the paper downward by 2 centimeters twice to create a clean, reinforced hem. This hemmed top can then be punched with holes for threading ribbon, or folded neatly over the back of the bag and secured with double-sided tape. This choice depends on whether you want a completely sealed package or a bag with an accessible opening.
Adding and Tying the Ribbon for a Polished Finish
The ribbon serves as both a functional closure and a decorative accent that elevates the entire presentation. For a classic look, a vertical band or a simple horizontal wrap works best on rectangular goody bags. If your bag is square or exceptionally tall, a traditional cross-wrap—where the ribbon wraps around both the length and width of the bag—provides excellent structural support. Position the ribbon so it sits symmetrically, framing the central design of your wrapping paper.
Smooth wrapping paper surfaces, such as high-gloss or metallic finishes, can cause ribbons to slip out of alignment during handling. To prevent this, apply a small, discreet piece of double-sided tape or a glue dot to the back of the bag where the ribbon intersects. Press the ribbon firmly onto the adhesive before bringing the ends to the front of the bag. This anchor point keeps the ribbon perfectly centered and maintains tension while you tie the final knot.
To tie a structured bow, cross the ribbon ends and pull them into a tight single knot. Create a loop with one end, wrap the other end around the base of the loop, and push it through the center to form the second loop. Adjust the loops and tails until they are symmetrical and proportionate to the bag’s size. To finish, fold each ribbon tail in half vertically and cut upward at a 45-degree angle toward the outer edge; this creates a clean swallowtail finish that prevents the ribbon from fraying. For synthetic ribbons, you can also pass the cut edges very quickly near a flame to seal the fibers, or apply a tiny dot of clear craft glue to the tips.
Troubleshooting Common Wrapping Mistakes
Even with careful preparation, minor errors can occur during the wrapping process. If you notice wrinkles or puckering on the front of your goody bag, the paper tension is likely uneven. To resolve this, gently peel back the taped seam, smooth the paper flat across the front of the bag using the palm of your hand, and re-secure the tape while maintaining firm, even pressure. Reducing the amount of paper overlap can also prevent internal buckling.
Loose ribbons that slide down the bag can ruin the polished look of your favors. If your ribbon has already been tied but feels loose, do not untie the entire bow. Instead, slide a small piece of double-sided tape underneath the ribbon at the sides or back of the bag, pull the ribbon taut against the adhesive, and press it down. This quick fix restores the tension instantly without requiring you to re-tie the bow.
Bulky, uneven corners usually happen when there is too much excess paper at the ends of the bag. If you find the paper bunching up during the side folds, use your scissors to trim a small triangle of paper from the inner layers before making the final fold. Removing this hidden bulk allows the outer flaps to lie completely flat, resulting in the sharp, crisp corners characteristic of professional gift wrapping.
Frequently Asked Questions (FAQ)
Can I wrap a goody bag that already has handles?
Yes, you can wrap a goody bag with pre-attached handles by adapting your wrapping technique. Instead of covering the top completely, wrap the main body of the bag up to the handle line. Carefully cut precise vertical slits in the wrapping paper where the handles emerge, allowing you to thread the handles through the paper. To prevent these slits from tearing when the bag is carried, reinforce the underside of the paper around the cutouts with a small piece of clear matte tape before threading the handles.
What is the best tape to use for glossy or textured wrapping paper?
Glossy and textured wrapping papers require adhesives with strong initial tack, as standard clear tape often lifts off these surfaces. High-quality double-sided tape is the best choice because it remains hidden and holds well under tension. For heavily textured or glittered papers, glue dots provide superior holding power because the thick adhesive conforms to the uneven surface. Always test a small piece of tape on a scrap of your wrapping paper first to ensure it holds securely and does not peel away the decorative coating.
Community discussion
Share your experience or ask a question. Comments are reviewed before publication.