
Wrapping a gift in transparent plastic cellophane elevates its presentation, transforming simple items into a beautifully curated display. This technique is highly effective for gift baskets, hampers, and uniquely shaped items that traditional wrapping paper cannot easily accommodate. Achieving a professional, glass-like finish requires tension control, precise measuring, and clean folding. By understanding how the plastic film behaves under tension and selecting the right securing methods, you can create a polished look that keeps the contents secure and fully visible.
Tools and Materials You Will Need
Before beginning, gather your supplies on a clean, spacious work surface. The primary material is a roll of transparent plastic cellophane. When selecting your cellophane, check the thickness, which is typically measured in microns. For lightweight gifts, a thickness of 20 to 25 microns is sufficient, whereas heavier gift baskets require a more durable 30 to 40 micron film to prevent accidental punctures.
You will also need exceptionally sharp scissors. Dull blades will drag against the plastic, causing jagged edges or tears along the cut line. For securing the wrap, prepare high-quality clear adhesive tape or clear double-sided tape. Standard matte office tape will appear cloudy against the transparent film, so look specifically for gloss-finish clear tape.
Products mentioned in this guide
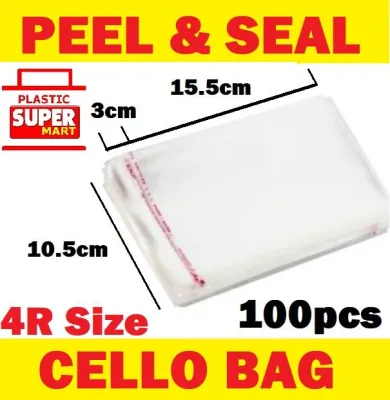
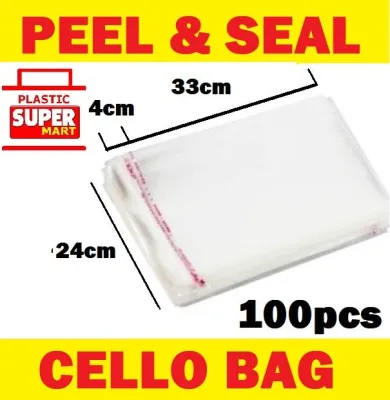
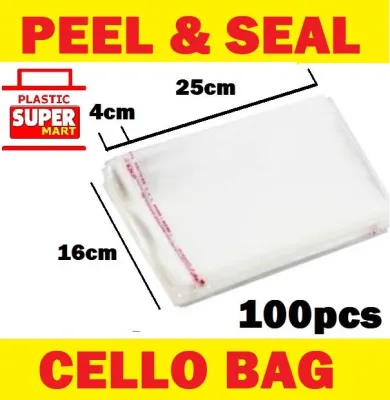
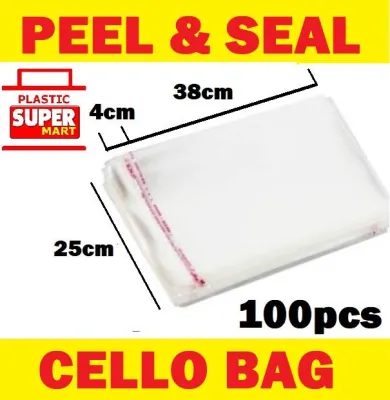
![100pcs Self Adhesive OPP Clear Plastic Packing Bag [Many Size]](https://img.lazcdn.com/g/p/6089e94523eee4d02b748cbd1858475c.jpg_400x400q80.jpg_.webp)
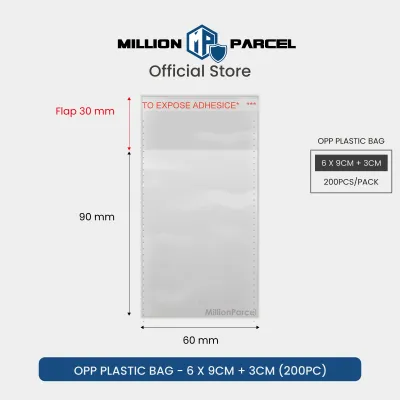
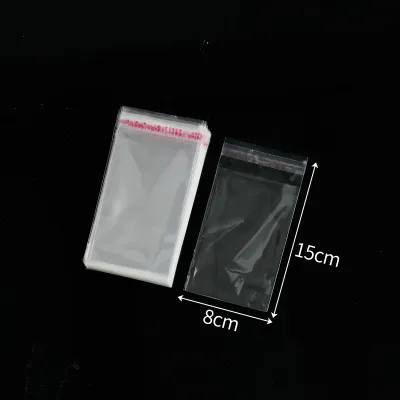
Prices are valid at publication and may change. Please refer to the product page for the latest price.
Finally, gather your decorative finishing elements, such as fabric ribbons, rustic twine, and personalized gift tags. Having these items measured and cut beforehand prevents you from losing your grip on the gathered plastic while searching for a tie. If you are wrapping a heavy or unstable item, consider using a sturdy cardboard base to provide structural support.
Preparing the Gift and Measuring the Film
Proper preparation and measurement are critical to avoiding excess bulk or running out of material mid-wrap. Start by cleaning your workspace thoroughly. Dust and lint are highly visible under transparent plastic, and static electricity will pull these particles directly onto the inner surface of your film. Wipe down the gift itself to ensure it is free of dust and fingerprints.

Unroll the transparent plastic film onto your flat work surface. Place your gift directly in the center of the unrolled sheet. To estimate the required length, pull the film up from both sides until they meet at the top of the gift. For a standard gather-and-tie wrap, you should have at least 15 to 20 centimeters of overhang above the highest point of the gift. This extra length ensures you have enough material to gather, tie, and trim neatly.
If you are wrapping a rectangular box using the flat envelope fold, the film should wrap entirely around the box with an overlap of about 5 centimeters. Once you have determined the correct dimensions, make a small guide cut. Slide your sharp scissors through the film in a single, continuous motion to achieve a straight, clean edge. Avoid chopping motions, which can create micro-tears that split under tension.
Step-by-Step Wrapping Techniques
The physical structure of your gift determines the best wrapping technique to use. Irregularly shaped items, soft goods, and multi-item baskets benefit most from a gathered approach that bundles the material at a single point. Conversely, rigid square or rectangular boxes look best when wrapped tightly with crisp, geometric folds. Choosing the correct method ensures the plastic remains taut and highlights the gift’s contents without unnecessary bunching.
The Gather-and-Tie Method for Baskets and Odd Shapes
The gather-and-tie method is the classic choice for gift baskets, plush toys, and irregular items. Start with your gift positioned in the exact center of your pre-cut cellophane sheet. Reach for the front and back edges of the film, pulling them straight up and meeting them directly above the center of the gift. Hold these two edges together with one hand, keeping the plastic relatively taut.
Next, use your free hand to bring the left and right sides of the film upward to meet the center point. As you bring the sides up, the plastic will naturally begin to pleat and fold. Work your way around the package, gathering the excess material into your holding hand. To ensure a professional finish, pull the film firmly but gently from the base to smooth out major wrinkles along the sides of the gift.
Once all the edges are gathered in your hand, twist the bundle slightly at the neck—just above the tallest item—to lock the tension in place. While holding the twist tightly, wrap a piece of clear tape or a wire twist tie around the neck to secure it. This acts as an anchor, allowing you to use both hands to tie your decorative ribbon or twine over the top. Adjust the pleats below the tie so they flare out evenly, creating a balanced, symmetrical canopy.
The Flat Envelope Fold for Boxes
For standard boxes, the flat envelope fold mimics traditional paper wrapping but requires extra care to keep the seams invisible. Place the box face down in the center of your cut cellophane sheet. Pull one long side of the film over the bottom of the box, followed by the opposite side, ensuring they overlap in the center. Pull the film tight so it hugs the box snugly, then secure the seam with a small piece of clear double-sided tape placed between the overlapping layers.
Next, turn your attention to the open ends of the box. Push the top flap of the cellophane downward against the side of the box, creating two neat triangular wings on the left and right. Crease these wings sharply with your fingers. Because plastic does not hold a crease as easily as paper, you may need to apply firm pressure along the edges to set the fold.
Fold the left and right triangular wings inward toward the center of the side panel. Finally, fold the remaining bottom tab upward, pulling it tight against the box. Secure this final tab with a small piece of clear tape. Repeat this process on the opposite end of the box. For the cleanest look, ensure all tape seams are located on the bottom or back of the package, leaving the front face completely unobstructed.
Securing the Wrap and Adding Finishing Touches
Once your gift is wrapped, the final details will elevate it to a professionally styled presentation. If you used the gather-and-tie method, you will likely have a tall tuft of excess cellophane rising above the ribbon. Use your sharp scissors to trim this top section. You can cut it straight across for a clean look, cut it at an angle, or fold it in half and cut a V-shape to create a decorative, flared crown.
Next, address the ribbon. A generous bow made from satin, grosgrain, or organza ribbon adds texture and contrast to the smooth, shiny plastic. If you are using curling ribbon, slide the blade of your scissors firmly along the ribbon’s underside to create tight, bouncy spirals that cascade down the sides of the wrap. Attach a personalized gift tag directly to the ribbon knot so it hangs neatly in front.
Conclude the process with a thorough inspection of the wrapped package. Gently press on the sides to verify that the cellophane is taut and does not sag. If you notice any loose sections, you can carefully pull the excess film toward the back or bottom and secure it with a tiny piece of clear tape. Ensure that the main focal points of the gift are fully visible and not obscured by heavy folds.
Troubleshooting Common Cellophane Issues
Working with plastic film can occasionally present challenges, but most issues are easily resolved with a few simple adjustments. Static cling is a frequent problem, causing the cellophane to stick to itself, attract dust, or cling stubbornly to the gift before you are ready to fold. To manage this, work in a room with moderate humidity, or lightly wipe your hands and work surface with a dryer sheet before unrolling the film. This neutralizes the static charge and makes the material much easier to handle.
If you encounter a minor tear during the wrapping process, there is no need to discard the entire sheet of film. You can repair small punctures or splits by applying a tiny piece of high-gloss clear tape directly over the tear on the inside of the wrap. If the tear is near an edge, try adjusting your fold lines slightly to hide the damaged area within a pleat or seam.
Wrinkles are another common issue, especially when wrapping complex shapes. If the film looks excessively crumpled, you can use a hairdryer to gently shrink and smooth the plastic. Set the hairdryer to its lowest, coolest setting and hold it at least 30 centimeters away from the package. Move the dryer constantly to apply gentle, even heat. Always verify that the gift contents—such as chocolates or delicate plastics—are heat-tolerant before attempting this method, and stop immediately if the film begins to distort.
Frequently Asked Questions (FAQ)
How do I prevent transparent plastic cellophane from wrinkling?
To maintain a smooth, professional finish, always keep the film taut as you fold, gather, or tape. Working on a clean, hard surface prevents the film from catching on debris, which can cause uneven tension and puckering. When gathering the top of a basket, pull the film firmly from the base before securing the tie. If minor wrinkles appear near the knot, gently pull the outer edges of the gathered plastic outward to distribute the tension evenly.
Can I use double-sided tape on transparent plastic cellophane?
Yes, clear double-sided tape is highly recommended for securing cellophane, particularly when wrapping boxes. It allows you to join overlapping layers of film without any visible tape on the exterior surface. To prevent the film from puckering, apply the tape in small, neat strips rather than long runs. Always test a small piece of tape on a scrap of your specific cellophane first to verify that the adhesive bonds securely and does not leave a cloudy or chemical residue.

Community discussion
Share your experience or ask a question. Comments are reviewed before publication.