
Wrapping a present beautifully is as much about the presentation as it is about the gift itself. While standard wrapping paper offers structure, gift tissue paper provides a delicate, elegant, and highly tactile alternative that elevates any gift-giving occasion. Learning how to handle this lightweight material allows you to create clean lines, soft textures, and a professional finish that shows the recipient extra care.
Using tissue paper successfully requires a shift in technique compared to heavier papers. Because of its sheer texture and delicate composition, standard wrapping methods can easily lead to tears or crumpled edges if not executed with care. By mastering a few fundamental folds and gathering techniques, you can transform a simple sheet of paper into a sophisticated wrapper for boxes, soft items, and unusually shaped gifts alike.
In Singapore’s warm and humid climate, handling delicate stationery products requires a bit of environmental awareness. High humidity levels can soften paper fibers, making them more prone to tearing or absorbing moisture from your hands. Choosing high-quality sheets and working in a dry, comfortable space will help you maintain the crispness and integrity of your folds from start to finish.
Products mentioned in this guide
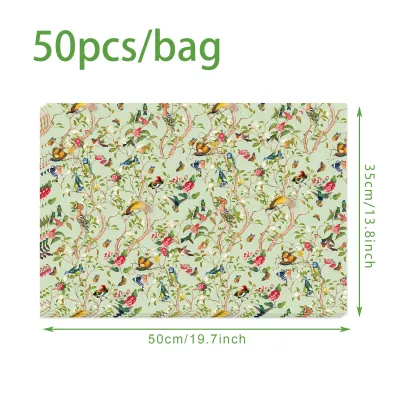
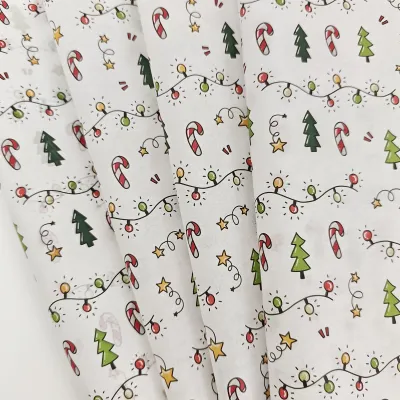
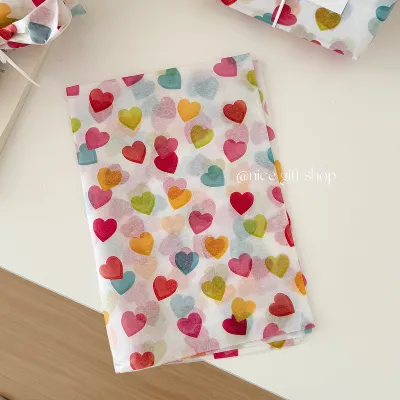
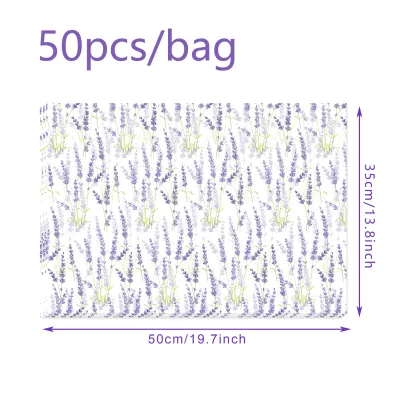
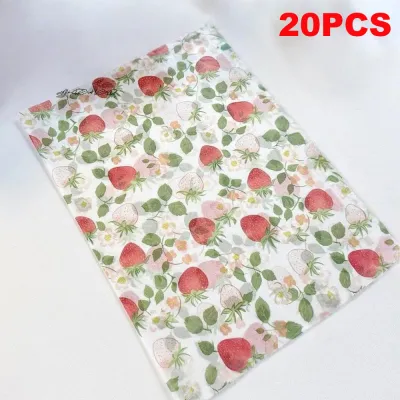
Prices are valid at publication and may change. Please refer to the product page for the latest price.
What You Need to Wrap Gifts with Tissue Paper
Before beginning your wrapping project, gathering the correct materials ensures a seamless and frustration-free process. Not all tissue papers are created equal, and selecting the right specifications for your specific gift is the first step toward a flawless presentation.
Standard Sizing and Weight: Standard gift tissue paper typically comes in sheets measuring approximately 50 x 75 centimeters (20 x 30 inches). The weight of the paper is measured in grams per square meter (gsm), with quality tissue paper usually falling between 14 to 18 gsm. This weight provides the ideal balance between transparency and strength, allowing you to fold the paper without it immediately tearing under light tension.
Acid-Free Options: If you are wrapping delicate items such as jewelry, silverware, fine silk, or heirloom pieces, it is crucial to verify that you are using acid-free tissue paper. Standard papers contain acids that can react with metals and delicate organic fibers over time, leading to tarnishing, yellowing, or structural degradation. Acid-free varieties undergo a specific manufacturing process that neutralizes these compounds, keeping your valuables safe during storage or transit.
Essential Tools:
- Sharp Scissors: Clean, precise cuts are vital for a professional finish. Dull blades can snag and rip the delicate fibers of tissue paper rather than slicing through them cleanly. Always handle sharp scissors with care, keeping them out of reach of children and pets.
- Double-Sided Tape: This is the secret weapon of professional gift wrappers. Unlike standard clear tape, which sits on top of the paper and creates visible, reflective plastic edges, double-sided tape is applied between overlapping layers. This keeps the adhesive completely hidden, resulting in a clean, seamless look.
- Decorative Elements: Washi tape, customized stickers, or wax seals can also be used to secure folds while adding a personalized touch to the exterior of the package.
Step-by-Step Guide: The Classic Envelope Fold
The classic envelope fold is the foundational technique for wrapping rectangular or square boxes. It mirrors the clean, sharp lines of traditional wrapping paper but utilizes the soft, matte texture of tissue paper to create a more delicate and intimate opening experience.

Preparing the Paper and Positioning the Gift
To begin, lay your sheet of gift tissue paper completely flat on a clean, dry work surface. If the paper has fold lines from packaging, gently smooth them out with the flat of your palm before placing your item. To determine the correct size, place your gift box in the center of the sheet and fold the paper up over the sides; the paper should fully cover the box with an overlap of approximately 5 to 7.5 centimeters (2 to 3 inches) on all sides. If the sheet is too large, use your sharp scissors to trim the excess, as too much bulk will make the final folds look messy and uneven.
Once measured and trimmed, place your gift box face-down in the exact center of the paper. Positioning the box face-down ensures that the seamless, single-sheet side of the paper becomes the front of the gift, while all folds and tape lines are neatly hidden on the back.
For the first fold, bring the top edge of the tissue paper up and over the back of the box, pulling it gently to ensure it lies flat and snug against the cardboard. Next, bring the bottom edge of the paper up, overlapping the top edge by a few centimeters. Hold these overlapping layers flat with one hand while applying a small strip of double-sided tape underneath the top layer, securing the paper firmly to the back of the box without any visible adhesive.
Folding the Edges for a Clean Look
With the center of the box secured, you will now have open, tube-like ends on the left and right sides. To create clean, envelope-like flaps, start on one side by gently pushing the excess paper inward toward the center of the box side. This action will naturally form two triangular flaps—one at the top and one at the bottom of the box edge.
Carefully crease the side edges of these triangles to create crisp, clean lines. Fold the top triangular flap down flat against the side of the box, smoothing it with your finger. Next, fold the bottom triangular flap upward, overlapping the top flap. The two triangles should meet to form a neat, symmetrical point, resembling the back of a classic mailing envelope.
Maintaining the correct tension is critical during this step. You want the paper to be taut enough to lie flat against the box, but not so tight that the corners of the box pierce through the delicate tissue. If you feel the paper resisting or starting to stress, slightly loosen your grip.
Once you are satisfied with the shape of the envelope flap, apply a small piece of double-sided tape to the underside of the overlapping bottom triangle. Press it firmly against the top triangle to lock the fold in place. Repeat this entire process on the opposite side of the box, ensuring both ends are identical and symmetrical for a balanced, professional presentation.
Alternative Techniques for Odd-Shaped Gifts
Not every gift comes in a convenient rectangular box. Soft items, cylindrical objects, and irregular shapes require alternative wrapping methods that work with the natural drape and flexibility of tissue paper rather than forcing it into rigid folds.
The Gathered Pouch for Soft Items
Soft items like clothing, plush toys, scarves, or knitted accessories do not have hard edges to fold against. For these items, a gathered pouch is the most effective and visually appealing solution. Begin by laying one or two sheets of gift tissue paper flat on your workspace. Using two sheets—either matching or in contrasting colors—adds structural strength and prevents the soft item from poking through or stretching the paper.
Place the soft item directly in the center of the tissue paper. Gather all four corners and the outer edges of the paper upward, meeting them in the air directly above the center of the item. As you bring the edges together, use your hands to guide the paper, creating loose, elegant folds that drape naturally around the gift.
While holding the gathered neck of the pouch securely with one hand, use your other hand to tie a decorative ribbon, piece of twine, or twist tie around the neck to lock it in place. Once secured, gently pull and fluff the exposed top edges of the tissue paper outward. This creates a beautiful, voluminous, flower-like crown that adds height and dramatic flair to your presentation.
The Twist and Tie for Cylindrical Objects
Cylindrical items, such as candles, bottles, or rolled posters, can easily slide out of standard folds. The twist-and-tie method, reminiscent of a classic candy wrapper, keeps these items secure while highlighting their unique shape. Start by placing your cylindrical object diagonally across a sheet of tissue paper, positioning it near one of the corners.
Roll the object snugly within the paper, moving diagonally from one corner toward the opposite corner. Ensure the paper wraps tightly around the body of the cylinder to prevent it from shifting. Once rolled completely, you will have excess paper extending beyond both ends of the cylinder.
Gently but firmly twist the excess paper at each end, right against the flat edges of the cylinder. Twist in a single direction to create a tight, secure spiral. To prevent the twists from unraveling, tie a coordinating ribbon or twine around each twisted neck, or apply a small, discreet piece of double-sided tape underneath the twist to lock it in place. This technique keeps the item perfectly centered and prevents it from sliding out of the wrapping.
Pro Tips for a Professional and Neat Finish
To elevate your gift wrapping from basic to boutique-quality, incorporating a few professional styling and handling techniques can make a significant difference.
- Layering: Do not limit yourself to a single sheet of paper. Layering two or three sheets of contrasting or complementary colors—such as a solid pastel paired with a metallic accent sheet—creates visual depth and a luxurious feel. Offset the sheets slightly before wrapping so that the different colors peek out at the edges and folds, giving the recipient a multi-toned visual experience.
- Handling: Always work with clean, dry hands. Tissue paper is highly sensitive to moisture and oils, which can leave unsightly marks or weaken the paper fibers. In humid regions like Singapore, handling paper with damp hands can cause the ink to bleed or the paper to tear instantly. Avoid dragging the paper across rough surfaces, and lift the package rather than sliding it across your table.
- Pairing: Tissue paper is highly versatile and does not always have to be the outermost layer. It works beautifully as an inner protective barrier inside a rigid gift box or a decorative gift bag. Crinkling or folding tissue paper neatly inside a bag adds volume and suspense, hiding the gift from view while creating an interactive unboxing experience.
- Crease Management: While crisp folds are desirable on the edges of a box, excessive, accidental creasing makes the gift look messy and rushed. If your tissue paper has deep wrinkles from storage, you can smooth it flat using the palm of your hand. For stubborn creases, place the sheet under a heavy book or a flat board for a few hours before wrapping to restore its smooth, pristine surface.
Frequently Asked Questions (FAQ)
Can I use regular facial tissue instead of gift tissue paper?
No, regular facial tissues are not suitable for wrapping gifts. Facial tissues are manufactured to be highly absorbent and soft, meaning they are generally too small, extremely fragile, and tear almost instantly when subjected to folding or tape tension. Additionally, many facial tissues are treated with lotions, fragrances, or softening agents that can transfer onto your gift, leaving greasy residues or unwanted scents. Dedicated gift tissue paper has the necessary dry strength, sheet size, and clean finish required for structural wrapping.
How do I prevent thin tissue paper from tearing during folding?
To prevent tearing, always use a slightly larger sheet than calculated to minimize tension on the folds. If you are wrapping a heavy item or a box with sharp, rigid corners, you can reinforce these high-stress areas by placing a small piece of clear tape on the inside of the tissue paper where the corner will rest before making your final outward folds. Always fold gently, avoid pulling the paper too tightly, and ensure your work surface is entirely free of rough spots or debris that could snag the delicate material.

Community discussion
Share your experience or ask a question. Comments are reviewed before publication.