
Wrapping a gift beautifully is an art, but traditional wrapping paper often comes with challenges like torn corners, messy tape lines, and a lack of durability. Self-adhesive plastic film offers a modern, sophisticated alternative that eliminates the need for sticky tape while providing a clean, seamless finish. This material wraps tightly around your gift box, acting like a second skin that protects the contents from dust, moisture, and handling wear. Whether you are preparing a special present for a wedding, a housewarming, or a festive celebration, mastering this technique ensures your gift stands out with a professional, store-bought appearance.
Understanding Self-Adhesive Plastic for Gift Wrapping
Self-adhesive plastic, often referred to as adhesive film or sticky-back plastic, consists of a thin polymer sheet coated on one side with a pressure-sensitive adhesive. This adhesive is protected by a paper backing sheet, which is typically printed with a grid pattern to assist with straight cutting. Unlike traditional wrapping paper, which relies on external tape or glue to hold its shape, this material bonds directly to the surface of the gift container. It also differs significantly from heavy-duty contact paper used for lining shelves; gift-wrapping films are thinner, more flexible, and designed to conform easily to corners without adding excessive bulk.
Choosing the right gift box is essential for a successful wrap. Smooth, rigid surfaces such as high-density cardboard, plastic containers, metal tins, and finished wood are ideal because they allow the pressure-sensitive adhesive to establish a continuous, uniform bond. Conversely, porous, highly textured, or fragile surfaces should be avoided. Raw cardboard, handmade textured papers, and delicate gift boxes can be easily damaged when the adhesive is applied, and they may tear if the recipient attempts to peel the plastic off. Always check the product label for adhesive strength; a low-tack or repositionable film is highly recommended for gift wrapping, as it allows for easy adjustments during the wrapping process and prevents damage to the underlying box when opened.
Products mentioned in this guide
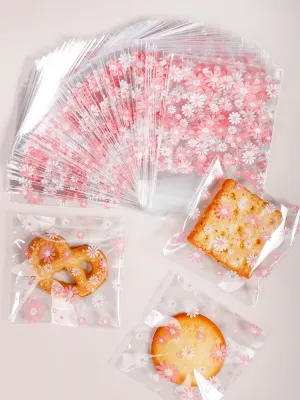
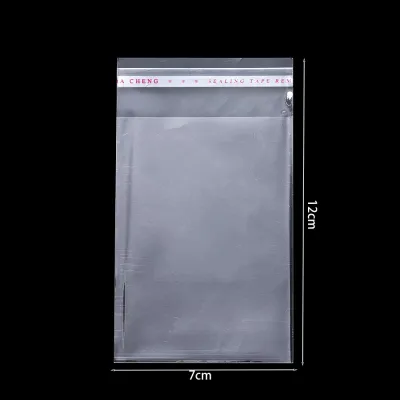
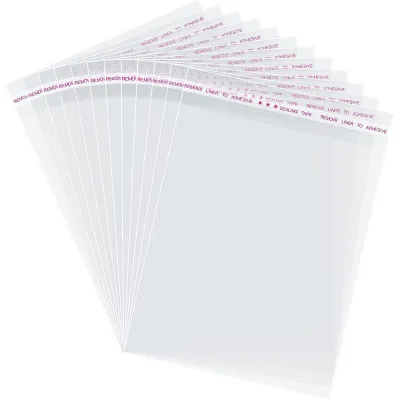
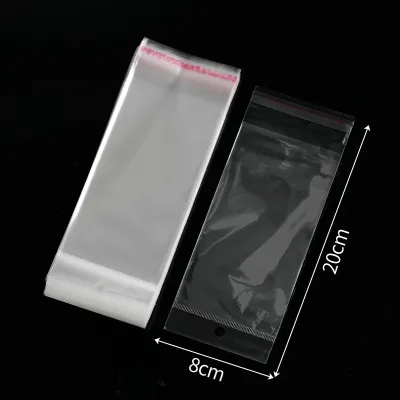
![[SG SELLER] Self Adhesive Clear OPP Transparent Packaging Poly Plastic Bag Retailer Clothes Sealing Wrap Plastic Storage](https://img.lazcdn.com/g/p/22be75670b3840eb6258305648fc2f8f.png_400x400q80.png_.webp)
Prices are valid at publication and may change. Please refer to the product page for the latest price.
Tools and Materials You Will Need
To achieve a flawless, bubble-free finish, gathering the correct tools before you begin is crucial. The primary material is the self-adhesive plastic roll itself. Before purchasing, verify the width and length of the roll against the dimensions of your gift box to ensure you can cover the entire item without unsightly seams.

For cutting and smoothing, you will need a pair of sharp stationery scissors or a utility craft knife. A sharp blade is necessary to prevent the plastic film from stretching or tearing along the cut lines. You will also need a plastic squeegee or a firm card wrapped in a soft microfiber cloth to smooth out the film as you apply it. Finally, keep a clean, dry microfiber cloth on hand to prepare the surface of your gift box. In humid climates like Singapore, keeping your workspace cool and dry is highly beneficial, as excess moisture and humidity can interfere with the adhesive’s initial tack and make the film more difficult to handle.
Step-by-Step Guide to Wrapping a Standard Rectangular Box
Surface Preparation: Begin by thoroughly cleaning the surface of your gift box. Use your dry microfiber cloth to wipe away any dust, lint, fingerprints, or loose fibers from all sides of the container. Even the smallest speck of dust will create a highly visible bump under the smooth plastic film, ruining the seamless aesthetic. If the box has any sticky residue, clean it off completely and ensure the surface is entirely dry before proceeding.
Measuring and Cutting: Place your self-adhesive plastic roll face down on a flat, clean work surface so the grid-patterned backing paper is facing up. Position your gift box on top of the backing paper. To calculate the required film size, measure the width of the box and add twice the height, plus an extra three to four centimeters for a secure overlap. For the length, ensure the film can wrap entirely around the box with a three-centimeter overlap at the seam. Use the printed grid lines on the backing paper as a guide to cut the plastic cleanly with your scissors or craft knife.
Peeling and Anchoring: Do not peel the entire backing paper off the plastic sheet at once, as this will cause the film to curl and stick to itself. Instead, peel back approximately three centimeters of the backing paper along one of the shorter edges to expose a narrow strip of adhesive. Align this exposed edge carefully with the bottom or back seam of your gift box. Press the adhesive strip down firmly onto the box, smoothing it from the center outward to anchor the film securely in place.
Smoothing and Wrapping: With the starting edge anchored, begin the wrapping process. Slowly pull the backing paper away with one hand, exposing a few centimeters of adhesive at a time. Simultaneously, use your other hand to slide the squeegee or cloth-wrapped card over the plastic film, pressing it flat onto the box. Work in continuous, sweeping motions from the center of the box outward to the edges. This technique pushes any trapped air out before it can form a bubble, ensuring a perfectly flat, smooth application. Repeat this process across all flat faces of the box.
Folding the Edges: Once the main body of the box is wrapped, you will have open flaps of plastic extending past the ends. To fold these neatly, start by pressing the top flap down against the side of the box, smoothing it flat from the center outward. Next, fold the side flaps inward, creasing the edges sharply to form clean, 45-degree triangular folds. Finally, pull the bottom flap upward, stretching it slightly to ensure a tight, crisp seam, and press it firmly over the side folds. The self-adhesive backing will instantly lock the folds in place, creating a neat, professional corner without any visible tape.
Techniques for Irregular Shapes and Cylinders
Wrapping non-standard items like bottles, cylindrical tubes, or hexagonal boxes requires a slight adjustment to your technique. For cylindrical items, cut a sheet of self-adhesive plastic that matches the length of the cylinder, leaving enough excess at the ends to cover the circular openings. Anchor one edge of the film along the length of the cylinder. Slowly roll the cylinder over the film while peeling the backing paper away, maintaining even tension to prevent the plastic from spiraling or wrinkling. Once wrapped, make small, evenly spaced vertical cuts in the excess film at the ends, then fold these tabs down one by one to create a neat, pleated finish on the circular bases.
For highly irregular or bulky shapes where a single continuous sheet is impractical, use a modular overlapping method. Instead of trying to wrap the entire object at once, cut smaller panels of the plastic film tailored to specific sections of the item. Apply these panels one by one, overlapping the seams by a few millimeters. Position the overlaps strategically so they face away from the front of the gift, maintaining a clean presentation.
If you are working with a highly curved object, check the manufacturer’s label on your self-adhesive plastic to see if it is compatible with gentle heat. Many vinyl-based films are thermoplastic, meaning they soften and become more pliable when warmed. You can use a hairdryer on its lowest heat setting to gently warm the plastic for a few seconds. This allows you to stretch and mold the film around tight curves and complex corners without creating folds or wrinkles. Be extremely cautious not to overheat the material, as excessive heat can melt the plastic, warp the gift box, or damage the adhesive.
Troubleshooting Common Wrapping Mistakes
Even with careful application, mistakes can happen. If you notice air bubbles under the film after wrapping, do not panic. For small bubbles, you can often use your squeegee or thumb to gently push the air toward the nearest edge. If the bubble is trapped far from an edge, take a fine sewing needle and carefully prick a tiny hole in the center of the bubble. Use your finger to press the air out through the hole, flattening the plastic against the box.
Wrinkles and creases can occur if the film is applied too quickly or with uneven tension. If your self-adhesive plastic features a repositionable adhesive, you can carefully lift the film back up to release the wrinkle, pull it taut, and reapply it smoothly. If the adhesive is too strong to lift without tearing the box, or if the crease is permanent, you can easily conceal the mistake. Strategically place a decorative ribbon, a personalized gift tag, or a beautiful bow directly over the creased area to hide it while adding a festive touch.
Peeling edges are usually caused by dust contamination on the box surface or by overstretching the plastic during application. If the edges of your wrap begin to lift, ensure the area is free of dust and apply firm, warm pressure with your hands for several seconds to reactivate the pressure-sensitive adhesive. To prevent this issue, always clean your gift box thoroughly before wrapping and avoid pulling the plastic film too tightly, as the material’s natural elasticity will cause it to shrink back over time and pull away from the corners.
Frequently Asked Questions (FAQ)
Can I use self-adhesive plastic on fabric or soft gifts?
No, self-adhesive plastic is not suitable for fabric, plush toys, or soft, flexible gifts. The pressure-sensitive adhesive requires a rigid, smooth, and continuous surface to establish a secure bond. On porous or flexible materials like fabric, the adhesive cannot make full contact, causing the film to peel off almost immediately. Furthermore, the adhesive backing can leave a sticky residue or pull out delicate fibers, potentially ruining the fabric. For soft gifts, traditional tissue paper, fabric gift wraps, or decorative gift bags are much better alternatives.
Is self-adhesive plastic waterproof for gift wrapping?
The plastic film itself is inherently waterproof and will protect the covered surfaces of your gift box from light splashes, condensation, or high humidity. However, the wrapped gift as a whole is not completely waterproof. Water can easily seep through the folded corners, seams, and overlapping edges where the film is not hermetically sealed. Always check the product specifications on the packaging to verify the water resistance of your specific film, and avoid exposing wrapped gifts to direct rain or wet environments to protect the contents inside.

Community discussion
Share your experience or ask a question. Comments are reviewed before publication.