
Wrapping a gift is an act of presentation that sets the tone before the recipient even opens the package. While traditional wrapping paper offers clean lines, organza fabric introduces a level of texture, sheer elegance, and sophistication that paper cannot replicate. This lightweight, plain-woven fabric features a delicate shimmer and a semi-transparent quality, allowing the colors of the gift underneath to peek through in a subtle, enticing way. Whether you are preparing a gift for a wedding, a festive celebration, or a personal milestone, wrapping with organza elevates your presentation from ordinary to extraordinary.
Because organza is a textile, it behaves differently under your hands than paper. It does not hold a fold automatically, it can slip across smooth surfaces, and its raw edges are prone to fraying. However, by understanding the unique characteristics of this material and employing specific wrapping techniques, you can easily overcome these challenges. This guide provides detailed, step-by-step instructions for three distinct wrapping styles: the versatile pouch method, the structured bundle technique, and the polished draped overlay.
Essential Tools and Materials for Organza Wrapping
Before you begin wrapping, gathering the correct tools and preparing your workspace is essential for achieving a clean, professional look. The first step is selecting the right type of organza fabric. For gift wrapping, synthetic organza (usually polyester) is highly recommended because it offers excellent durability, a consistent sheen, and a slightly stiffer structure that helps hold shapes and volume. A medium-weight organza with a subtle shimmer provides enough opacity to veil the gift while remaining pliable enough to fold and tie easily.
Products mentioned in this guide
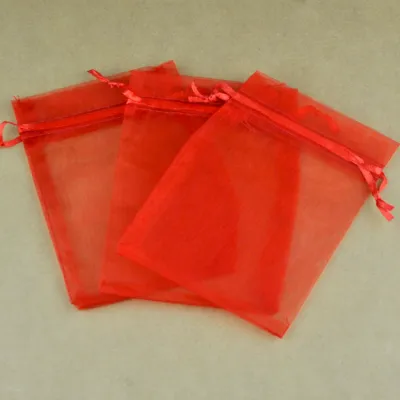
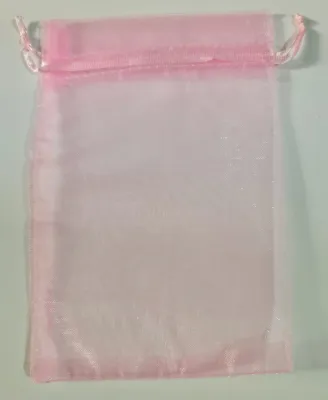
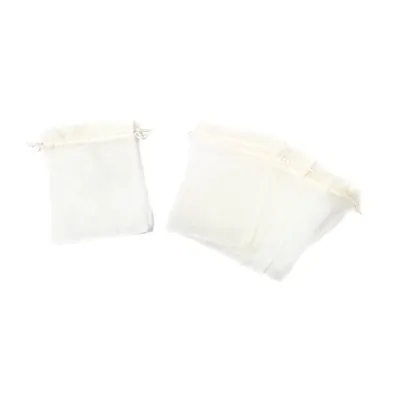
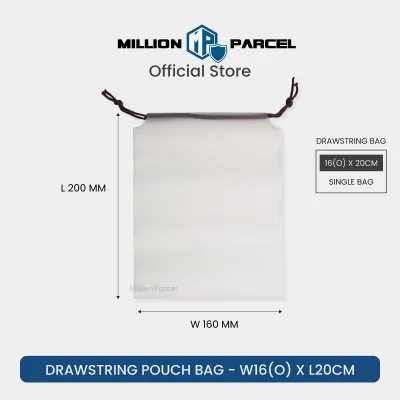
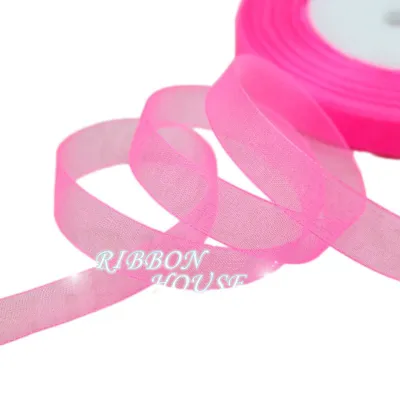
Prices are valid at publication and may change. Please refer to the product page for the latest price.
The dimensions of your fabric sheet must be carefully calculated relative to the size of your gift. As a general rule, your fabric square or rectangle should be at least three to four times the width and height of the item you plan to wrap. This generous sizing ensures you have plenty of material to gather, knot, or fold without pulling the fabric too tight, which can cause the delicate weave to distort.
In addition to the organza itself, you will need a few specialized tools. A pair of exceptionally sharp fabric scissors is non-negotiable; dull household scissors will chew through the delicate threads of organza, leaving jagged, frayed edges. You should also gather high-quality ribbons, such as textured grosgrain or heavy satin, which help secure the slippery fabric. For securing folds, double-sided fabric tape or fine sewing pins are excellent alternatives to standard adhesive tape.
Finally, inspect the surface of your gift. Organza is highly susceptible to snagging on sharp corners or rough cardboard edges. If your gift has sharp edges, consider wrapping it in a layer of neutral-colored tissue paper first to protect the fabric.
The Pouch Method for Odd-Shaped and Soft Gifts
The pouch method is a highly forgiving and versatile technique for wrapping gifts with organza. It is particularly well-suited for irregular, soft, or multi-item gifts that do not have flat sides, such as plush toys, cosmetics, or loose stationery. Because this method relies on gathering the fabric upward rather than folding it flat, it naturally accommodates unusual shapes while creating a dramatic, voluminous presentation.

To begin, lay your pre-cut piece of organza completely flat on a clean, spacious work surface. If your fabric has a distinct “right” side with more shine, place that side facing down against the table so that it will face outward once the pouch is formed. Place your gift, or group of gifts, directly in the geometric center of the fabric sheet.
Next, reach across the fabric and grab two opposite corners, bringing them together directly above the center of the gift. While holding these two corners in one hand, use your other hand to gather the remaining two corners and the loose side edges, pulling them upward toward the center. Slide your hand down toward the top of the gift, compressing the gathered material to form a tight, defined “neck” just above the item.
Once you have gathered all the fabric into a central neck, hold it firmly with one hand. To make securing the pouch easier, you can temporarily wrap a small rubber band around the neck to hold the gather in place. Next, take your decorative ribbon and wrap it tightly around the neck, covering the temporary band. Tie a secure double knot, then fashion a beautiful, balanced bow. Gently pull the edges of the fabric above the ribbon outward to create a full, ruffled collar.
The Bundle Technique for Boxes and Cylinders
For rigid items like rectangular boxes, books, or cylindrical tins, the bundle technique offers a structured, knot-based approach. This method is highly efficient because it relies entirely on the tension of the fabric knots to secure the wrap, eliminating the need for any tape or pins. The result is a charming, organic look that highlights the fabric’s texture while keeping the gift securely enclosed.
Start by cutting a square piece of organza that is large enough to fully cover your gift when folded. Lay the fabric flat on your workspace in a diamond orientation, meaning the corners point up, down, left, and right. Place your box or cylinder diagonally in the exact center of the diamond, aligning its edges with the diagonal lines of the fabric.
Take the bottom corner of the fabric and fold it tightly over the gift, smoothing it flat against the surface. Next, pull the top corner down over the gift, overlapping the first fold. Hold these two sections firmly in place with one hand to maintain tension.
Now, take the left and right corners of the fabric and pull them tightly toward the center of the box. Bring these two ends together and tie them into a neat, secure single knot directly over the center of the package. Pull the knot tight enough to secure the fabric against the box, but be careful not to pull so hard that you distort the weave of the organza.
To finish the bundle, tie the remaining fabric ends into a decorative bow or a double knot. If you prefer a more streamlined look, you can tuck any loose, trailing ends of the fabric underneath the central knot or fold them back into the side wraps.
The Draped Overlay for a Polished Box Finish
If you prefer the clean, crisp lines of traditional gift wrapping but want the luxurious texture of fabric, the draped overlay method is the perfect choice. This technique is designed specifically for standard rectangular or square boxes and mimics the folded seams of paper wrapping. Because organza is sheer and slippery, this method requires a bit more precision and the use of specialized adhesives to hold the folds in place.
Begin by placing your box face down in the center of a rectangular sheet of organza. Pull one long edge of the fabric up and over the bottom of the box, aligning it with the center line. Pull the opposite long edge over, overlapping the first edge by at least two inches. Because organza does not hold a crease, you will need to secure this seam immediately.
Apply a strip of double-sided fabric tape along the overlapping seam, pressing down firmly to ensure a strong bond. Alternatively, if you are using a fabric that is highly delicate, you can use fine sewing pins inserted horizontally along the seam, making sure the sharp points are safely tucked inside the fold.
Next, turn your attention to the open ends of the box. Just like wrapping with paper, fold the top flap of fabric down against the side of the box. Press the side flaps inward to form neat, triangular folds, and then pull the bottom flap upward to cover them. Secure each fold with a small piece of double-sided fabric tape, ensuring the tape is hidden beneath the overlapping layers.
Once all sides are secured, flip the box over so it is right side up. To conceal the taped seams and add a final touch of elegance, wrap a wide satin or grosgrain ribbon around the length and width of the box. Tie a large, dramatic bow on the top face of the box.
Pro Tips for Neat Edges and Secure Closures
Working with organza can occasionally be challenging due to its slippery texture and tendency to shift. To make the process easier, try working on a high-friction surface. A clean cotton tablecloth, a felt crafting mat, or even a silicone sheet will provide enough grip to keep the organza from sliding around while you fold and tie. Avoid working directly on slick wooden, glass, or laminate tables, which offer no resistance.
When choosing ribbons and ties, keep in mind that smooth, high-shine satin ribbons can easily slip off the slick surface of organza. To prevent your bows from coming undone, opt for textured ribbons like grosgrain, cotton twine, or velvet. These materials create natural friction against the organza, ensuring that your knots stay tight and secure over time.
Managing excess fabric is also crucial for maintaining a polished look. Because organza is semi-transparent, overlapping multiple layers of fabric will create dark, bulky areas that disrupt the clean aesthetic of your wrap. Always trim your fabric to the correct size before you begin. If you find yourself with excess material during the wrapping process, fold it neatly inward rather than bunching it up, keeping the layers as flat and uniform as possible.
Frequently Asked Questions (FAQ)
Does standard adhesive tape work on organza?
Standard office or gift-wrapping tape does not adhere well to the woven, textured surface of organza. The adhesive on regular tape is designed for smooth, non-porous surfaces like paper and plastic, and it will quickly peel away from fabric fibers, leaving behind a sticky, unsightly residue. For a secure hold, you should use specialized double-sided fabric tape, which features a stronger adhesive designed to grip textile weaves. If you do not have fabric tape, fine sewing pins can be used to hold folds in place temporarily, or you can apply a very small dot of clear-drying fabric glue along the seams, taking care not to use too much to prevent it from bleeding through the sheer fabric.
How can I stop cut organza edges from fraying?
Organza is highly prone to fraying along raw, cut edges due to its loose, plain-woven structure. To prevent this, always use exceptionally sharp fabric scissors or pinking shears, which cut the fabric at a zigzag angle that naturally resists unraveling. For a perfectly clean, straight edge, you can apply a very thin line of clear fabric sealant along the cut border and allow it to dry completely before wrapping. If you are working with synthetic organza (such as polyester or nylon), you can also use heat to seal the edges. Carefully pass the raw edge of the fabric near a small flame, such as a candle or lighter, which will melt the synthetic fibers and create a permanent, sealed bead along the edge. Always practice this technique on a scrap piece of fabric first, work in a well-ventilated area, and keep a safe distance from any flammable materials.

Community discussion
Share your experience or ask a question. Comments are reviewed before publication.